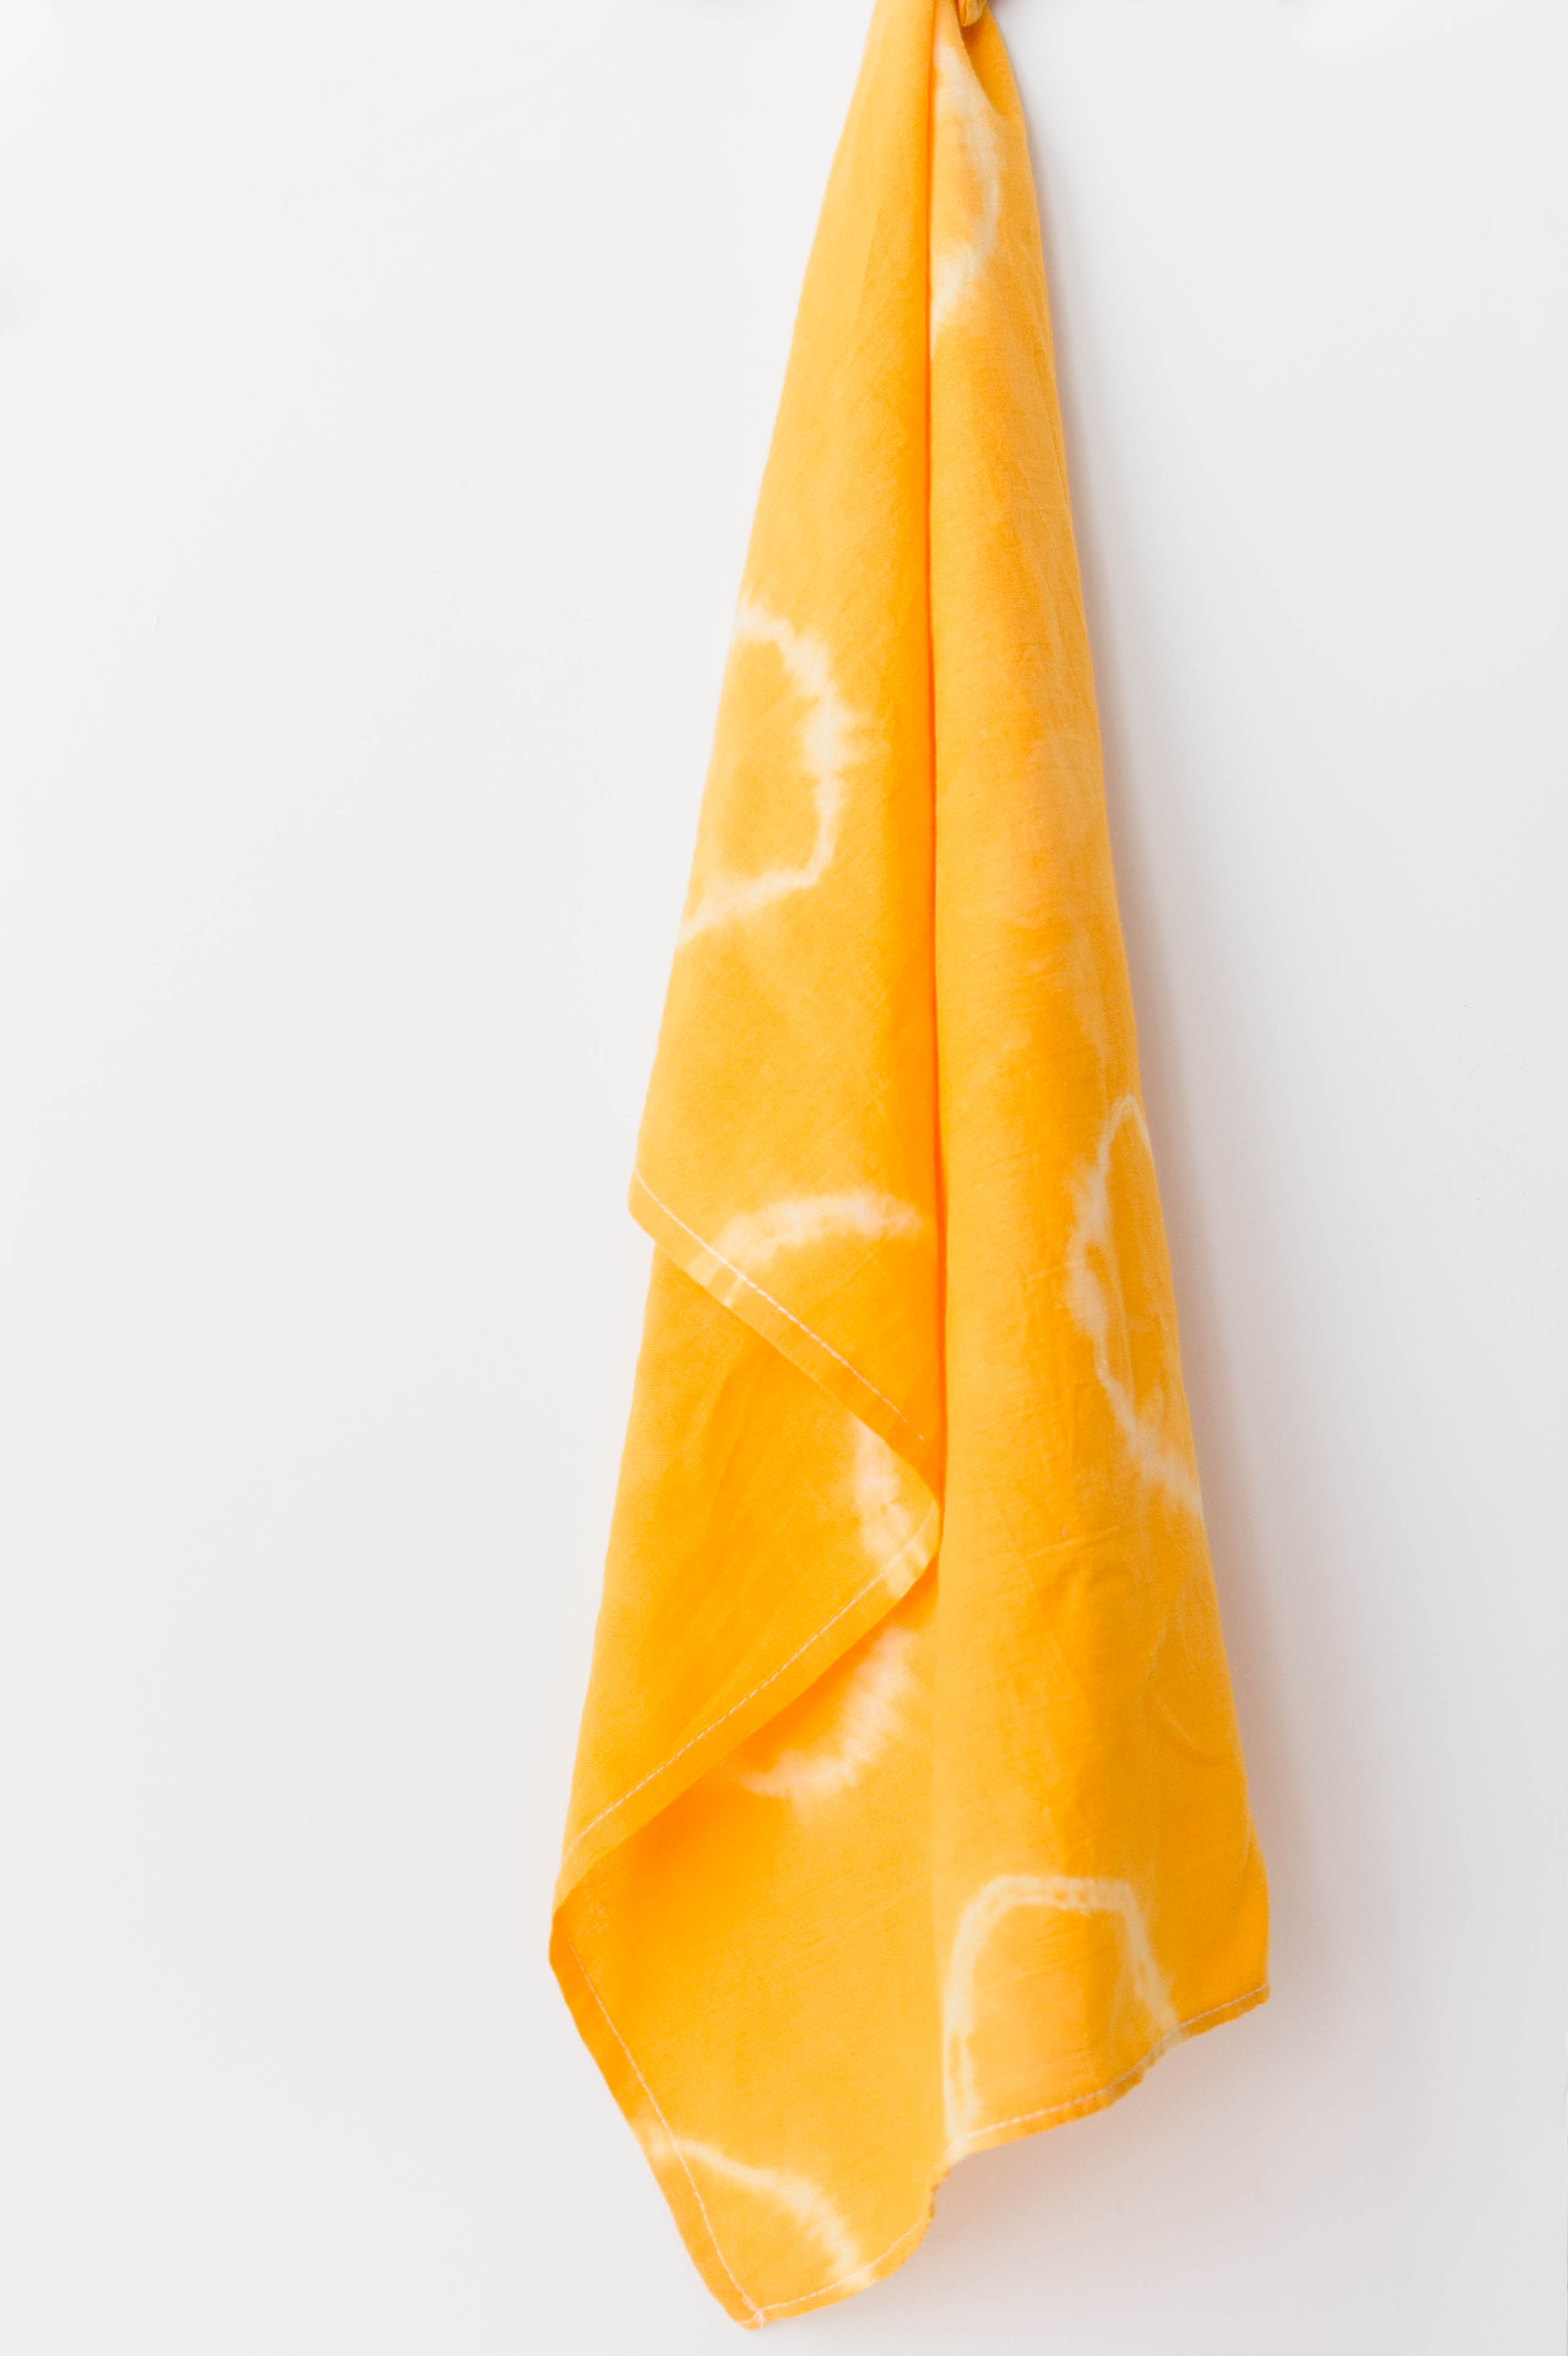
Shibori- A Tea Towel Tutorial
A while back I participated in a create and share challenge with some blogging friends of mine. We would choose a craft/DIY idea and all share our take on that particular idea. This particular time we chose to work with Shibori design, and it ended up being one of my favorite challenges we completed. Up until the challenge, I had been too intimidated by the process to try it without having a specific reason, but once I got going on the project I found that it was super simple to complete.
So what is Shibori? Not having much experience other than knowing I liked the look of things with the label, I had not clue, so I had to look it up to give you the best explanation. According to Wickipedia, Shibori is a Japanese manual resist dying technique, which produces patterns on fabric.
Shibori artists can create all sorts of intricate designs, but since this was a beginner level project for me, I chose to try my new skills out on tea towels. Typically, a lot of Shibori projects that you’ll come across involve indigo dye, but I wanted to push the boundaries, and work with something a bit brighter, and honestly, easily found, like fabric dye from my local hobby shop. Purchasing one packet to attempt this with ended up being really cost effective, for me too. Even better, was that I already ownded a set of flour sack tea towels that would work well as the fabric for my idea.
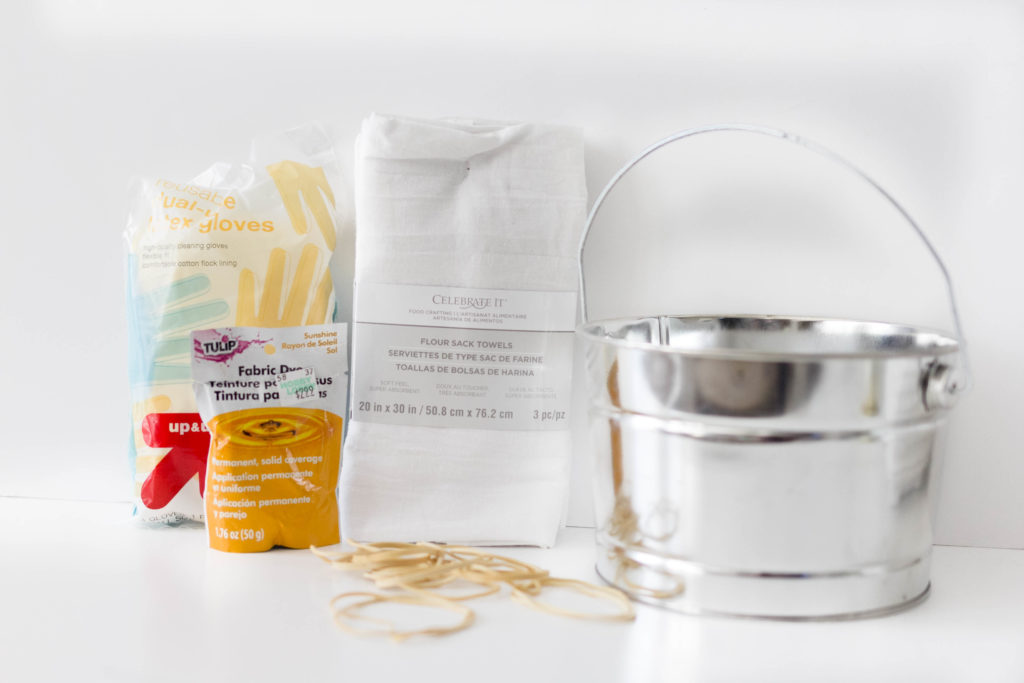
Here’s a list of supplies, and a quick tutorial to show you how I did it.
Supplies: (Affiliate links.)
A Bucket (Size depends on project so plan accordingly.)
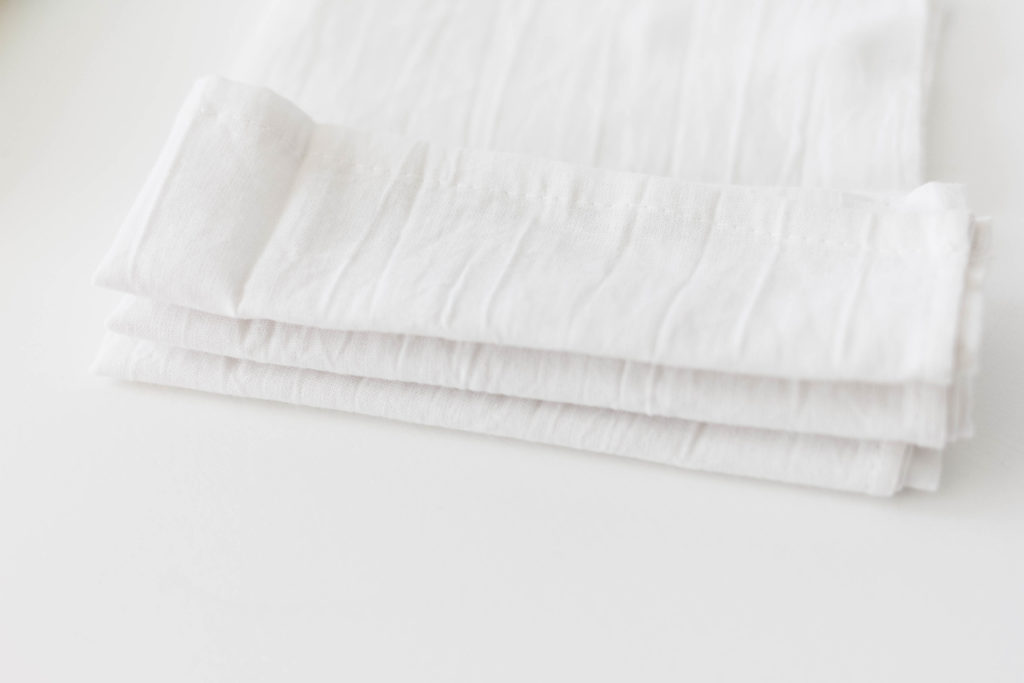
Step 1: Fold your tea towels accordion style.
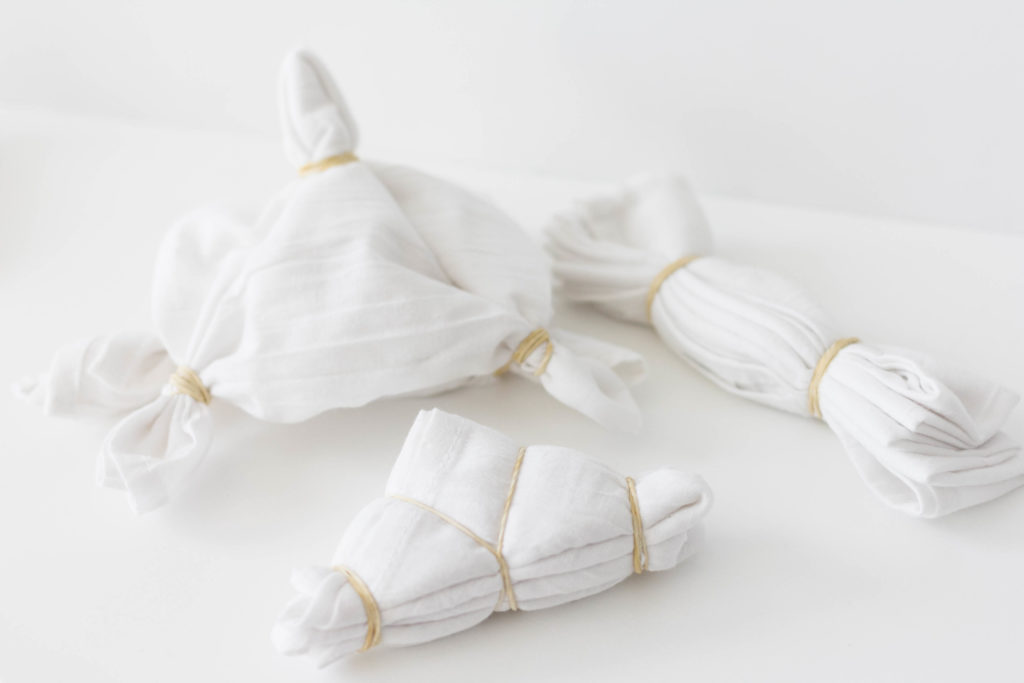
Step 2: Wrap folded towel with rubber-bands. Have fun with this! Everywhere you place a rubber-band will create a pattern on your final product. You may want to refer to Pinterest for helpful ideas to achieve certain looks. I ended up just winging it, and I tried three different types of placements and ended up with three different but cohesive and beautiful towels in the end.
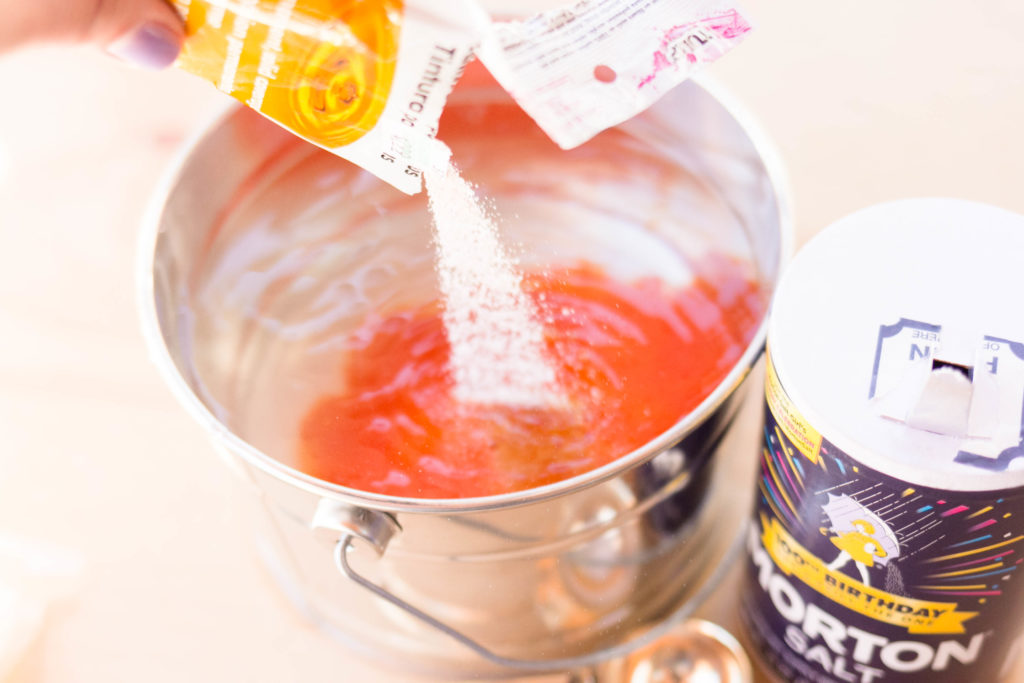
Step 3: In an area you are comfortable with possibly making a mess, fill you bucket with the required amount of water. My packet called for a gallon bucket, but since I didn’t have one on hand at the time I used a smaller one and filled it about 3/4 full. Following the directions on the dye packet I added salt to the water and mixed it.
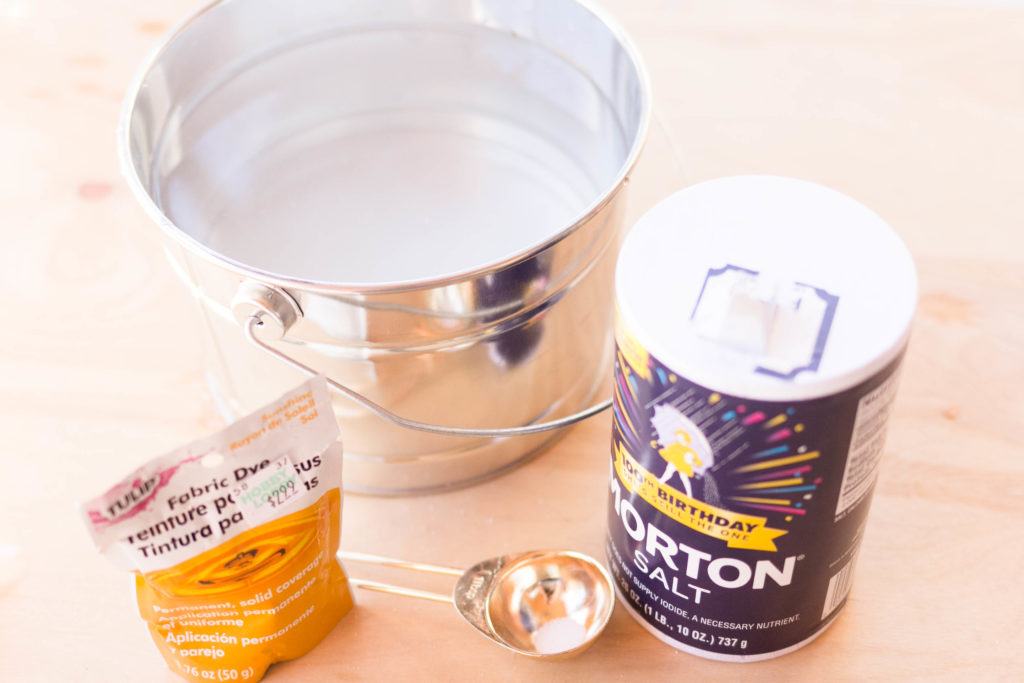
Step 4: Mix in your fabric dye, and stir until it dissolves.
Step 5: Submerge your fabric.
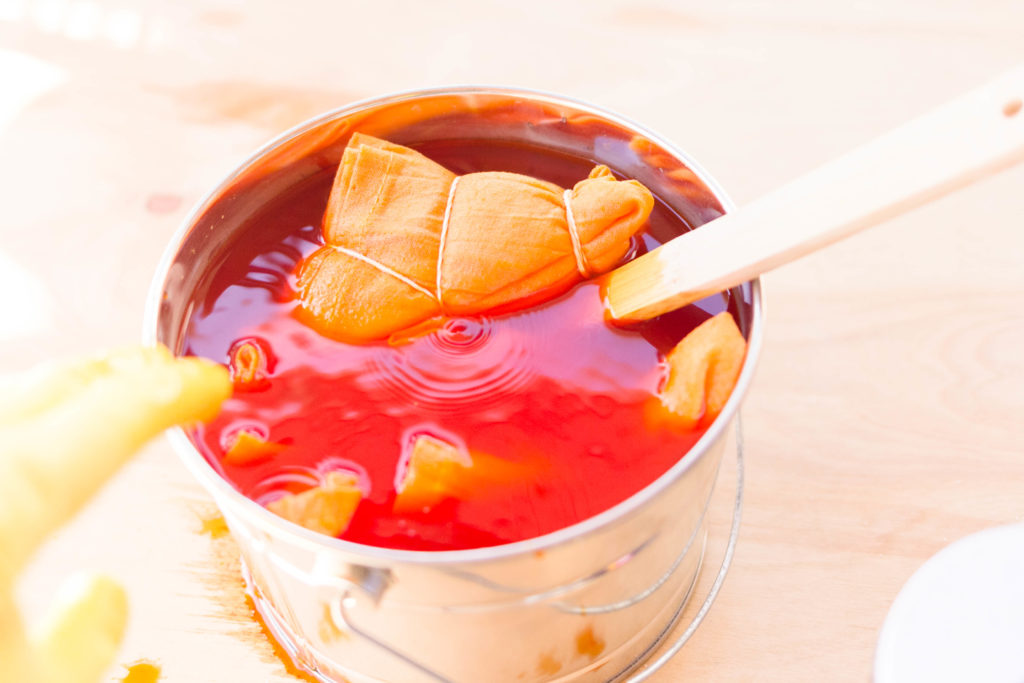
Step 6: Stir your fabric in the dye. My particular dye called for 15 minutes of constant stirring.
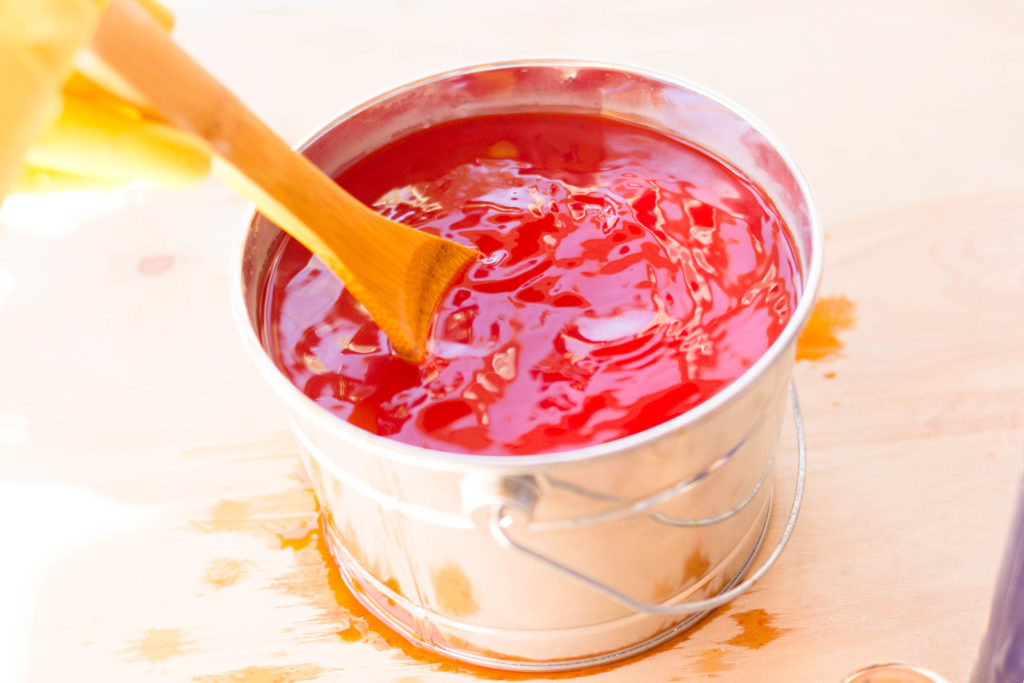
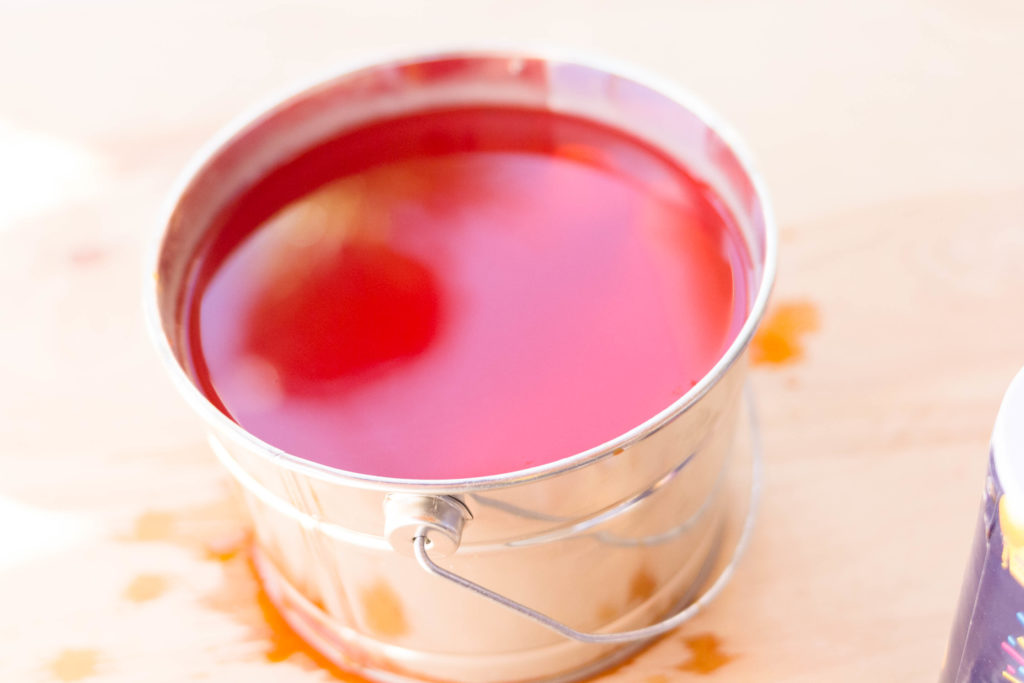
Step 6: Let fabric sit for 45 minutes.
Step 7: Sorry I didn’t take pictures of this, but you should remove your fabric from the bucket. Remove all rubber-bands from the fabric, and rinse your fabric in cold water. Once that is done you should wash your fabric in warm water. I set mine in my washing machine on a full cycle to make sure I got all of the extra dye removed.
Step 8: Let fabric dry away from extreme heat, and sun exposure.
Once they are dry, you may want to iron your fabric. My towels were pretty wrinkly before doing that myself.
And that’s it friends! These would make perfect gifts for anyone that loves color, pattern, or heck, likes to use tea towels in their kitchen!
What do you think about it? Would you try making these yourself? I want to hear from you, so leave me a comment if you get a change.
-Iris

These turned out great Iris!
Oh my gosh, I love this color! These are the coolest towels I have seen in a long time. Love it!
Awe, thank you Sara!
Love your fun tea towels! So bright and fun!
Thank you Carrie!
Love the bright tea towels you created!
Thank you Cindy!