Dining Room-Coffee Bar: One Room Challenge (Week 2)
Welcome back, friends! Today we’re picking up where we left off last week, for the ORC. Last week I shared our plan, and talked a bit about it. To read more about that please visit this post. 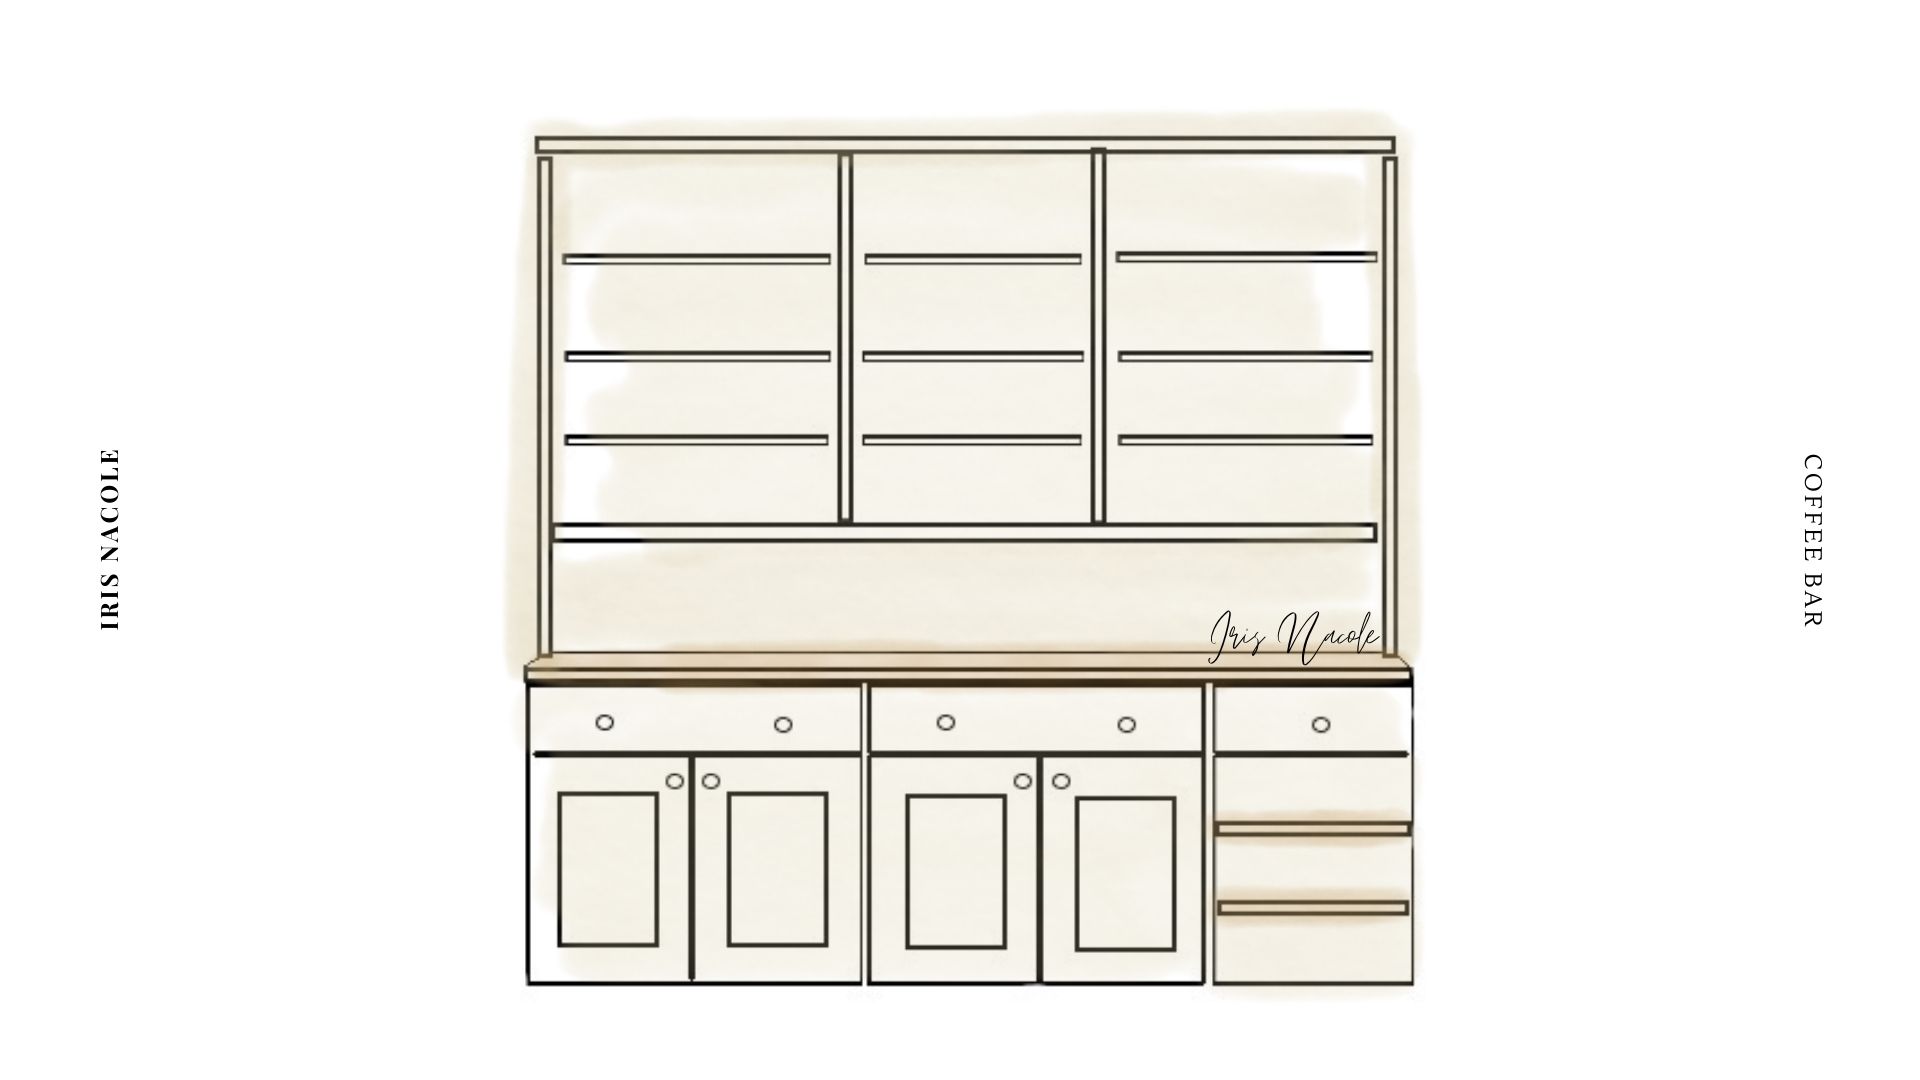
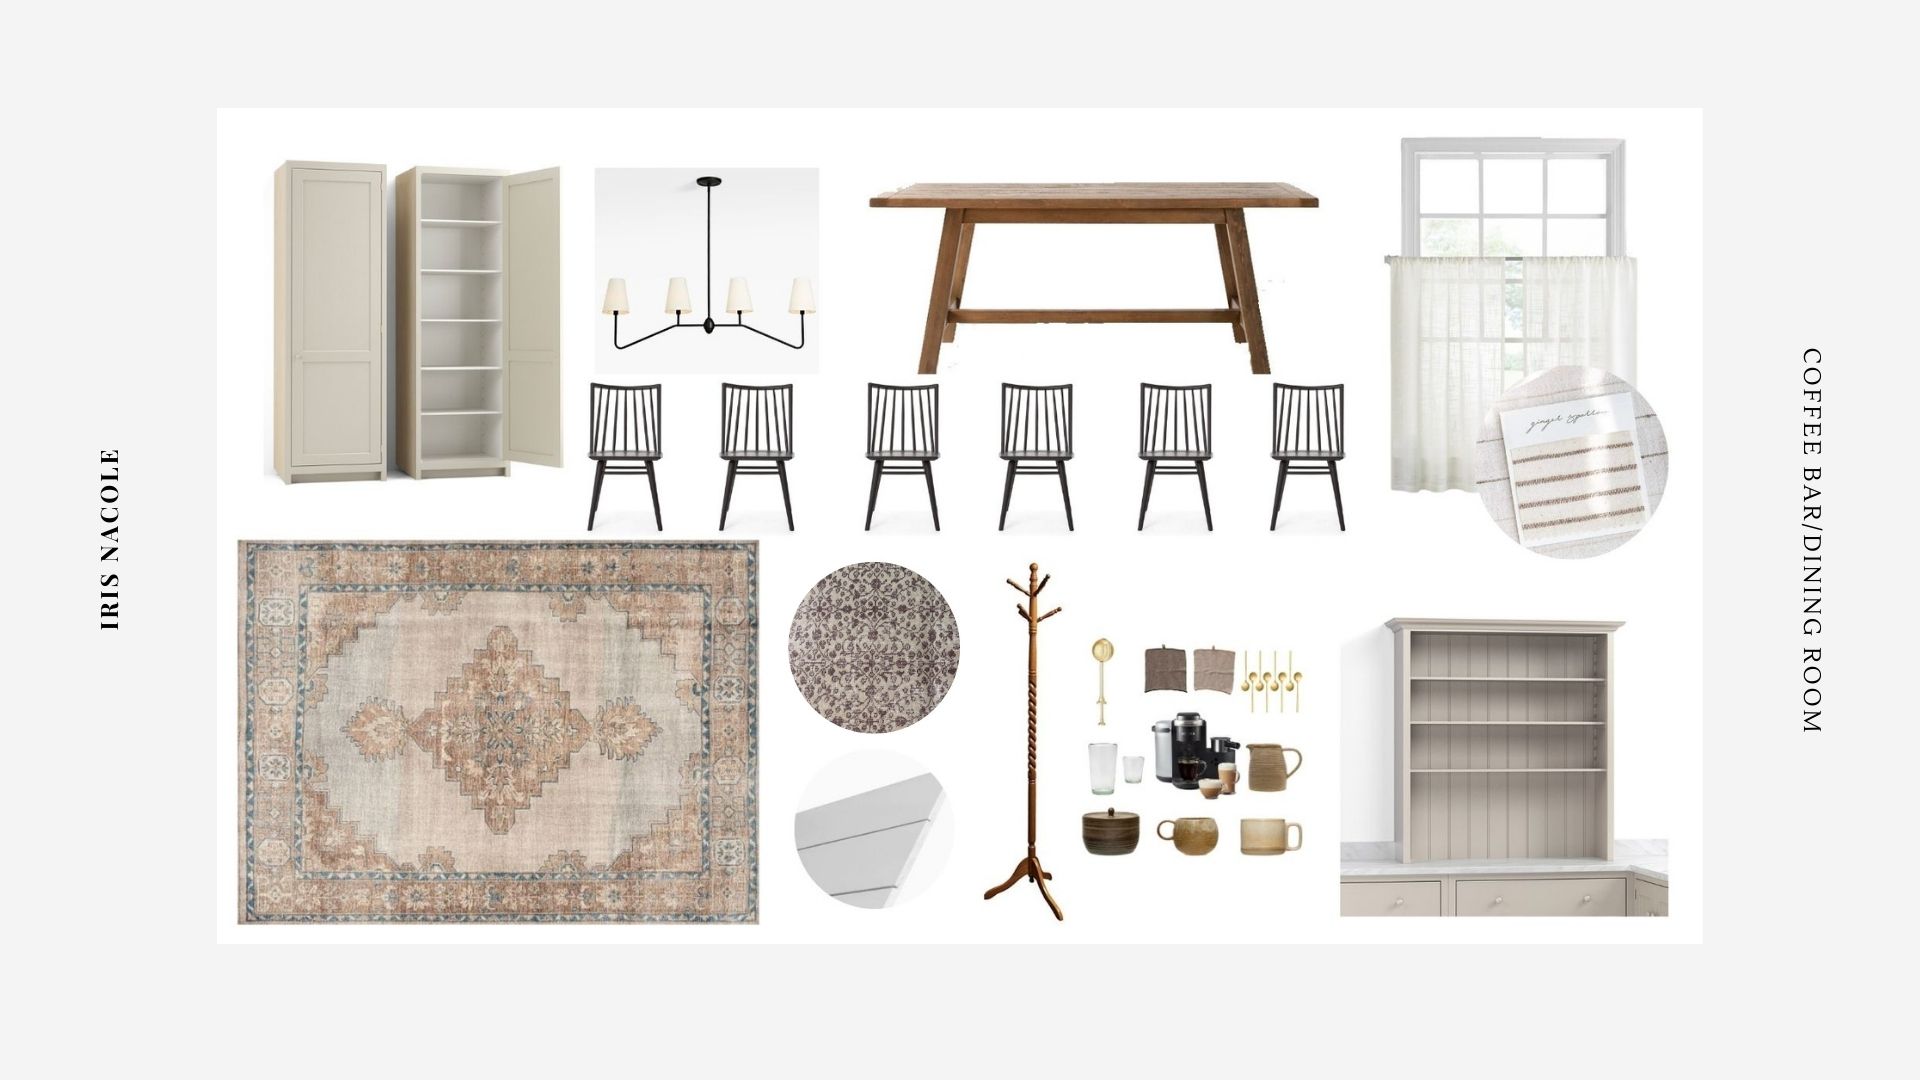
We’ve been busy, not only on the build side of this project, but the design side too. One of the things I had considered doing was painting our tile flooring with a stenciled pattern, but after much debate on whether it was worth it or not, due to the decision to update the first floor flooring early next year, I’ve decided to save our time, and money and apply it elsewhere in the design. You’ll notice I changed out the pattern on our mood board to reflect a vintage rug I’ve incorporated into the design. I’m excited and nervous for it to get here. I’m hoping the seller represented it truthfully on their shop page. Once I find out, I’ll share the source with you all!
Friends, timing is everything in good design, and if I was doing this the “correct” way, I’d start with the floors, but it’s not in the budget to do so, so here we are, and I only feel comfortable with this decision because it is our own project.
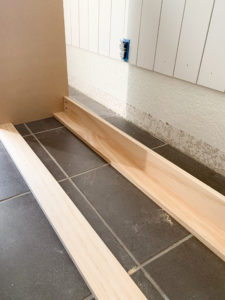
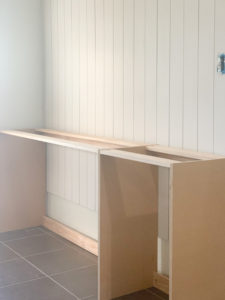
Here’s a look at what we were working on this past week, as well as a look back to what we did before the One Room Challenge started.
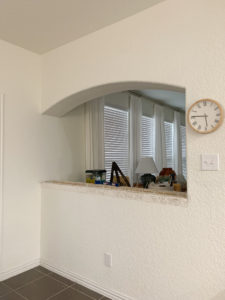
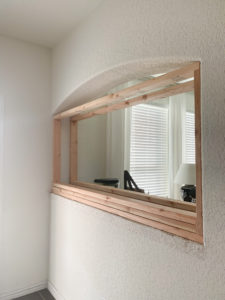
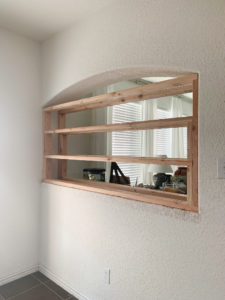
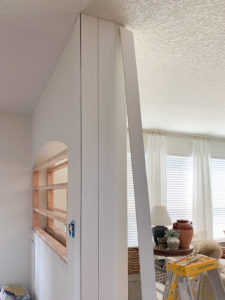
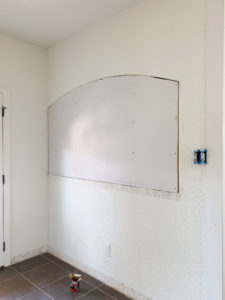
This is the dividing wall we are altering. You can see it didn’t seem to serve much of a purpose, other than holding overflow of our mess at times. We closed it up, but creating a frame, and shiplapping one side of the wall, and drywalling and shiplapping the other side. The side with the cabinets is the drywalled side. We knew we’d need something more than the shiplap to hold up the shelving unit we’re going to build.

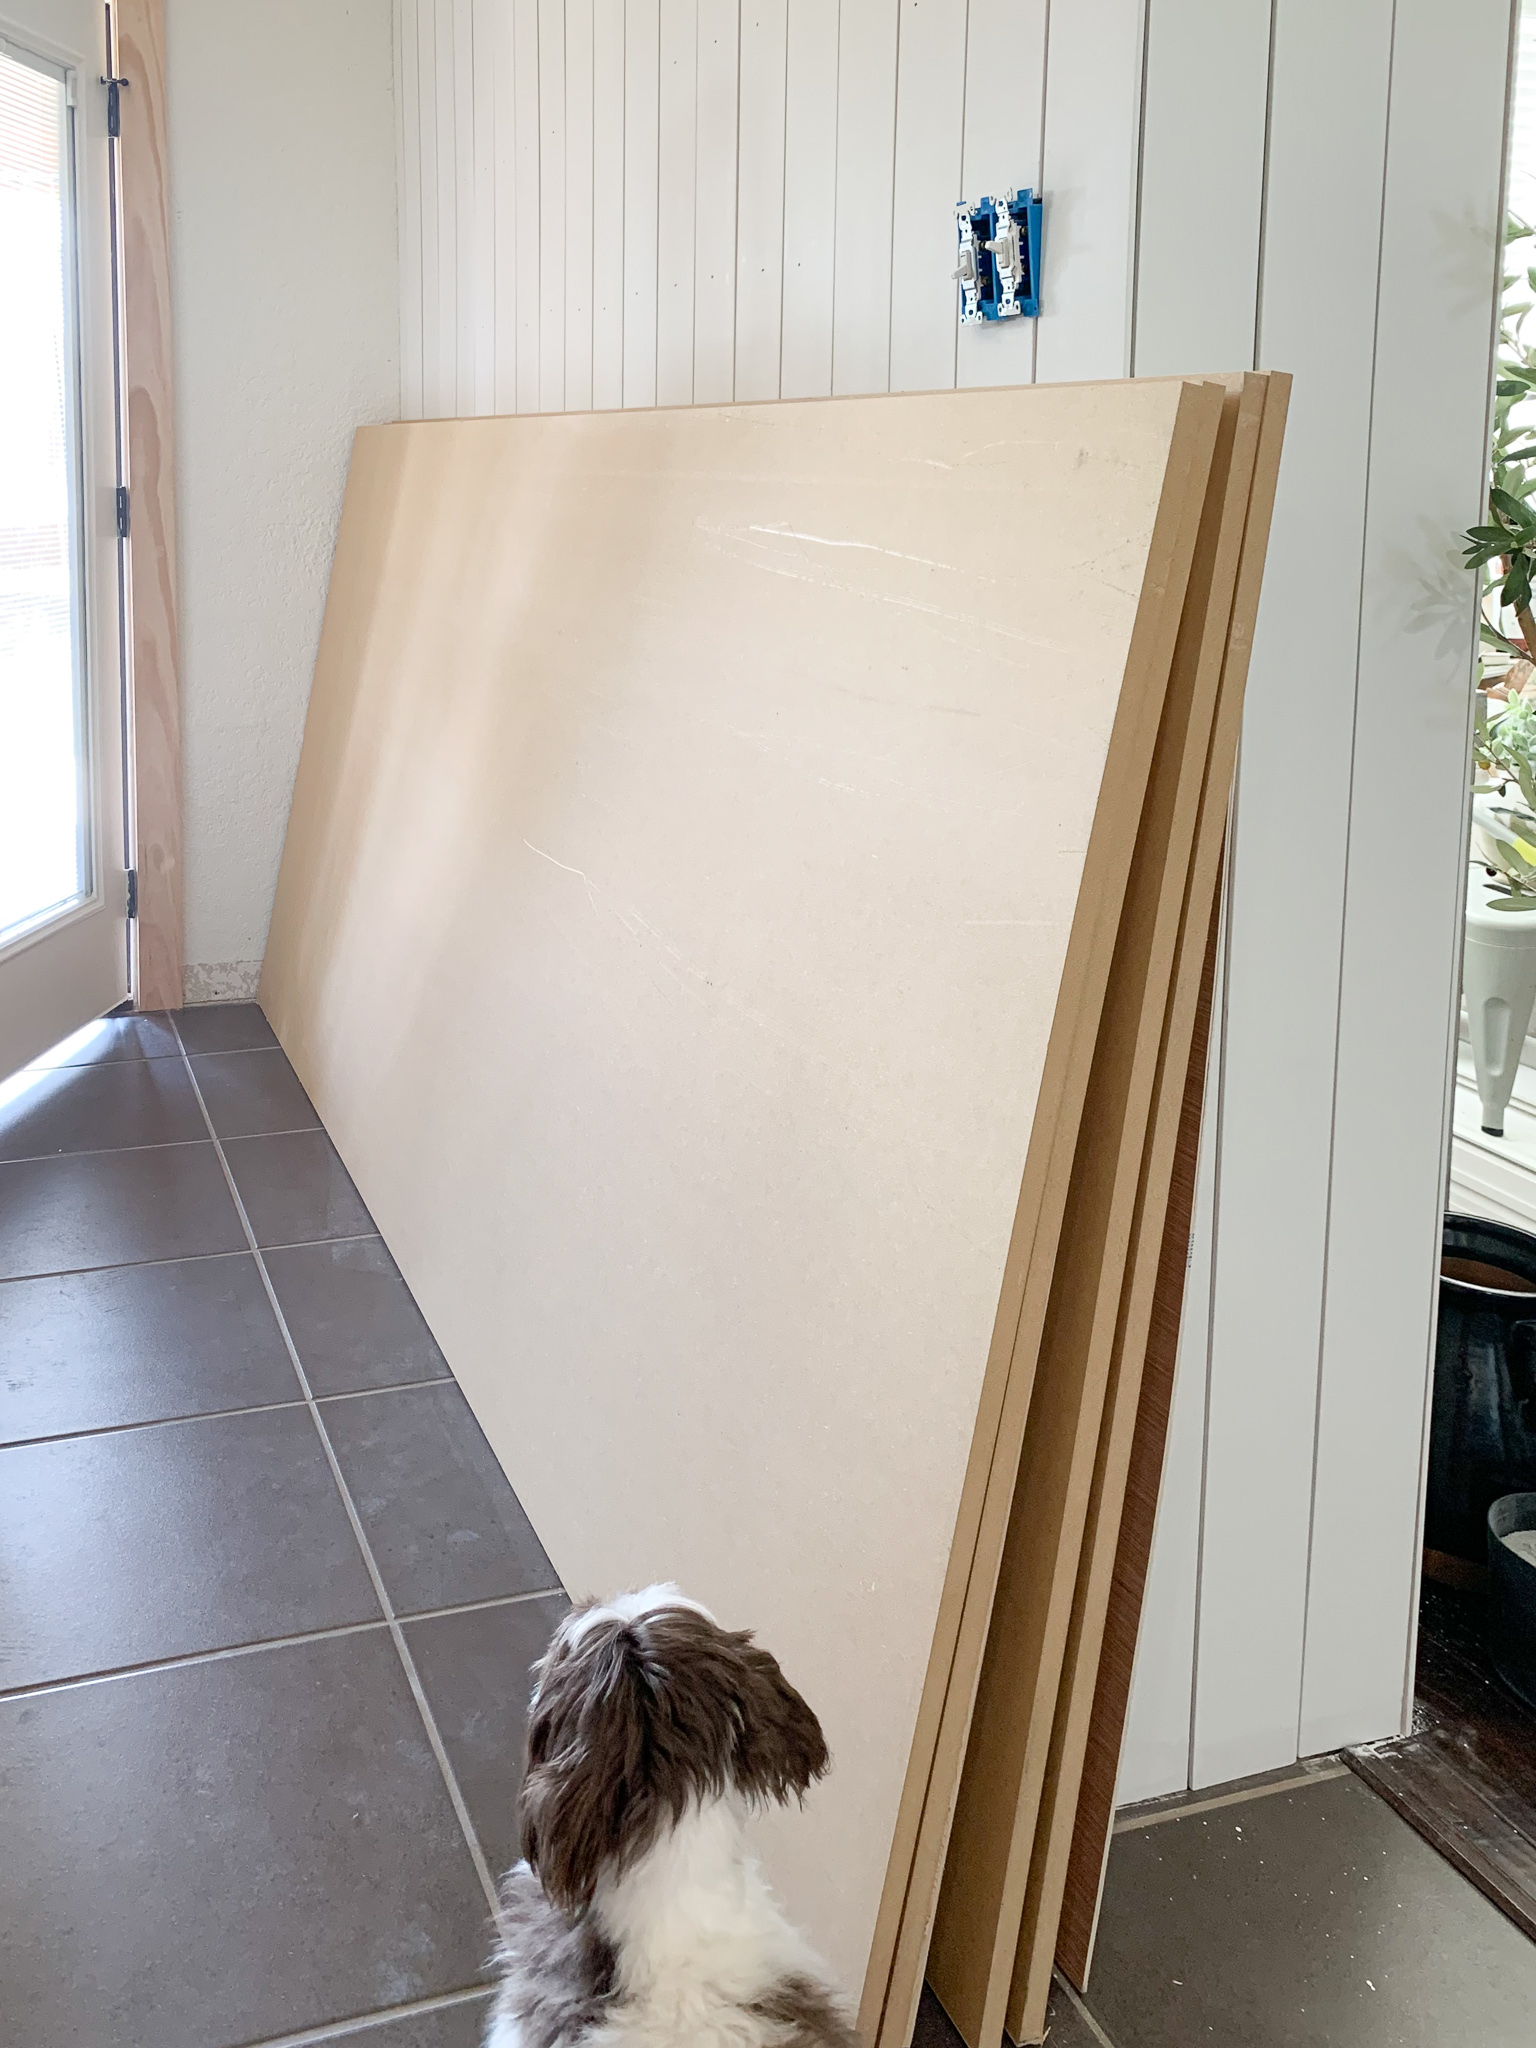
Please excuse the mess!
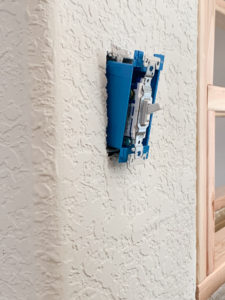
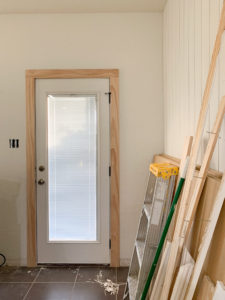
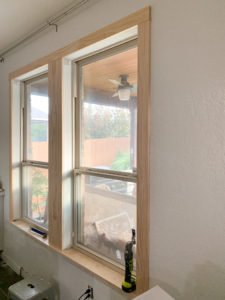
Aside from the build we’re doing, we’re carrying the shiplap through the dining room, and into the kitchen. With the new look, we decided it would be nice to update the trim around the door, and windows. Here’s a look at how that’s coming along.
And now on to the build of the base cabinet! I swear, I had a plan, but somehow, we just winged it as we went along. I don’t recommend this, but this is how we work together, my husband and I, haha!
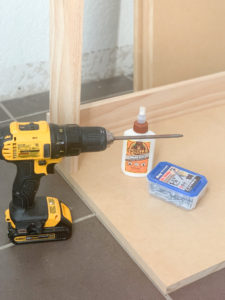
Here’s a list of the materials we used to build this piece.
- Sheets of MDF (3/4″)
- 1×4″ Wood
- Kreg Jig
- Kreg Jig Pocket Hole Screws
- Wood Glue
- Table saw
- Circular Saw
- Drill
The way it works around here is I design the overall piece, my husband does all saw related work, and I assemble the pieces, with his help when needed, and with the size of this piece, that was most of the time. He knows I love this part though, so he usually helps by holding pieces in place, while I drill.
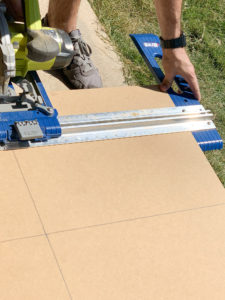
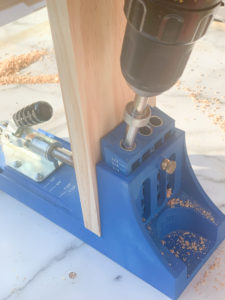
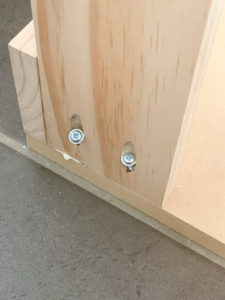
We started by measuring the space and figuring out our cuts on the sheets of MDF. Once that was done, he went to work cutting our MDF down to size. Then I used our Kreg Jig to drill pocket holes into each board. At that point it’s just assembling the pieces together with pocket screws. The Kreg Jig makes this whole build so easy, so I highly recommend picking one up if you ever plan on doing a small or even large DIY cabinet project.
Here is a visual of the steps we took to put this piece together. I’m sorry we don’t have plans to share just yet, but stay tuned, I’ll put some together for next weeks post.
Here it is with the bottom added. We also added a divider to the larger unit to break it up for drawers and cabinet space, and need to build shelving and frame the front. Once that’s done we will add the backing to the unit, and paint it. We will also be ordering doors and drawer fronts, so that it flows with our kitchen door style. We attempted a beveled frame on our own, and we’re just not skilled enough to get a clean cut. That or our materials are wrong, but either way, we feel the costs is worth it. I’m hoping we get to this point before the end of the week, because I’d hate for our doors/drawer fronts to come in after the reveal date.
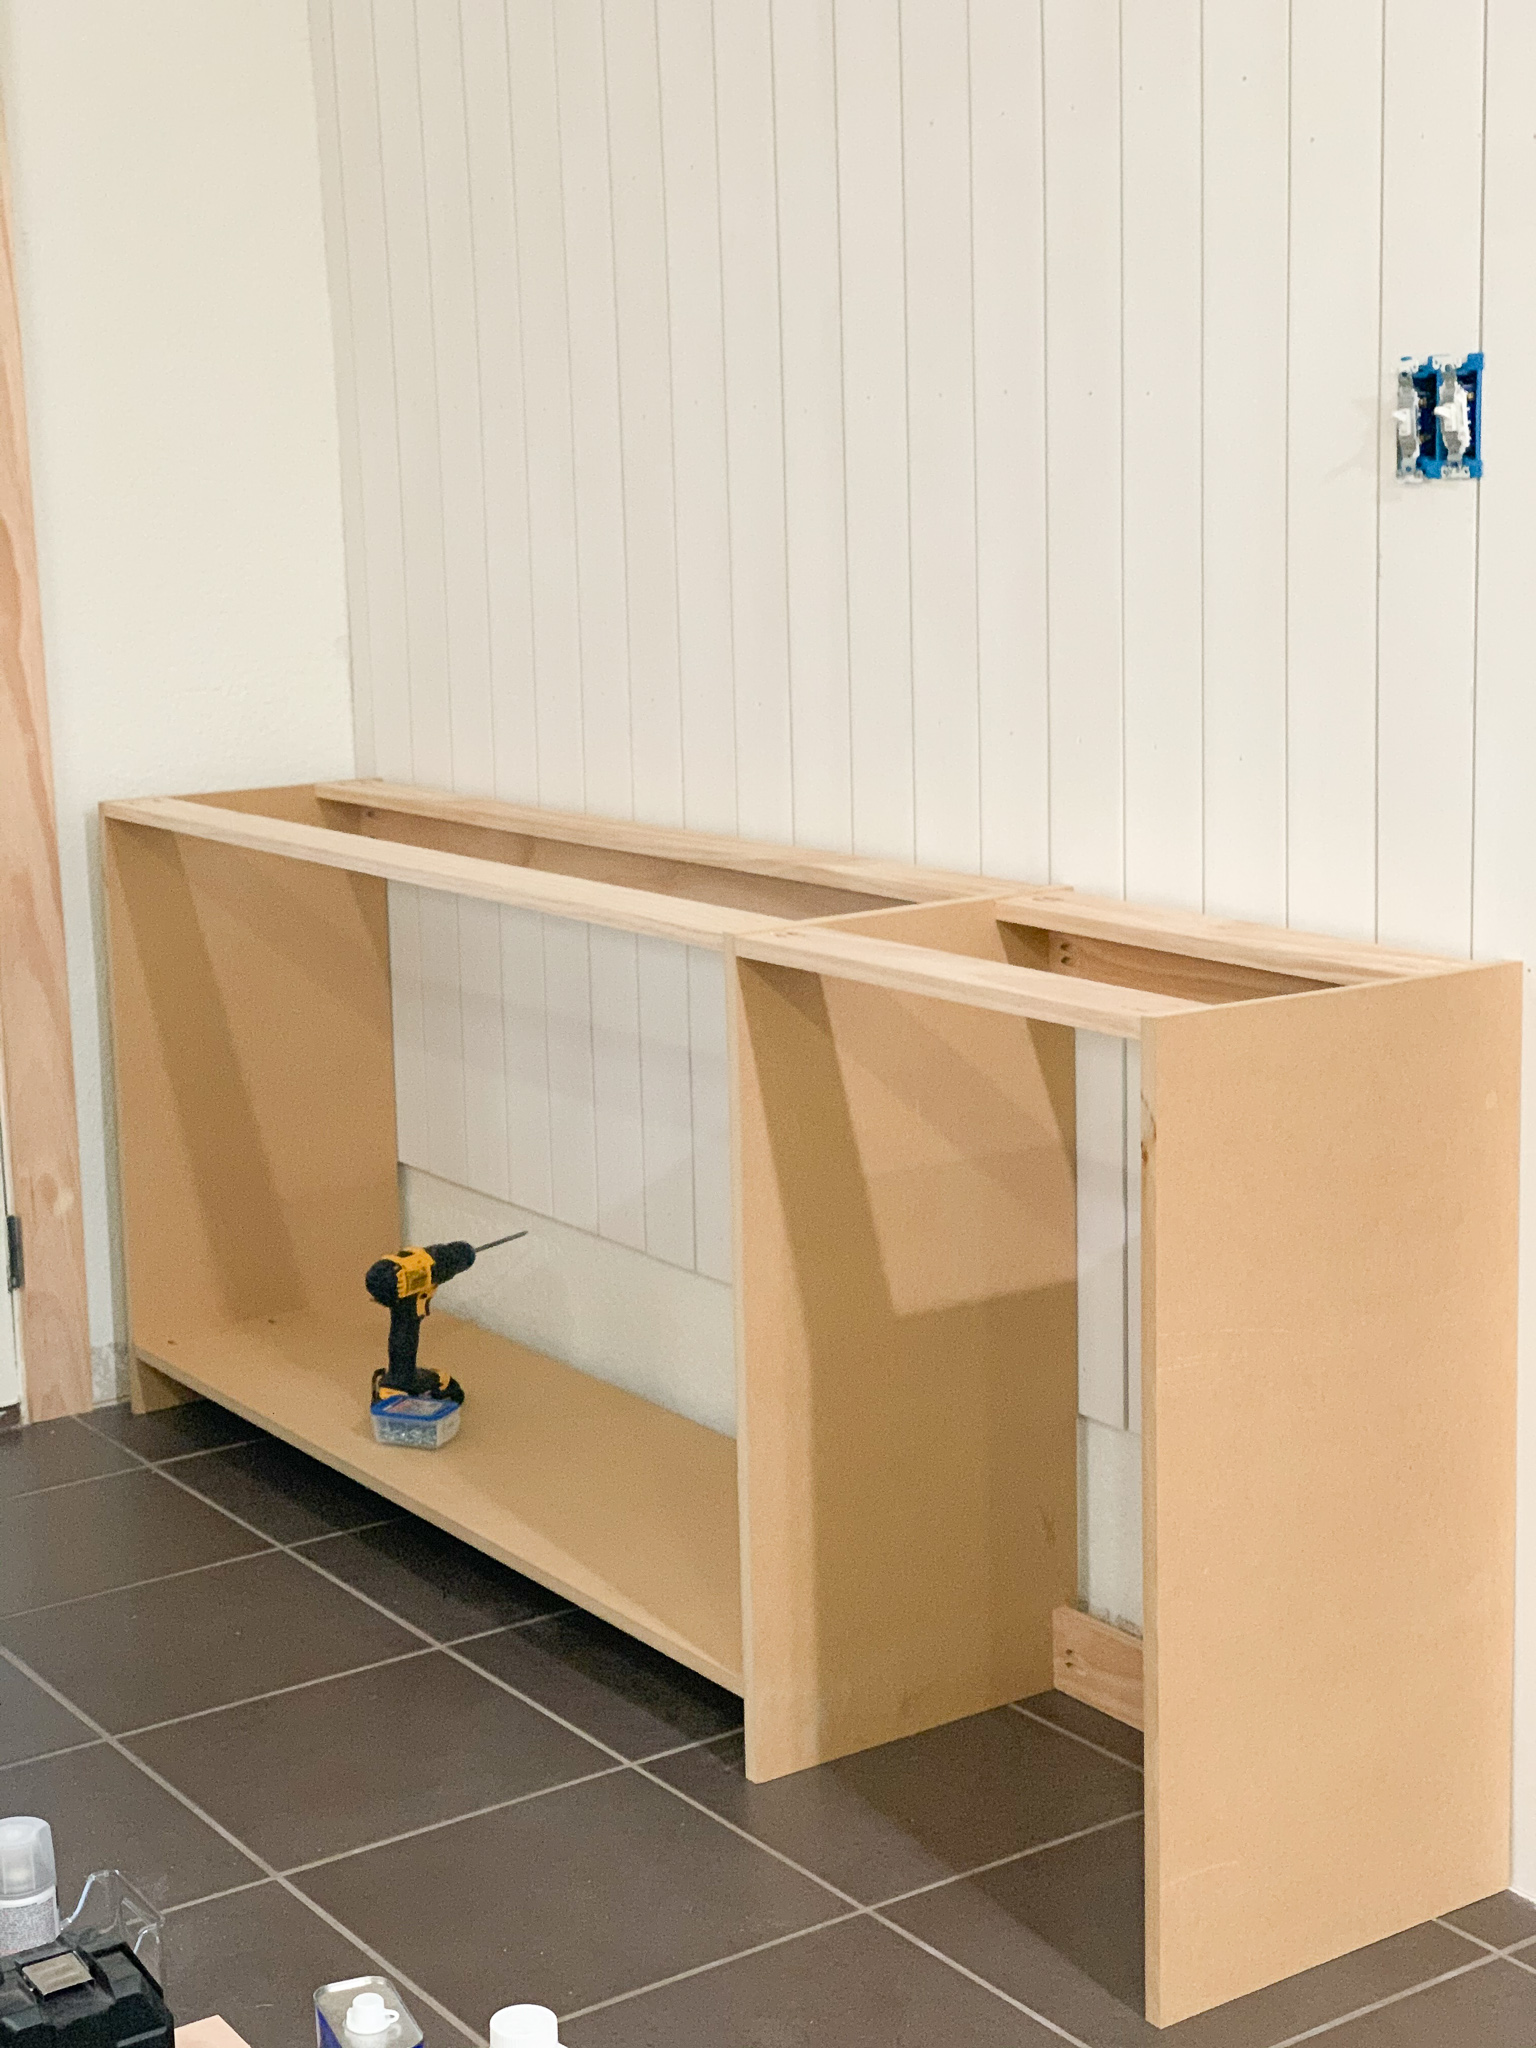
Next up, we will start on the build of the upper shelving! Truly this is the part I’m most excited about. I think it’s going look so good in our home, and provide so much necessary storage too! I hope you come back to check in on our progress next week, friends!
Thanks for stopping by today!
-Iris
