Fall Coffee Station
*This post is sponsored by HomeRight. All opinions are 100% my own.
Well y’all, we did it! We got everything painted in our dining room, which I have been teasing y’all with for about a year now. Life, ya know! I’ll be sharing a full reveal of the space soon, since we still have a bit of work to complete, but in the mean-time I’d like to give you a little peek at it and share one of my favorite ideas I’ve had for this space, come to life. This little coffee station! Of course, none of this would be possible without the help of HomeRight, who sponsored this post, and so nicely provided us with a HomeRight Finish Max Sprayer and Spray Shelter for us to complete the painting of this space.
Let’s go back a bit, since this will probably be the only time you see this space in disarray on my blog again. Haha! We used stock cabinets from our local hardware store, and picked up some shiplap from a lumber yard at a fraction of the cost of other places we had tried to find it. Luckily for everyone, in the time it has taken us to actually complete this makeover, most big box stores have come around to offering this product at a much more reasonable price, and rightfully so! Well, we installed the shiplap on the wall, and then installed the cabinets on top of the shiplap for a truer built-in look. We added a pediment and crown to the top of the cabinets to mimic the look found in our kitchen and living room, which are all visible from this space. Then on went the plywood countertop which we added trim to in order to complete it and give it a chunkier look. Trim also went above the cabinets and onto the pediment again to mimic the rest of our spaces. Once that was all done we ordered doors to match our kitchen and living room cabinets, since again, they are all visible from this spot. So that’s how it stayed for months and months. Can you believe I had to stare at this monstrosity for that long? Let’s just say my nerves took a beating each time I set eyes on it. But now that we’ve collaborated with HomeRight I can say I’m feeling much happier at the sight I’m seeing now. Let me share a bit about the process of painting the space with our HomeRight Finish Max Sprayer.
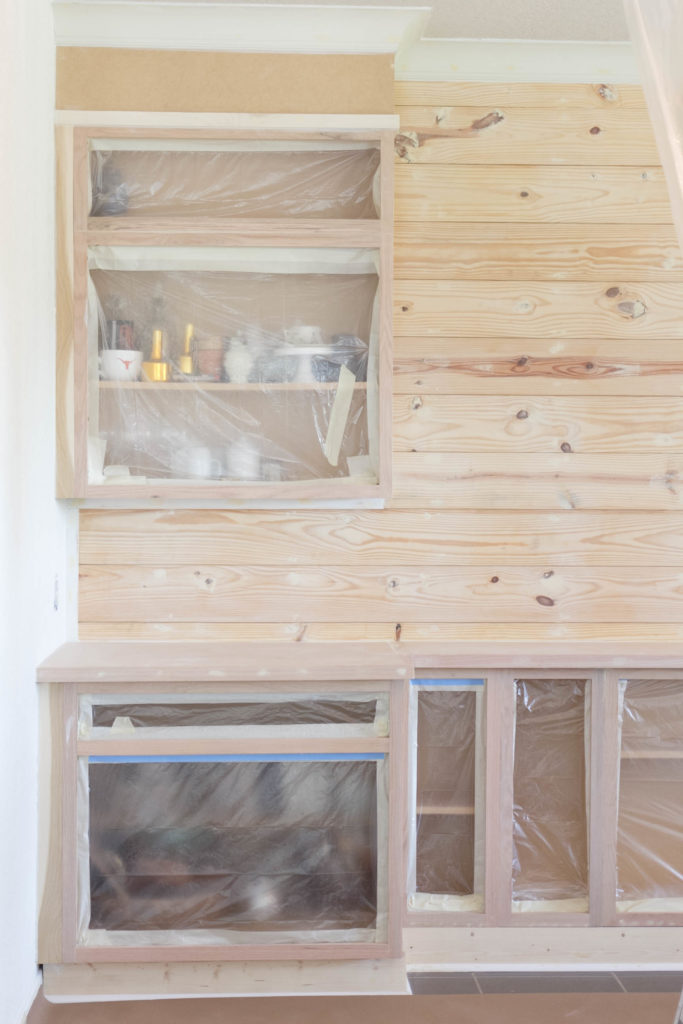
As you can see, we taped up the cabinets so that we wouldn’t end up spraying the insides, which I highly suggest you all do too if you are going to tackle a project like this. Also, we taped off the area so that any over-spray wouldn’t end up on our floors and in other rooms, though honestly, the Finish Max didn’t seem to cause much over-spray so maybe we did it out of precaution only.
Once that was all done, we gathered our painting supplies and got to work! For us, that was our HomeRight Finish Max Sprayer, Desired Paint, a Measuring Cup, and a Bucket.
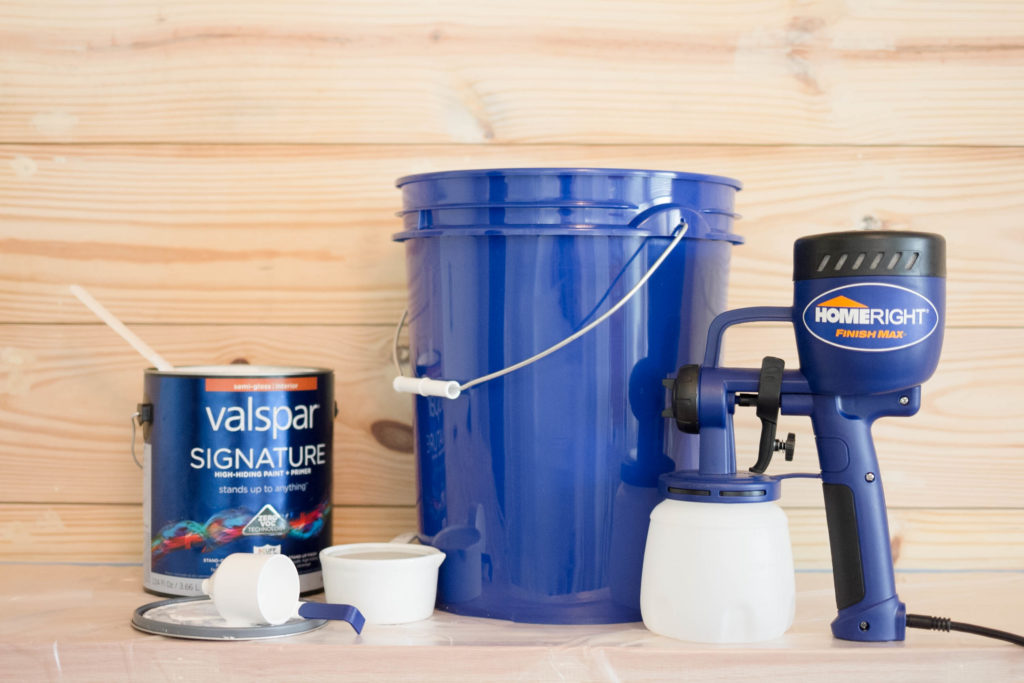
In order to spray correctly we had to dilute our paint for this project. HomeRight offers tips on how to do this with your specific paint, so be sure to check your manual before you start.
We checked our paint using the tools provided in the Finish Max Sprayer kit, and figured out the exact amount of water to paint ratio to use. You can see the steps played out in the pictures below, but be sure to consult the manual for the proper way to do this per your paint choice. (My husband gets to be my hand model for this project. He may have a career to fall back on if being a CPA ever falls through!)
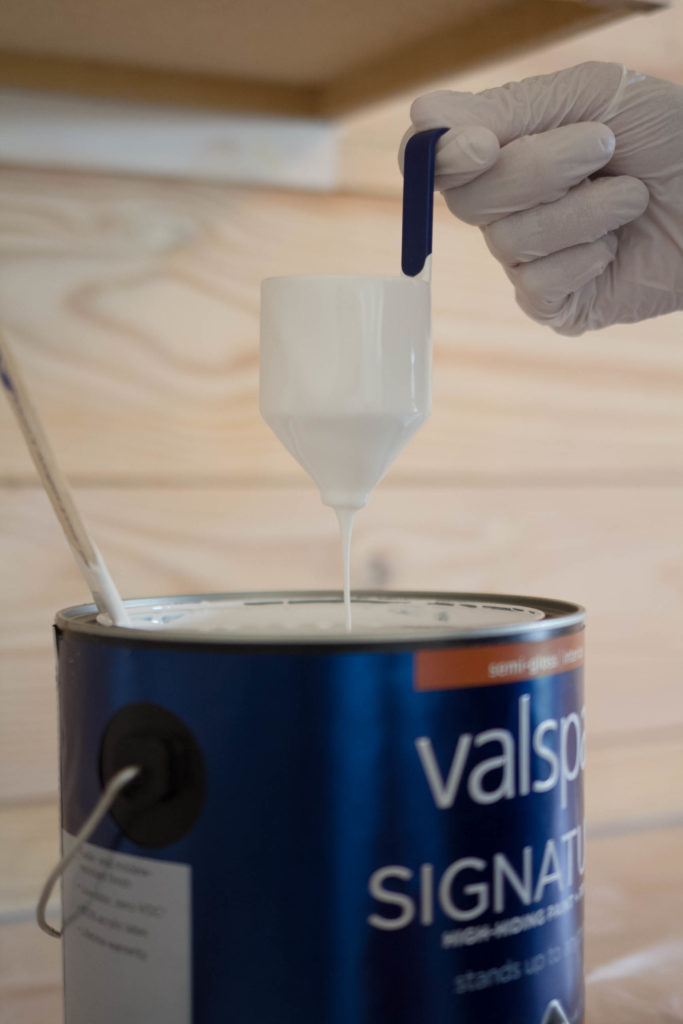
Fill your viscosity cup with your desired paint.
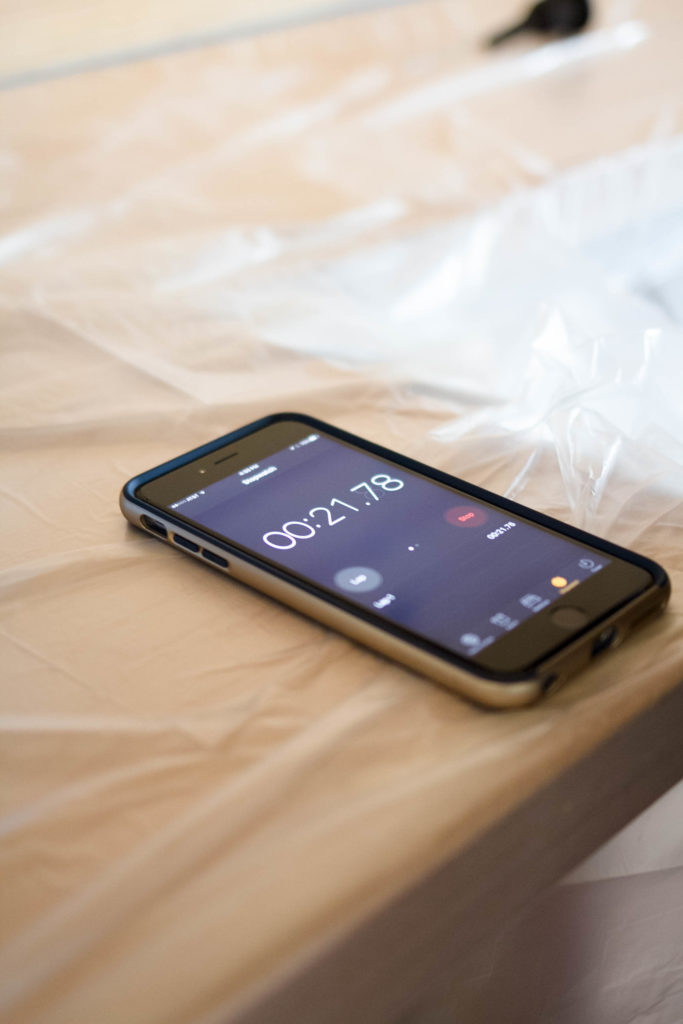
Start the clock, and see how long it takes to fully run through the viscosity cup.
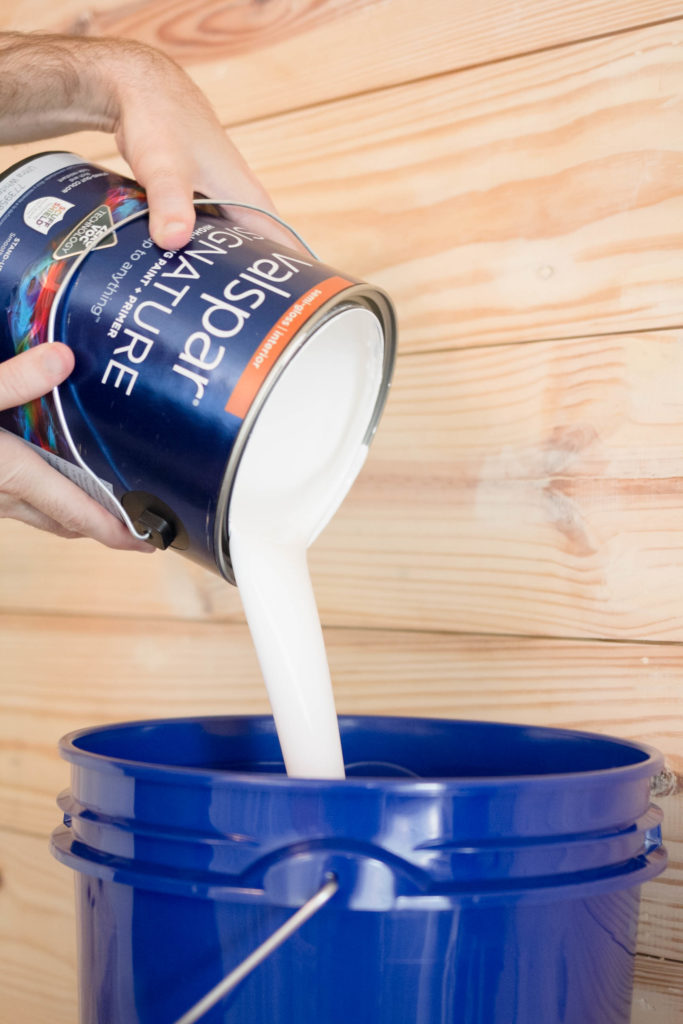
Depending on the type of paint, if your paint doesn’t run through in the allotted time according to the manual, you will need to dilute the paint. Pour your paint into a larger container such as a bucket.
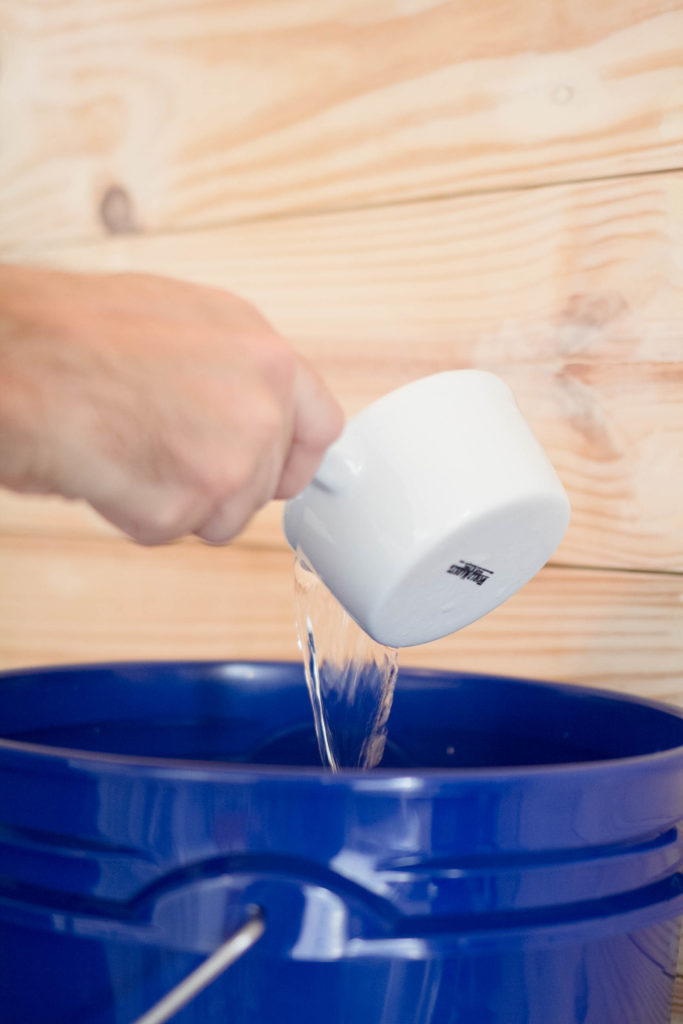
Dilute your paint according to the manual using water.

Mix water and paint and run this mixture through the viscosity cup to test the timing. Repeat the process until you meet the desired time.
Once that was done, we got to work. Rather I got to work, since we had one tool, and such a small space to work in. I’ve used another sprayer before, and I honestly didn’t care for it, of course, I may have figured out that I didn’t follow instructions before, so that could have caused my issues. Haha! I don’t really know if that’s the case for sure, but in the case of using the HomeRight Finish Max Sprayer, I had such an easy time using it! It took a few coats to get the desired look, but it was so quick I didn’t mind that at all. I will note, that the cabinets we chose are made out of oak, and I ended up having to paint the frames with a brush after all was said and done. That may have been an issue with how much we diluted the paint, and then again it just may have been that it needed many more coats, but I was getting antsy right about that time, so I picked up a brush instead. The shiplap wall, cabinet doors, and all of the trim took the paint perfectly though, so I can honestly say I loved using the sprayer for this project, over picking up a roller or brush.

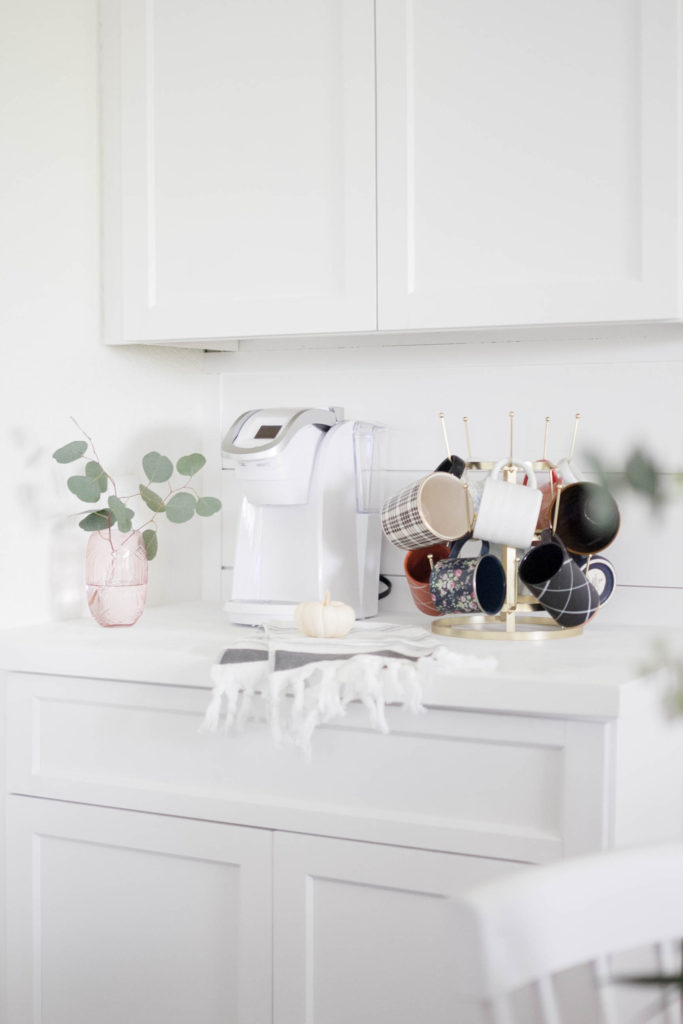
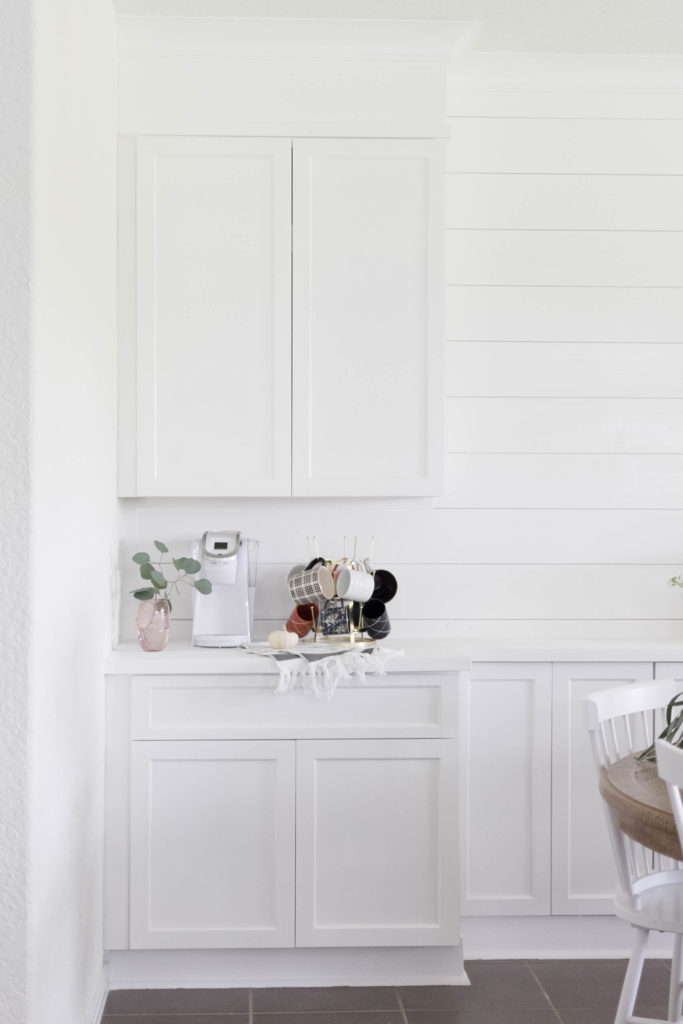
Even though we have some more work to actually complete this space, I wanted to set up my coffee station so badly that I pushed all of our tools and such out of the way and set up my Keurig, and coffee mugs. I’m still playing around with where I’m going to keep everything. I have some canisters that I want to include in the mix, and once I figure that out I’ll add them then, but at least for now, after MANY, MANY months of living without coffee at home, we can now make ourselves a cup! Yay! To dress the space up a bit for fall, I kept the most fall-ish designed mugs out on display, and put out a cute little display of eucalyptus in one of my favorite vases, along with a tiny white pumpkin. See, it doesn’t take much to make it feel season appropriate!
Oh, and I have some really exciting news for y’all! The Creative Circle Team, along with HomeRight, are hosting a giveaway for your very own Finish Max Sprayer and Spray Shelter! Check back with us tomorrow in our “The Creative Circle Link Party: Week 135” post to see all of our HomeRight makeovers, as well as to enter the giveaway!
Good luck, friends!
-Iris
Get the look! Affiliate links included.
