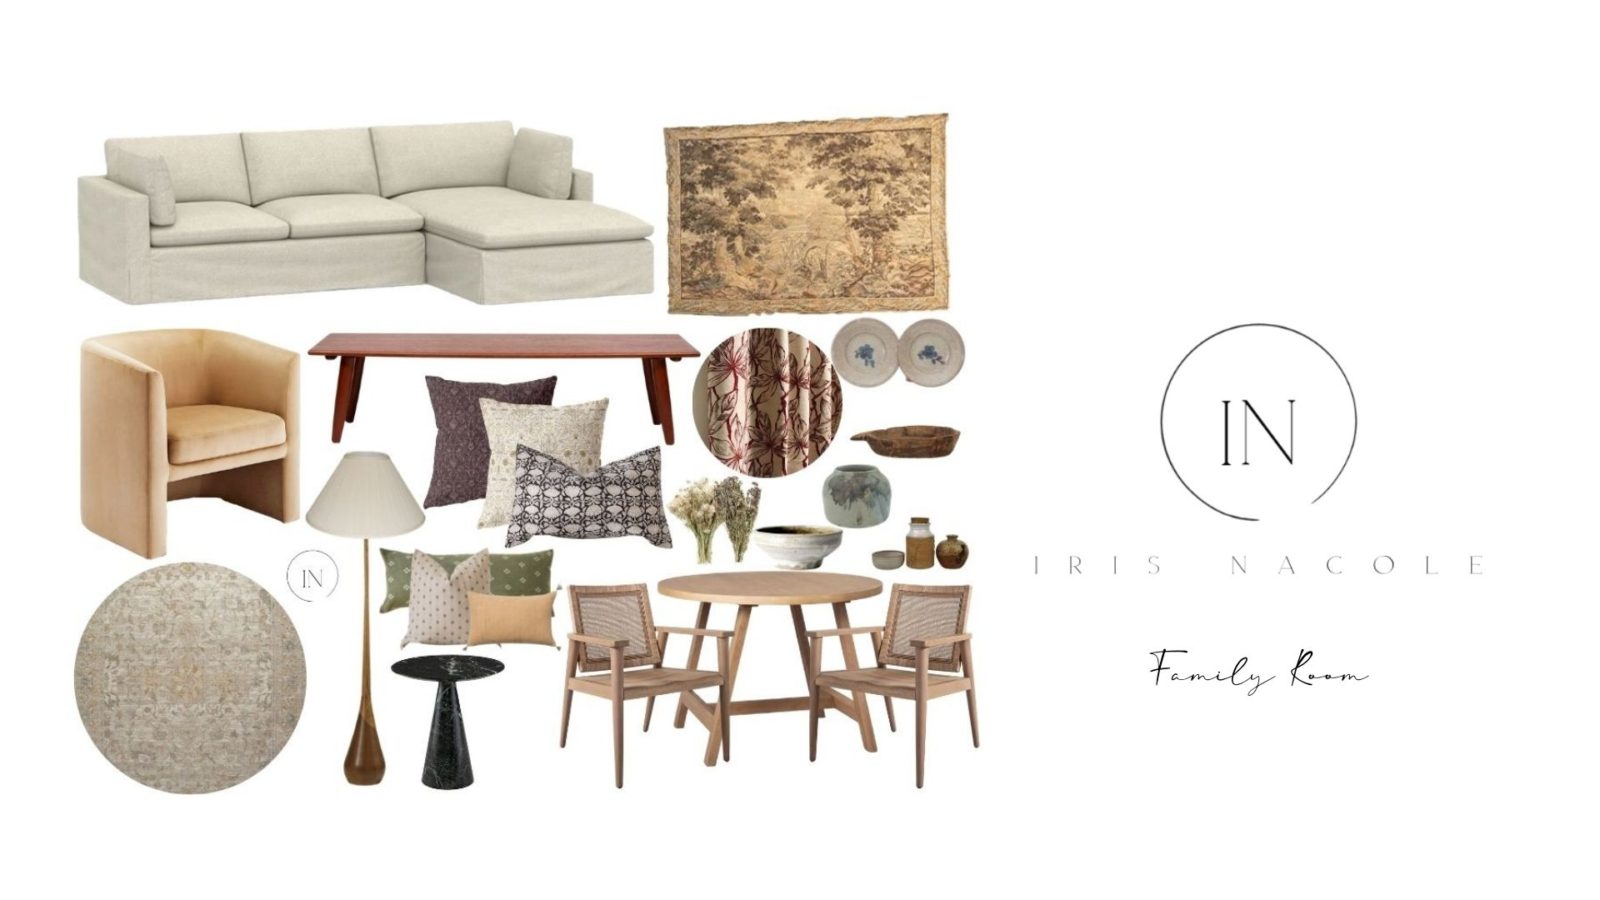
Faux Fireplace Build (Week 3-ORC)
Fireplaces! I love a good fireplace. When we built our home, we had an option of a corner fireplace in our main living room, or nothing, and having not grown up with a fireplace in my home, I had always dreamt of hanging stocking from a fireplace around the holidays, so we went for it. Ideally, a corner fireplace isn’t what I would have chosen today, however, I wasn’t as into design back then as I am today, so I didn’t know the difference, and honestly it challenged me to learn how to decorated and position furniture around its difficult configuration. You can see our main living room configuration here. By the way, how many of us Texans have a corner fireplace? I swear it’s almost the only configuration you see around here!
My ideal placement of a fireplace is center wall of a space. I think that because I love symmetry in design it’s more pleasing to my eye. Knowing that it will either be a while or never when we remodel the main living room, I decided that it would be fulfilling to add a center fireplace to our family room as we made it over. We didn’t care if it was a “working” fireplace or faux, and since we wanted to do the makeover ourselves without outside trades, we chose faux. I’ve seen many influencers and bloggers add faux fireplaces to their spaces over the years, so I knew it was possible for us to complete the job ourselves.
First came inspiration for the overall design. The surround was something I was most excited to figure out. I saved a bunch of fireplaces that caught my eye on Pinterest, under a dedicated Pinterest board titled, “Fireplace”. If you click over, you’ll see a trend in style, but there are a few wild cards in there too. I’ll be honest with you too, you wont see our fireplace looking exactly like any of these. I use Pinterest as inspiration, not a copying machine. I mean, I wish I could, because design would be so much easier that way, but with any space, you have to consider the surroundings, and none of these would fit right in to our home, so we modified ideas and came up with our own style. We haven’t built the surround yet, but I’m excited to see how it turns out!
We had our plan, so we got to work closing up the double doors between the old playroom and our family room. That was simple enough. Remove the doors and door frame, and frame in the space between. Next, we added drywall, and then moved on to building the frame for the fireplace bump-out. We had an opportunity to use the space between the walls to inset a shallow fireplace, but my design involved two flanking bookcases, so we measured, made sure we had enough space, and decided on a bump-out.
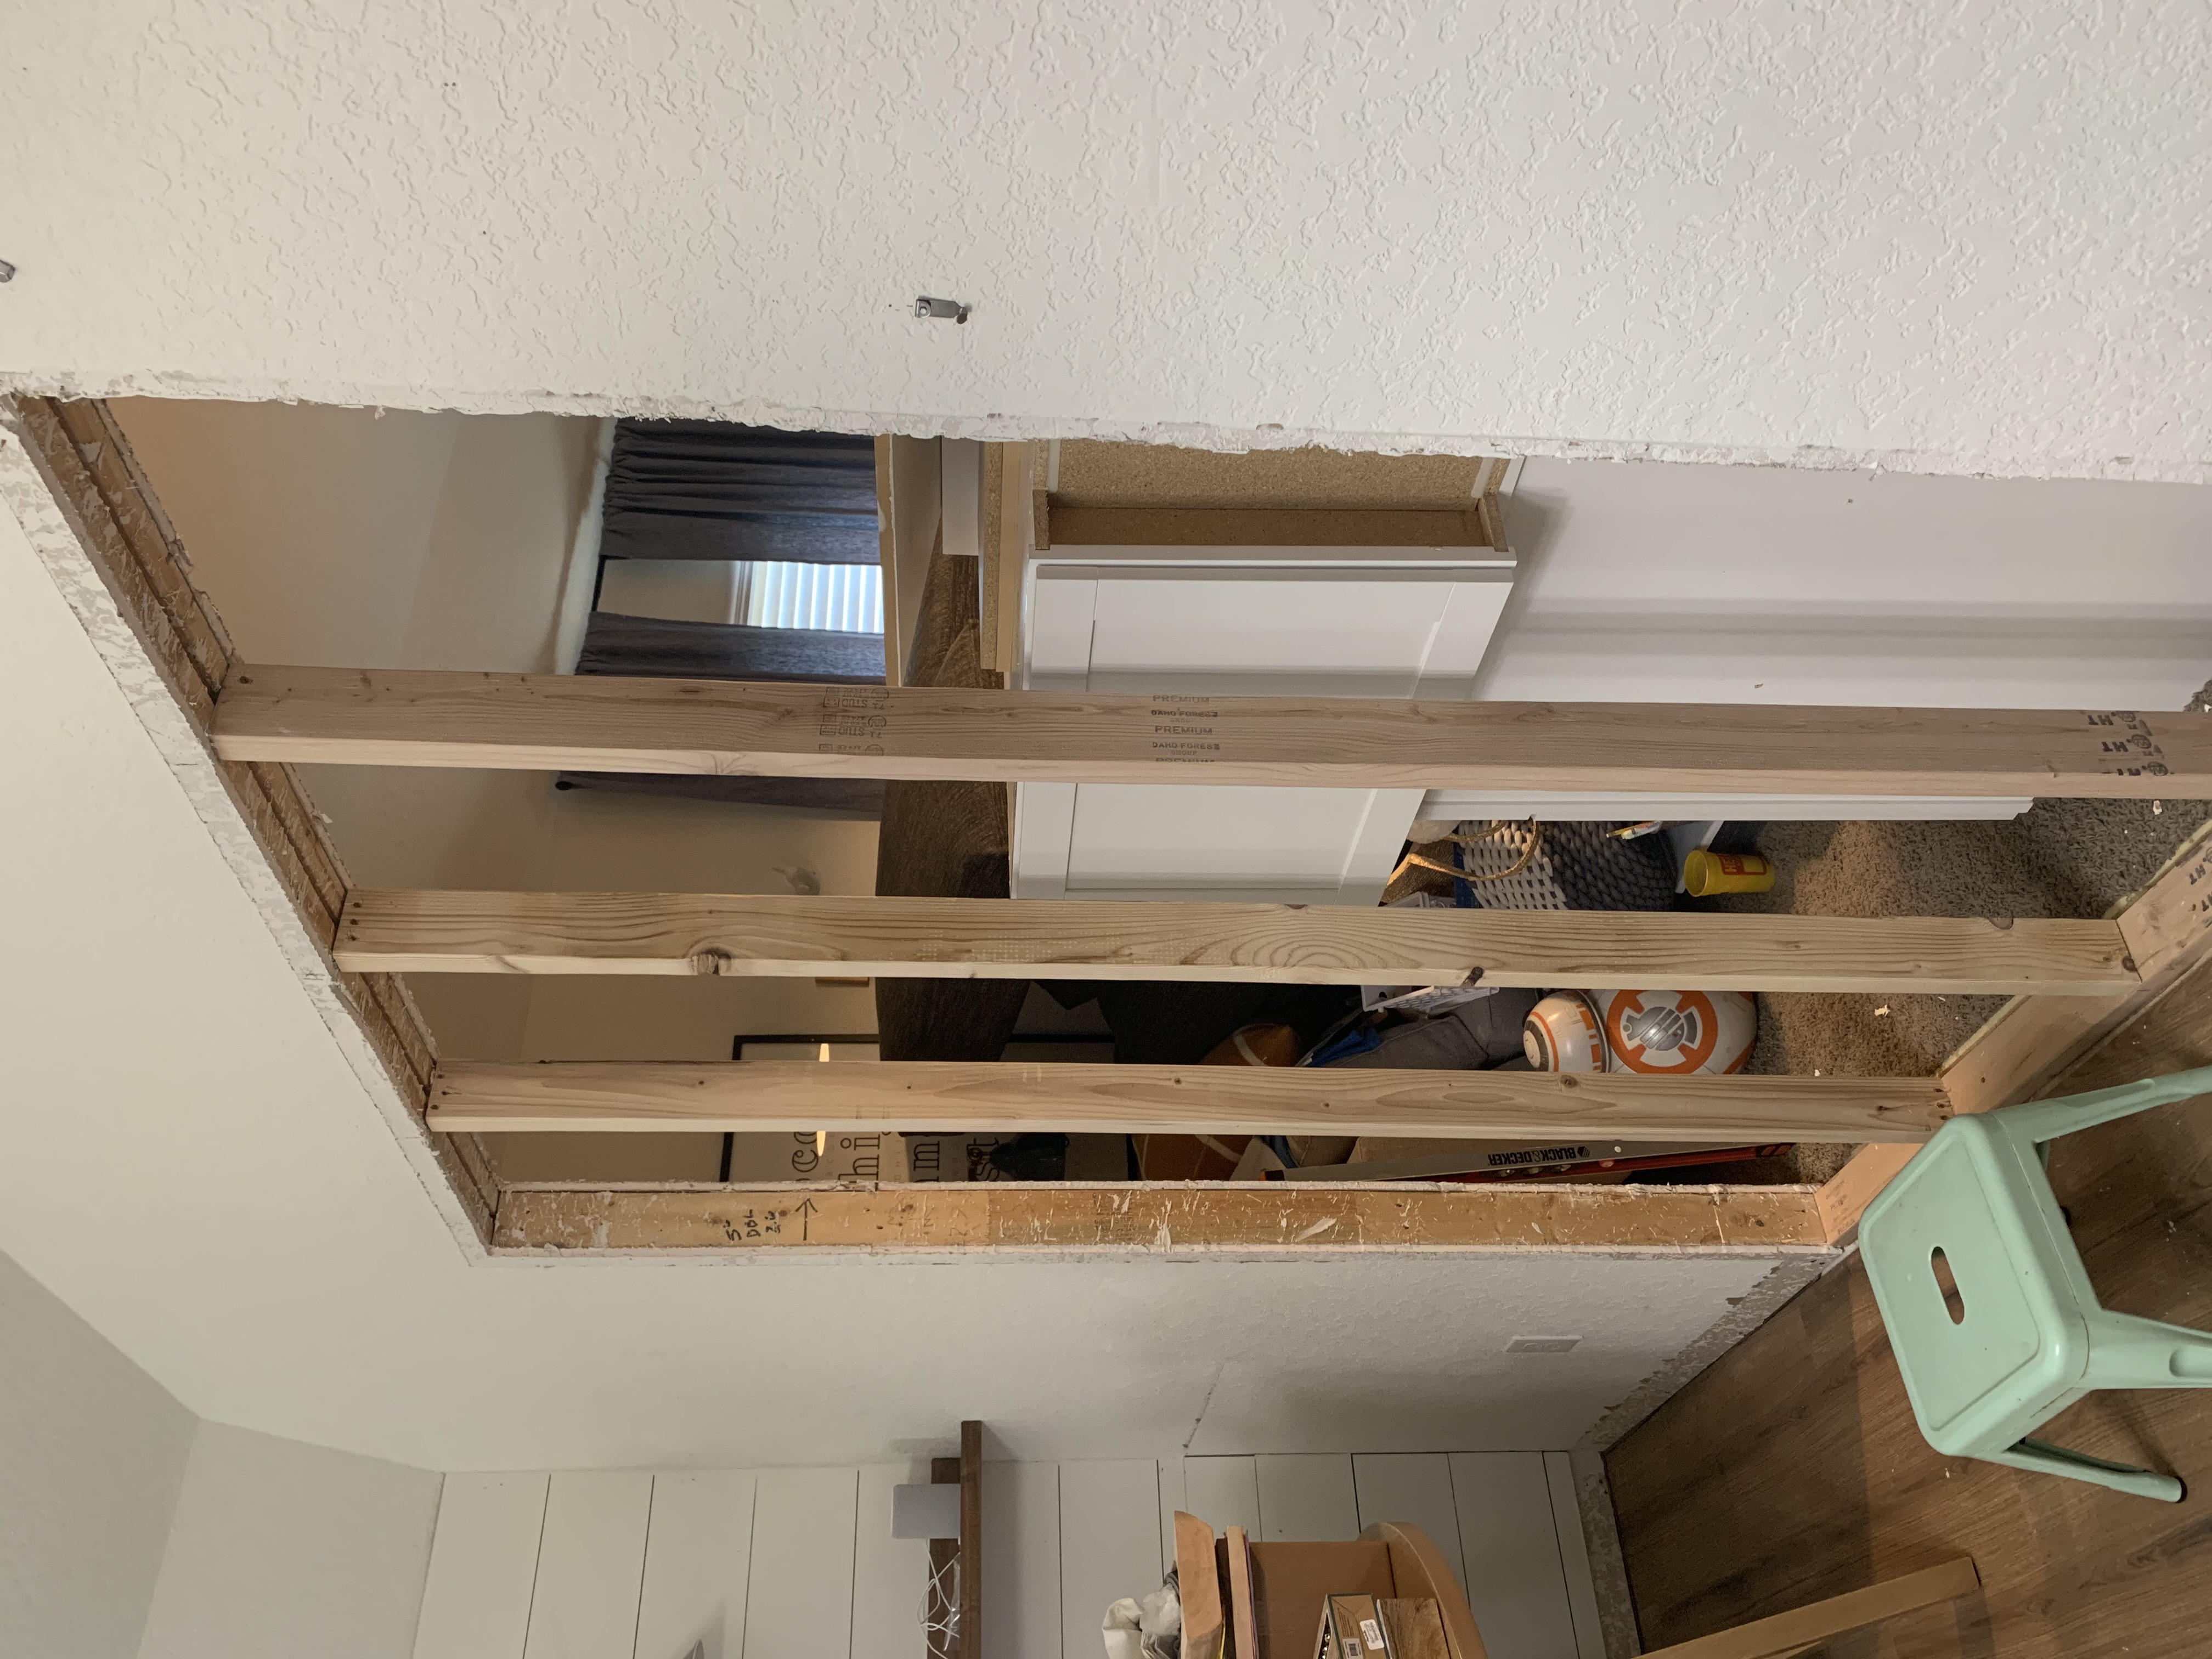
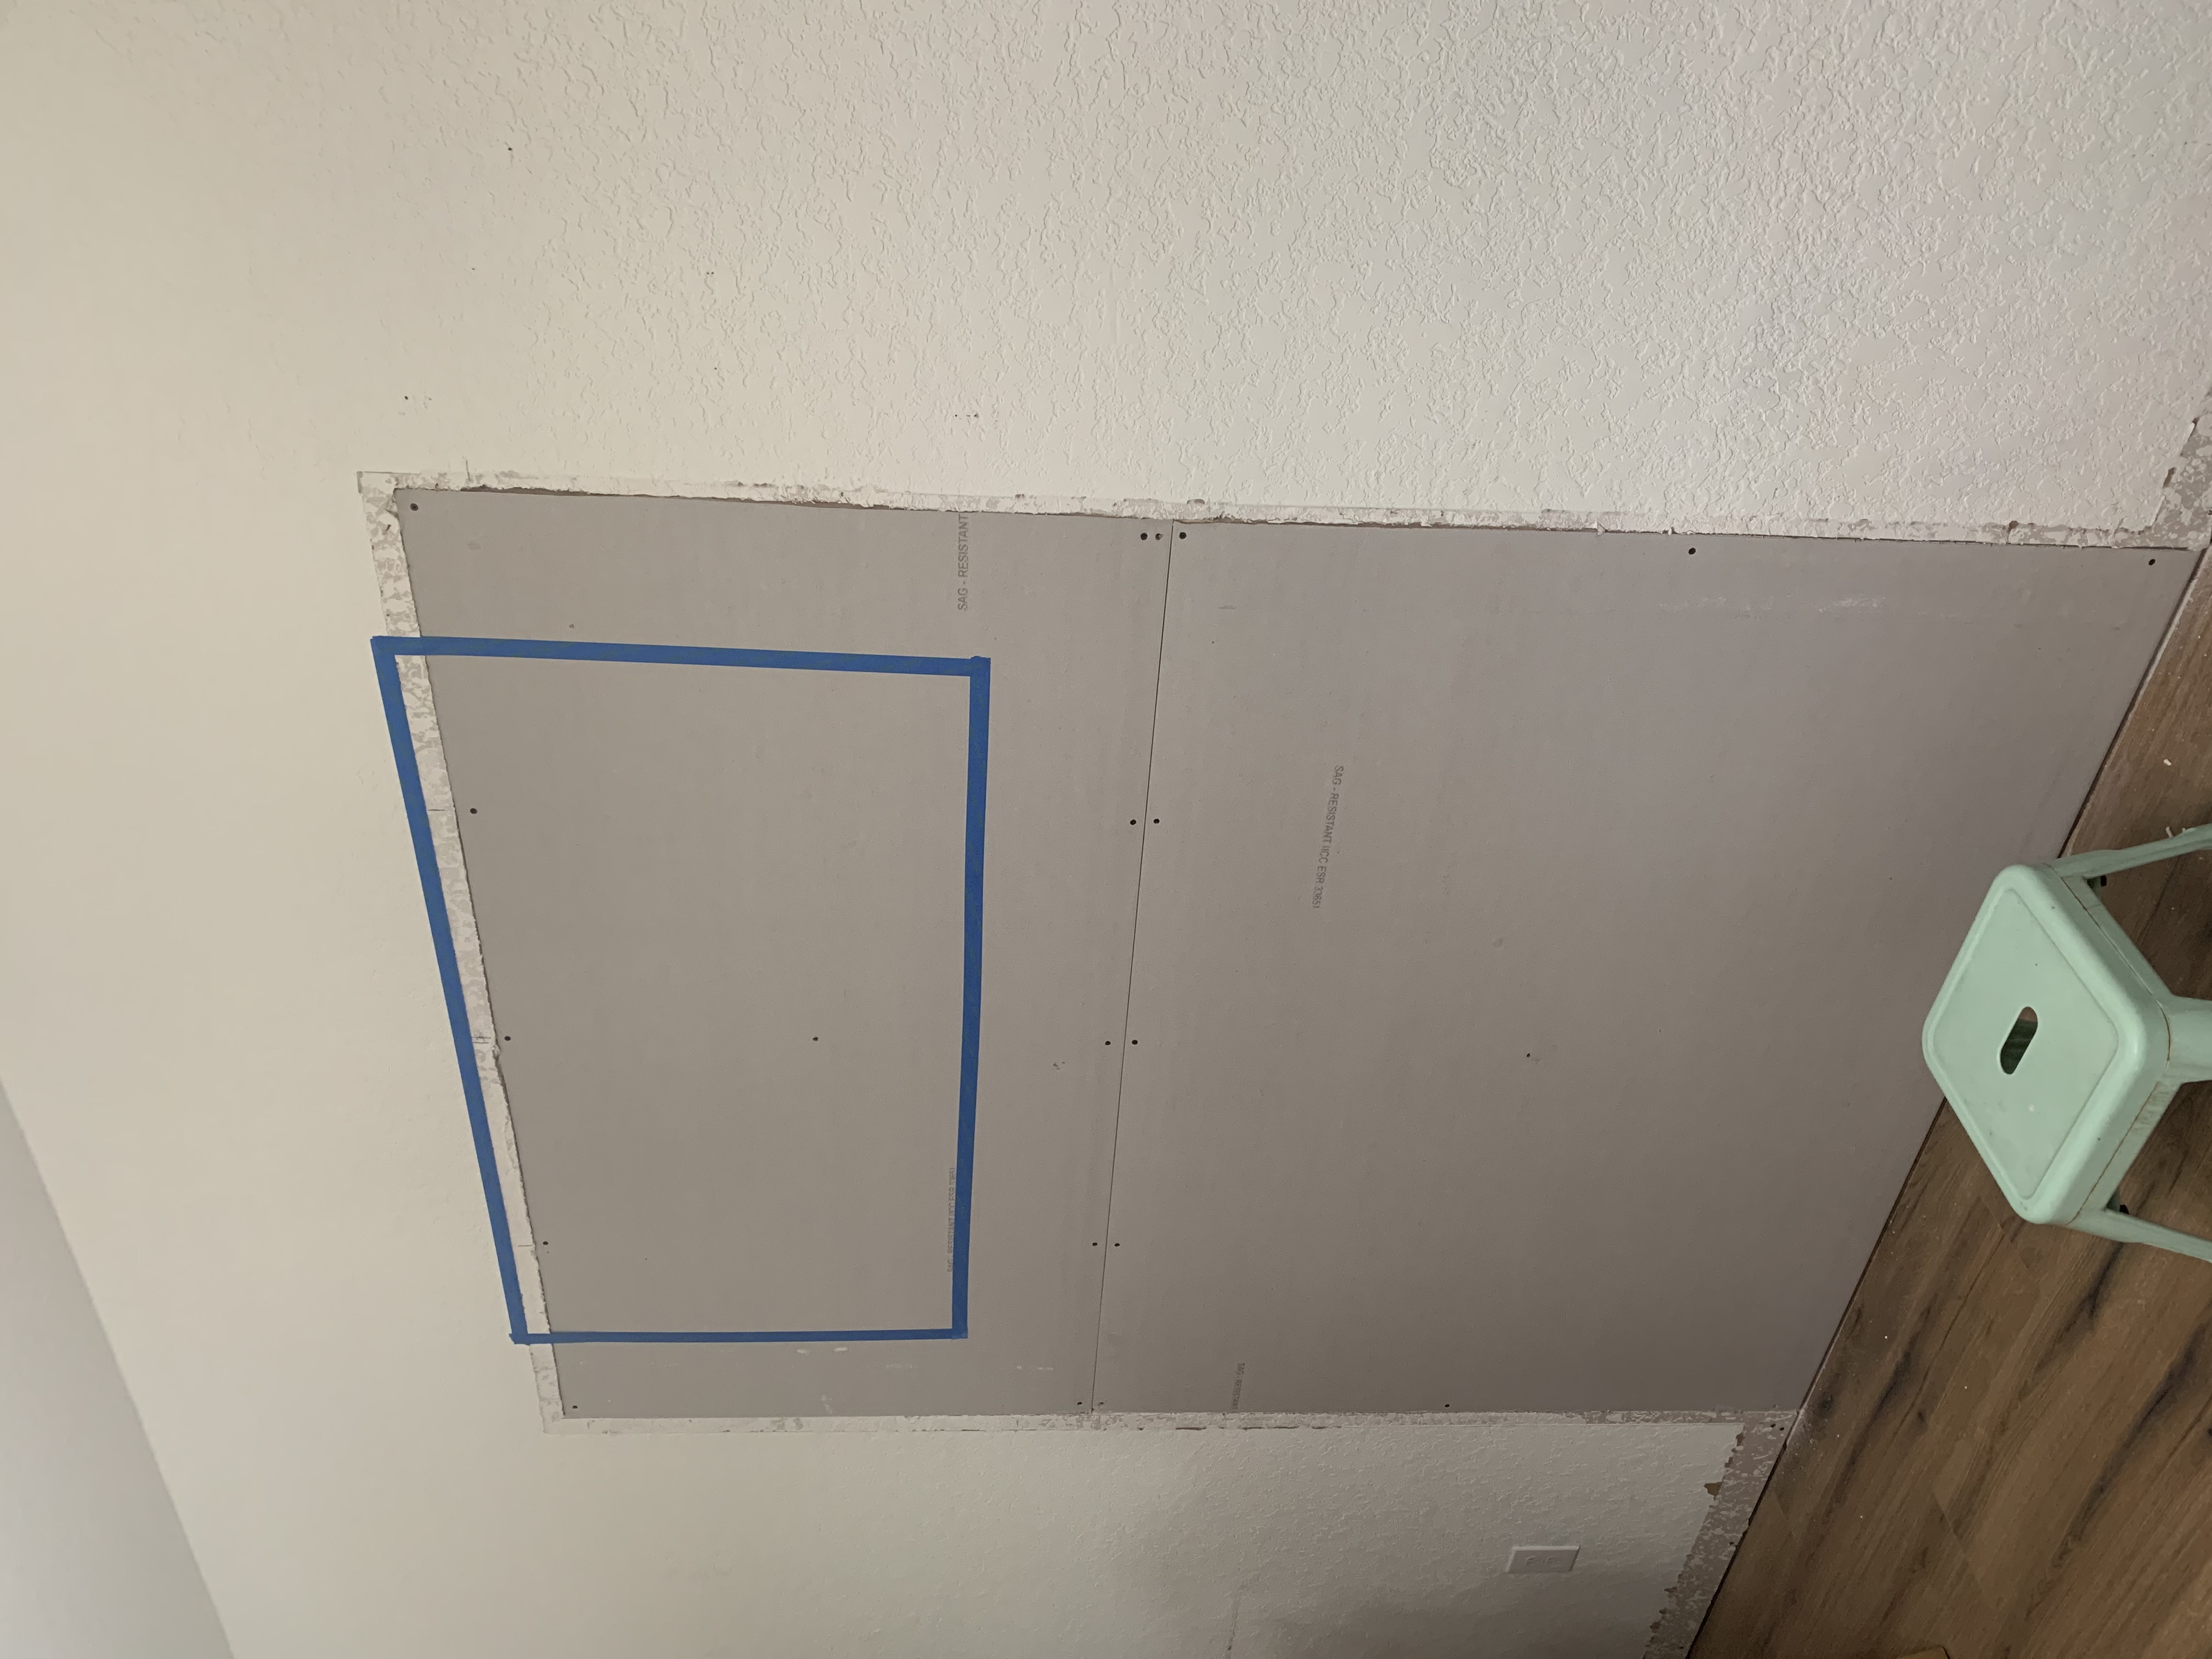
This isn’t a DIY blog. I wish we worked in a way that made sense to record, or share exact plans, but we tend to have an overall build plan and work from that to configure it to the space we are working in. If we remember to capture a picture here and there, we’re doing better than most days, however I did manage to take a few photos and recordings of the process this time, so I’ll be sharing those on Instagram, most likely on a story or reel. The overall idea though isn’t hard to catch. For this project, creating a frame from 2×4’s, which we picked up wood for a while before the whole wood shortage came to light seems straight forward enough. I’d note to make sure that you can anchor either the top or bottom of the outer frame to either the ceiling or floor. Because this is a faux fireplace, and we had just laid new laminate flooring we chose to anchor ours to the ceiling. We also made sure to frame a space for our TV to hang so we had extra hold for the mount. It’s just peace of mind, really.
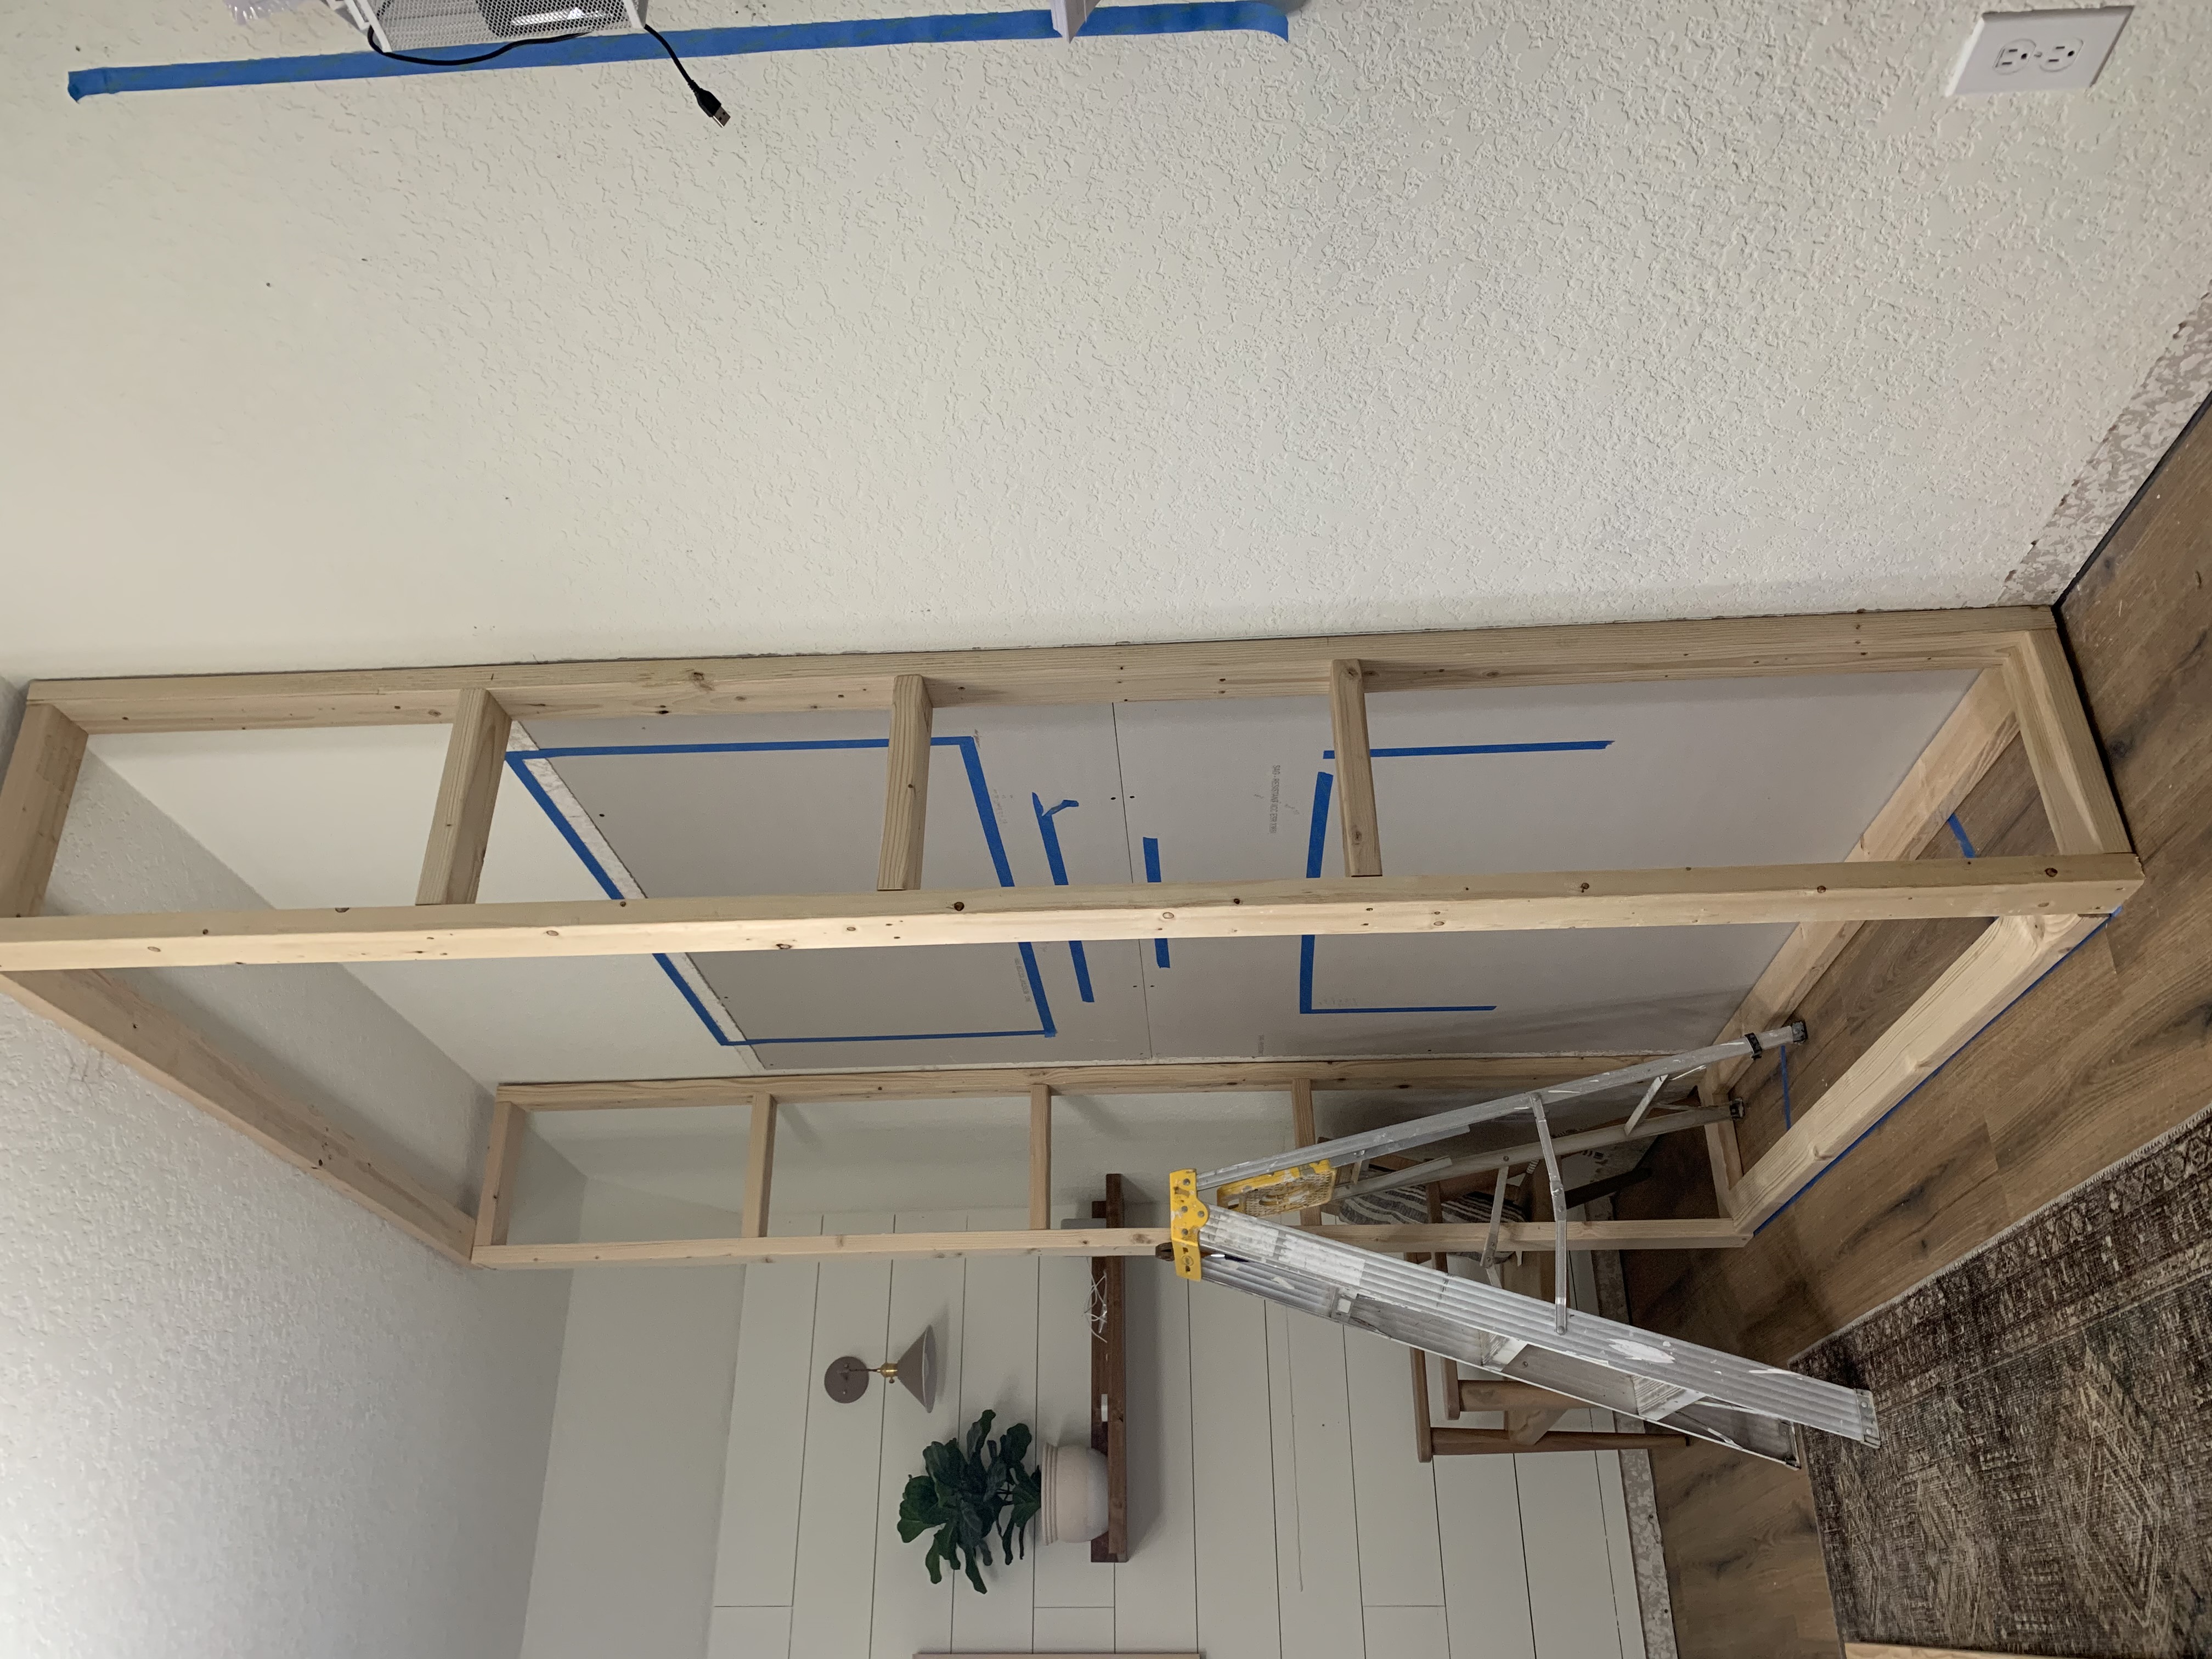
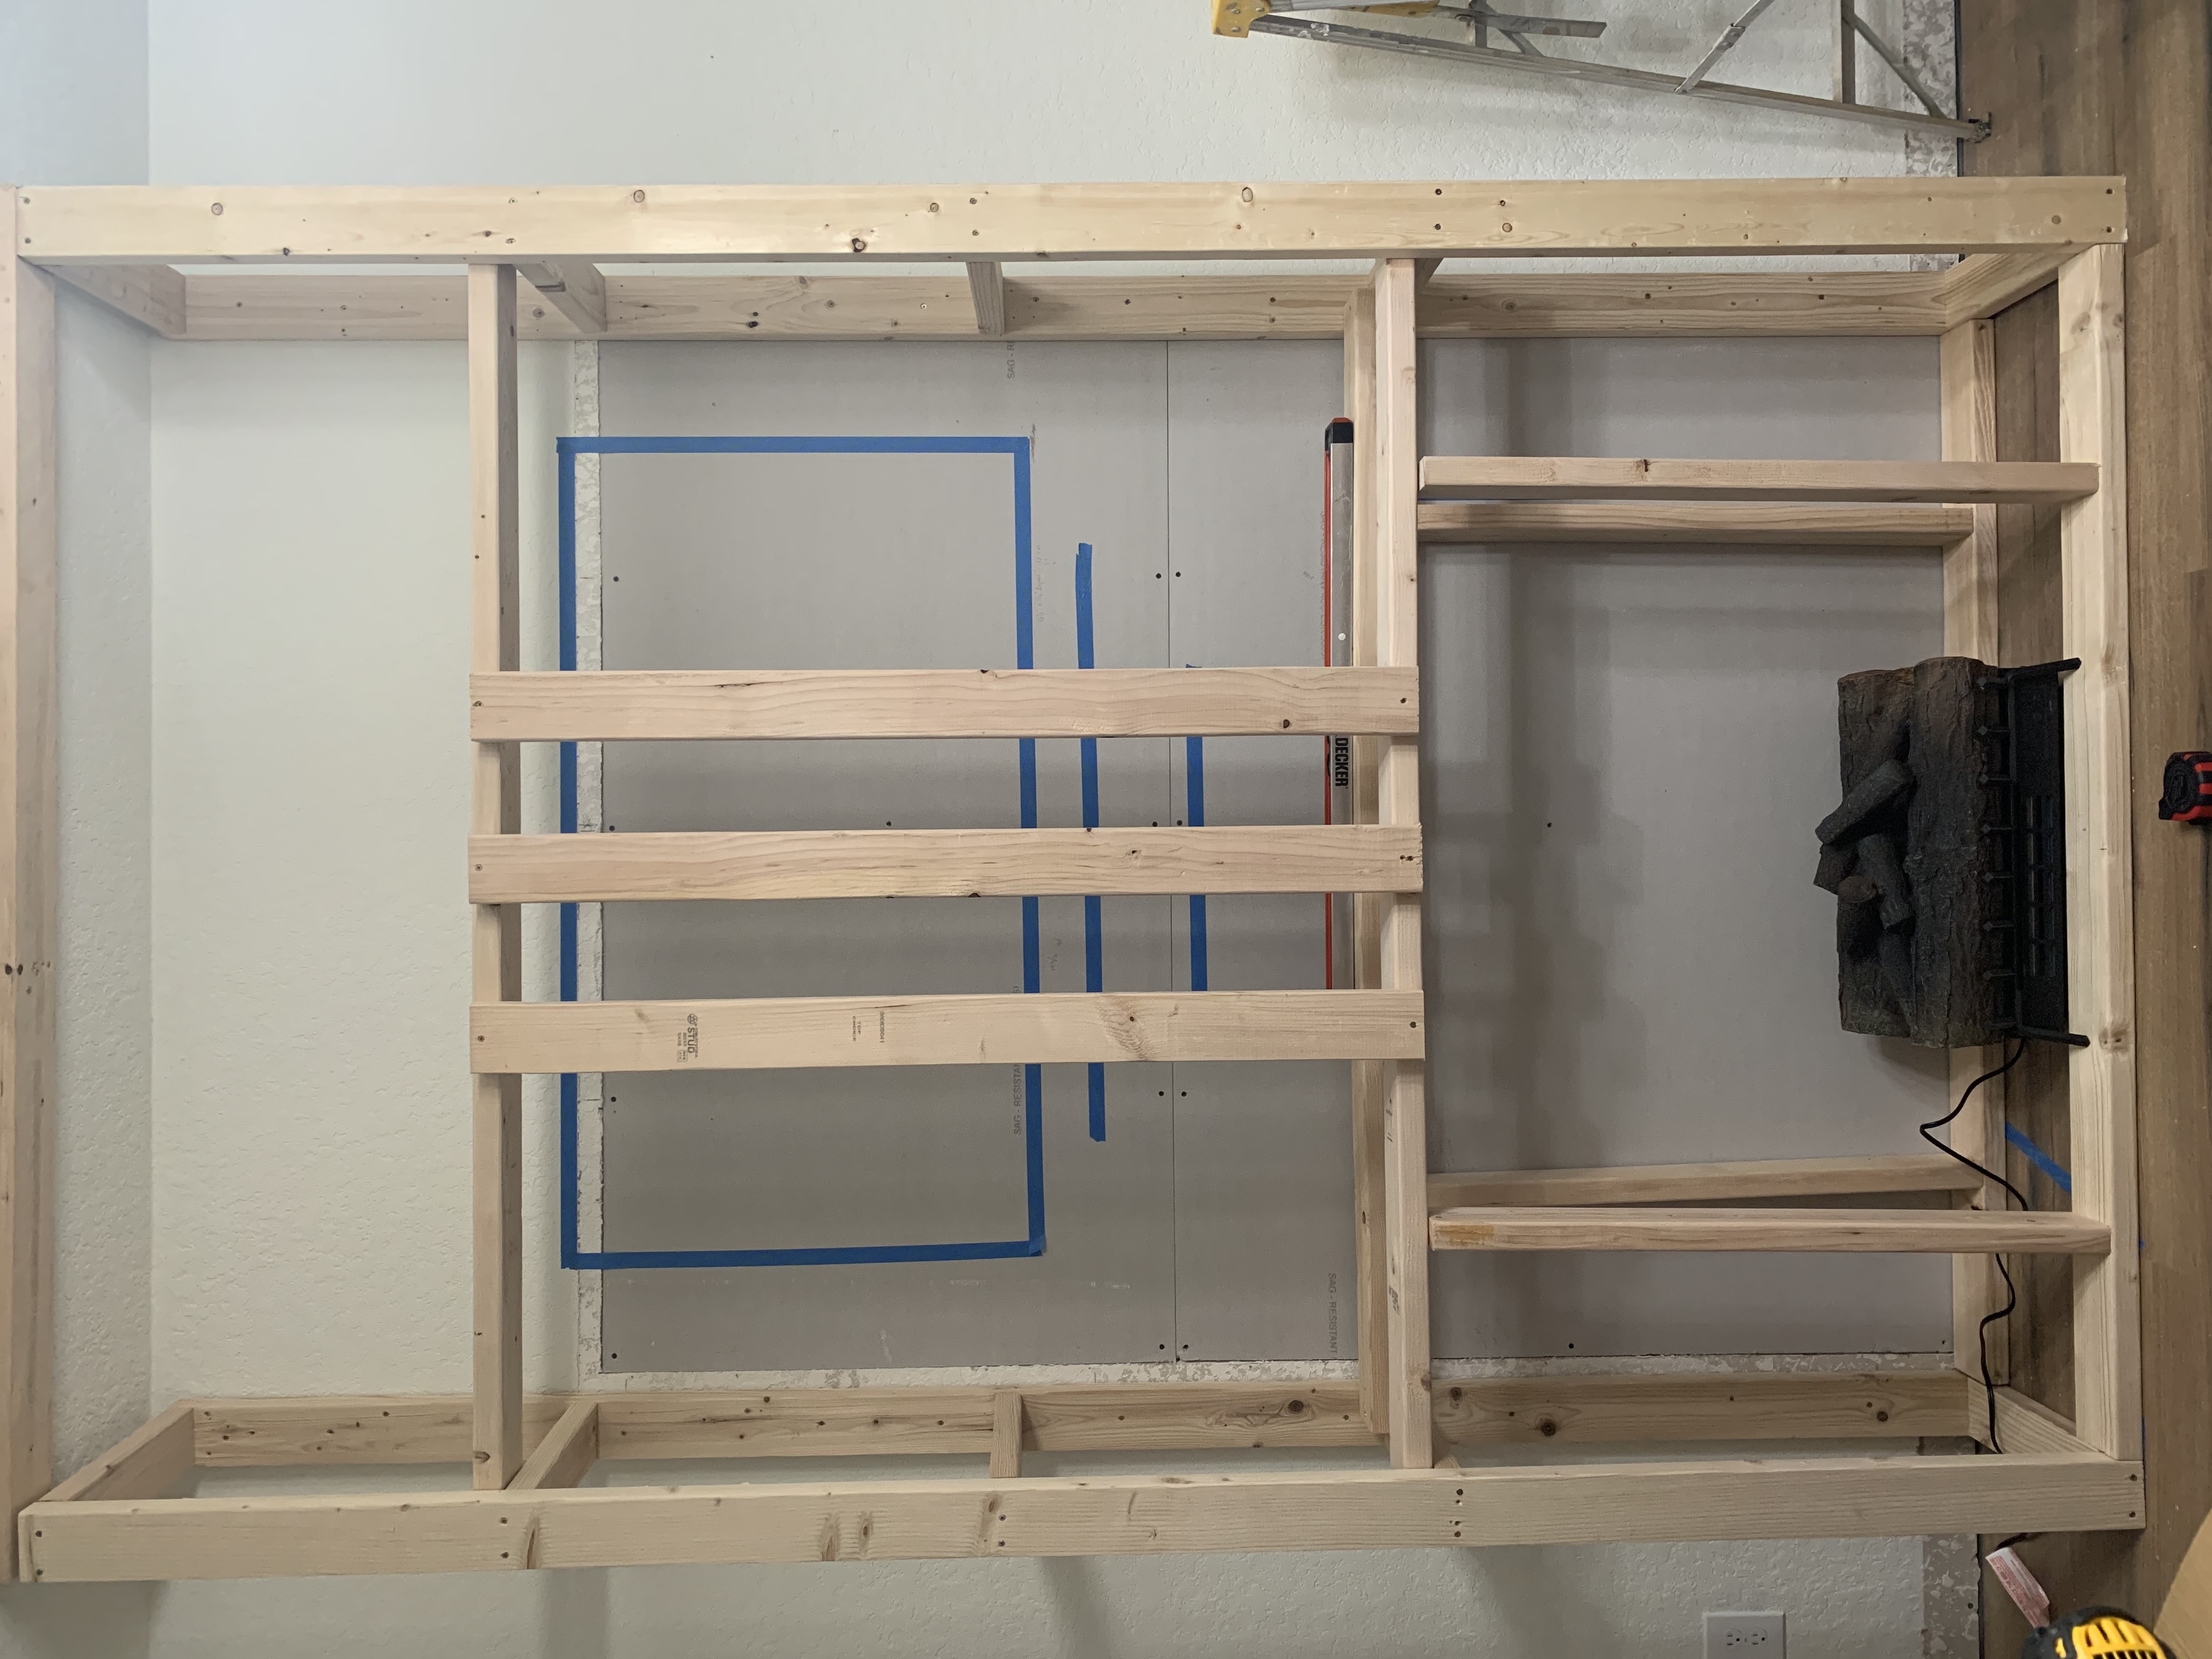
Once the frame was built to our liking we started adding drywall. This was probably the easiest part of the process, mostly because there were two of us working together. I think we used three sheets of drywall to cover the frame. We also made a decision to not move any electrical, so we had to come up with a plan to run wires to the outlets that exist on that wall. Luckily, there are two, one on each side, so the plan is to have holes in the drywall to run wires through. For the wires to the TV, we installed a wall plate to sit behind the TV, and feed the wires through. The electric fireplace is also a plug-in, so we drilled a hole in the drywall to again, run the chord through, but guess what, I got a little ahead of myself on tiling day, and covered up the hole! Gah! This is DIY reality, so we’re making the most of it and getting a drill bit to drill a new hole through the tile. Yikes!
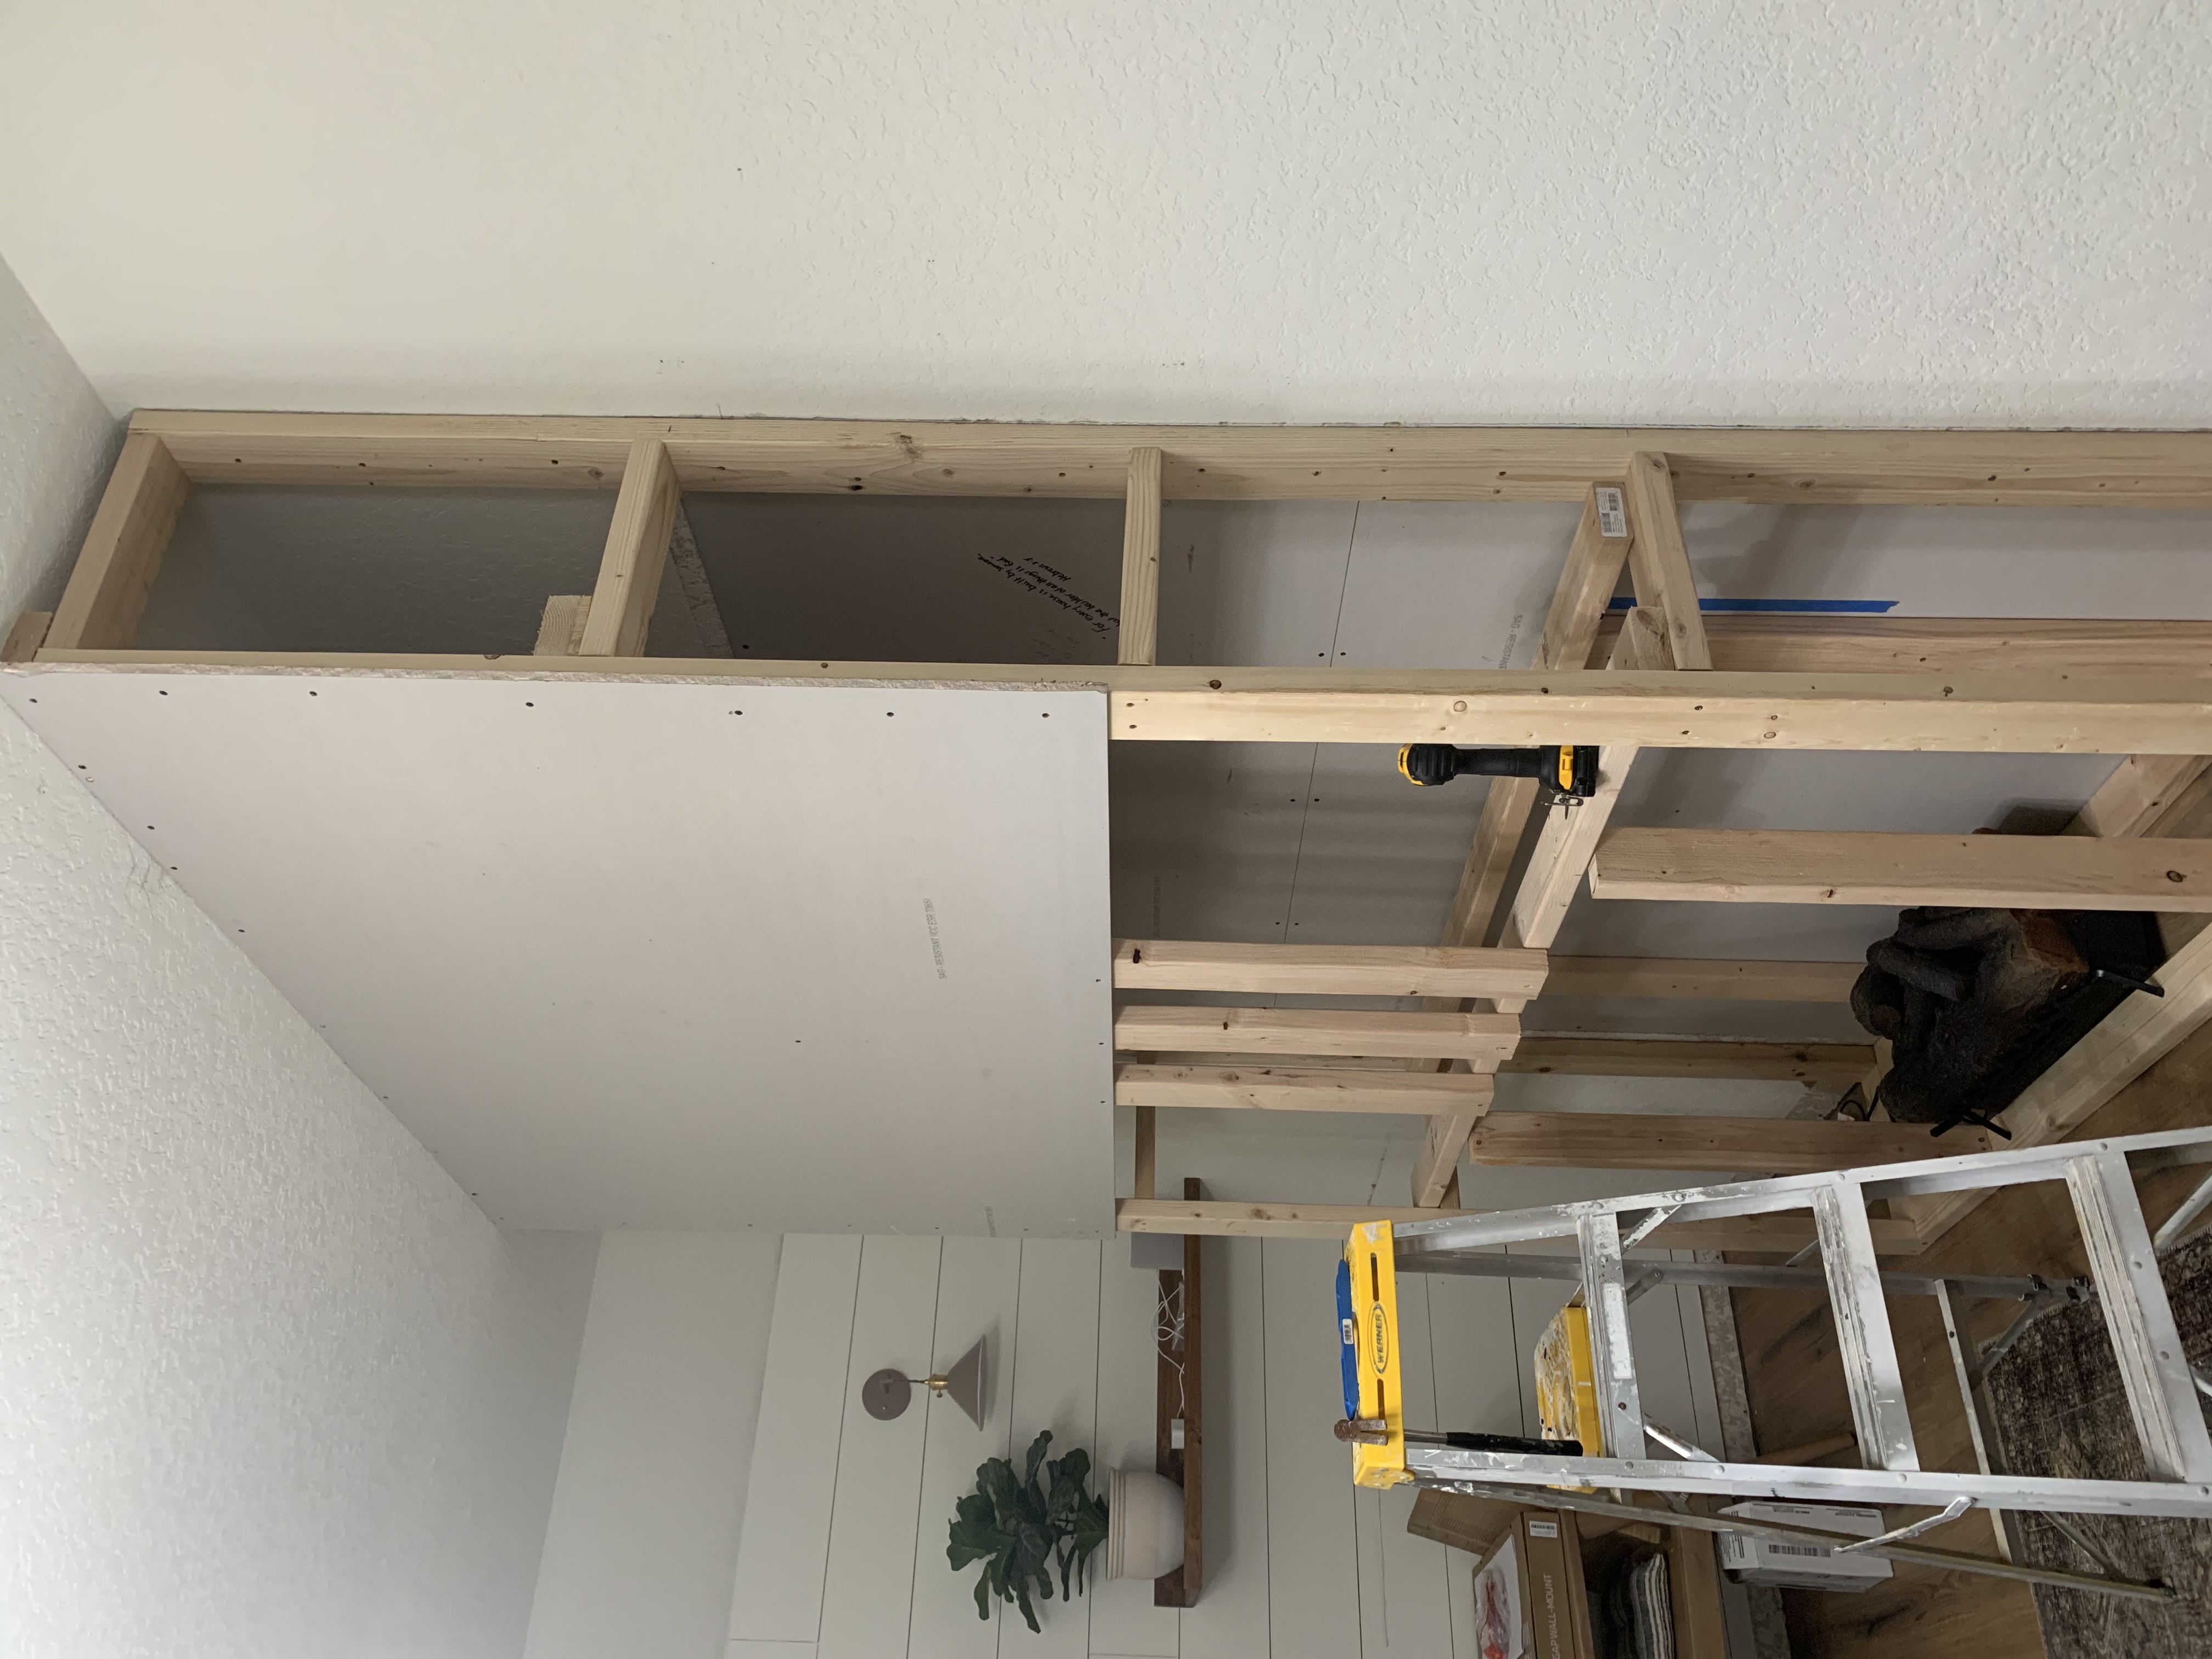
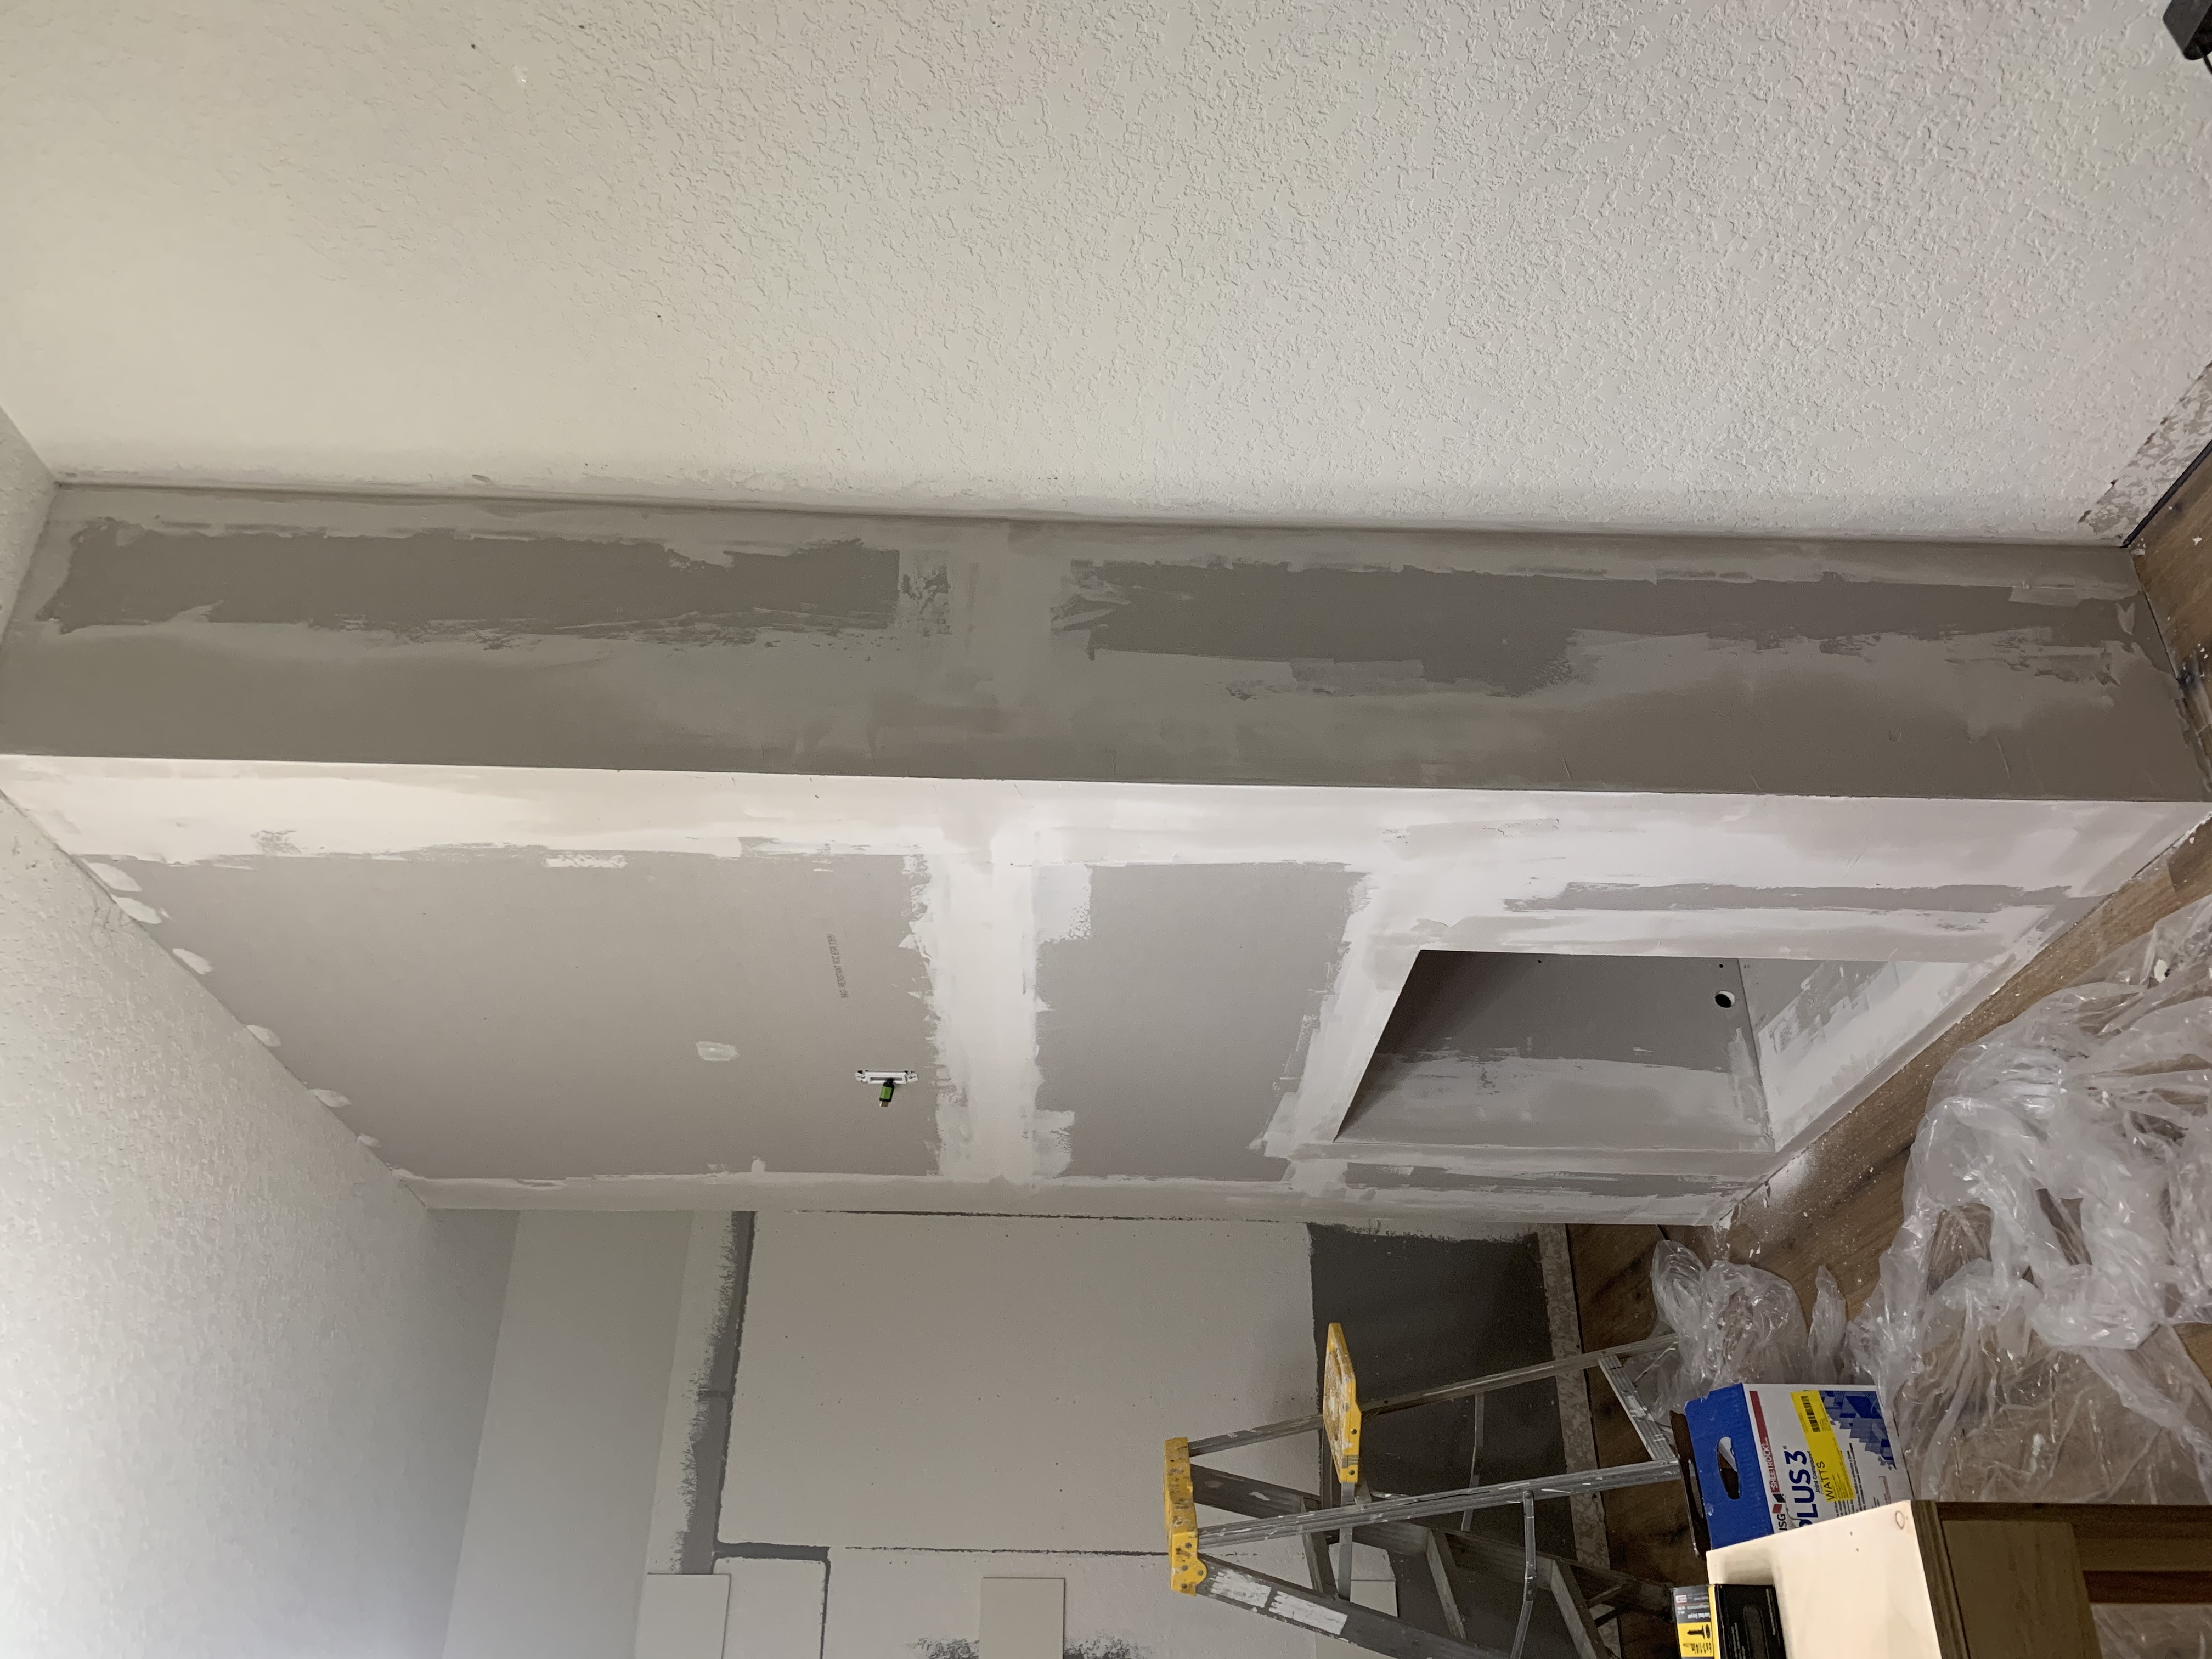
I forgot to mention adding the corner molding to the outer corners to give a nice sharp corner edge of the drywall. That wasn’t so bad. Once that was done, we started the taping and floating the drywall. It wasn’t as bad as I had read it could be, and being my very first ever experience doing it, I’d say it went smoothly. It takes three layers for most spaces, some can get away with two passes of mud, but overall we managed to get it done, and move on to the next step of painting a base coat once it was dry. That’s when the area started to come alive.
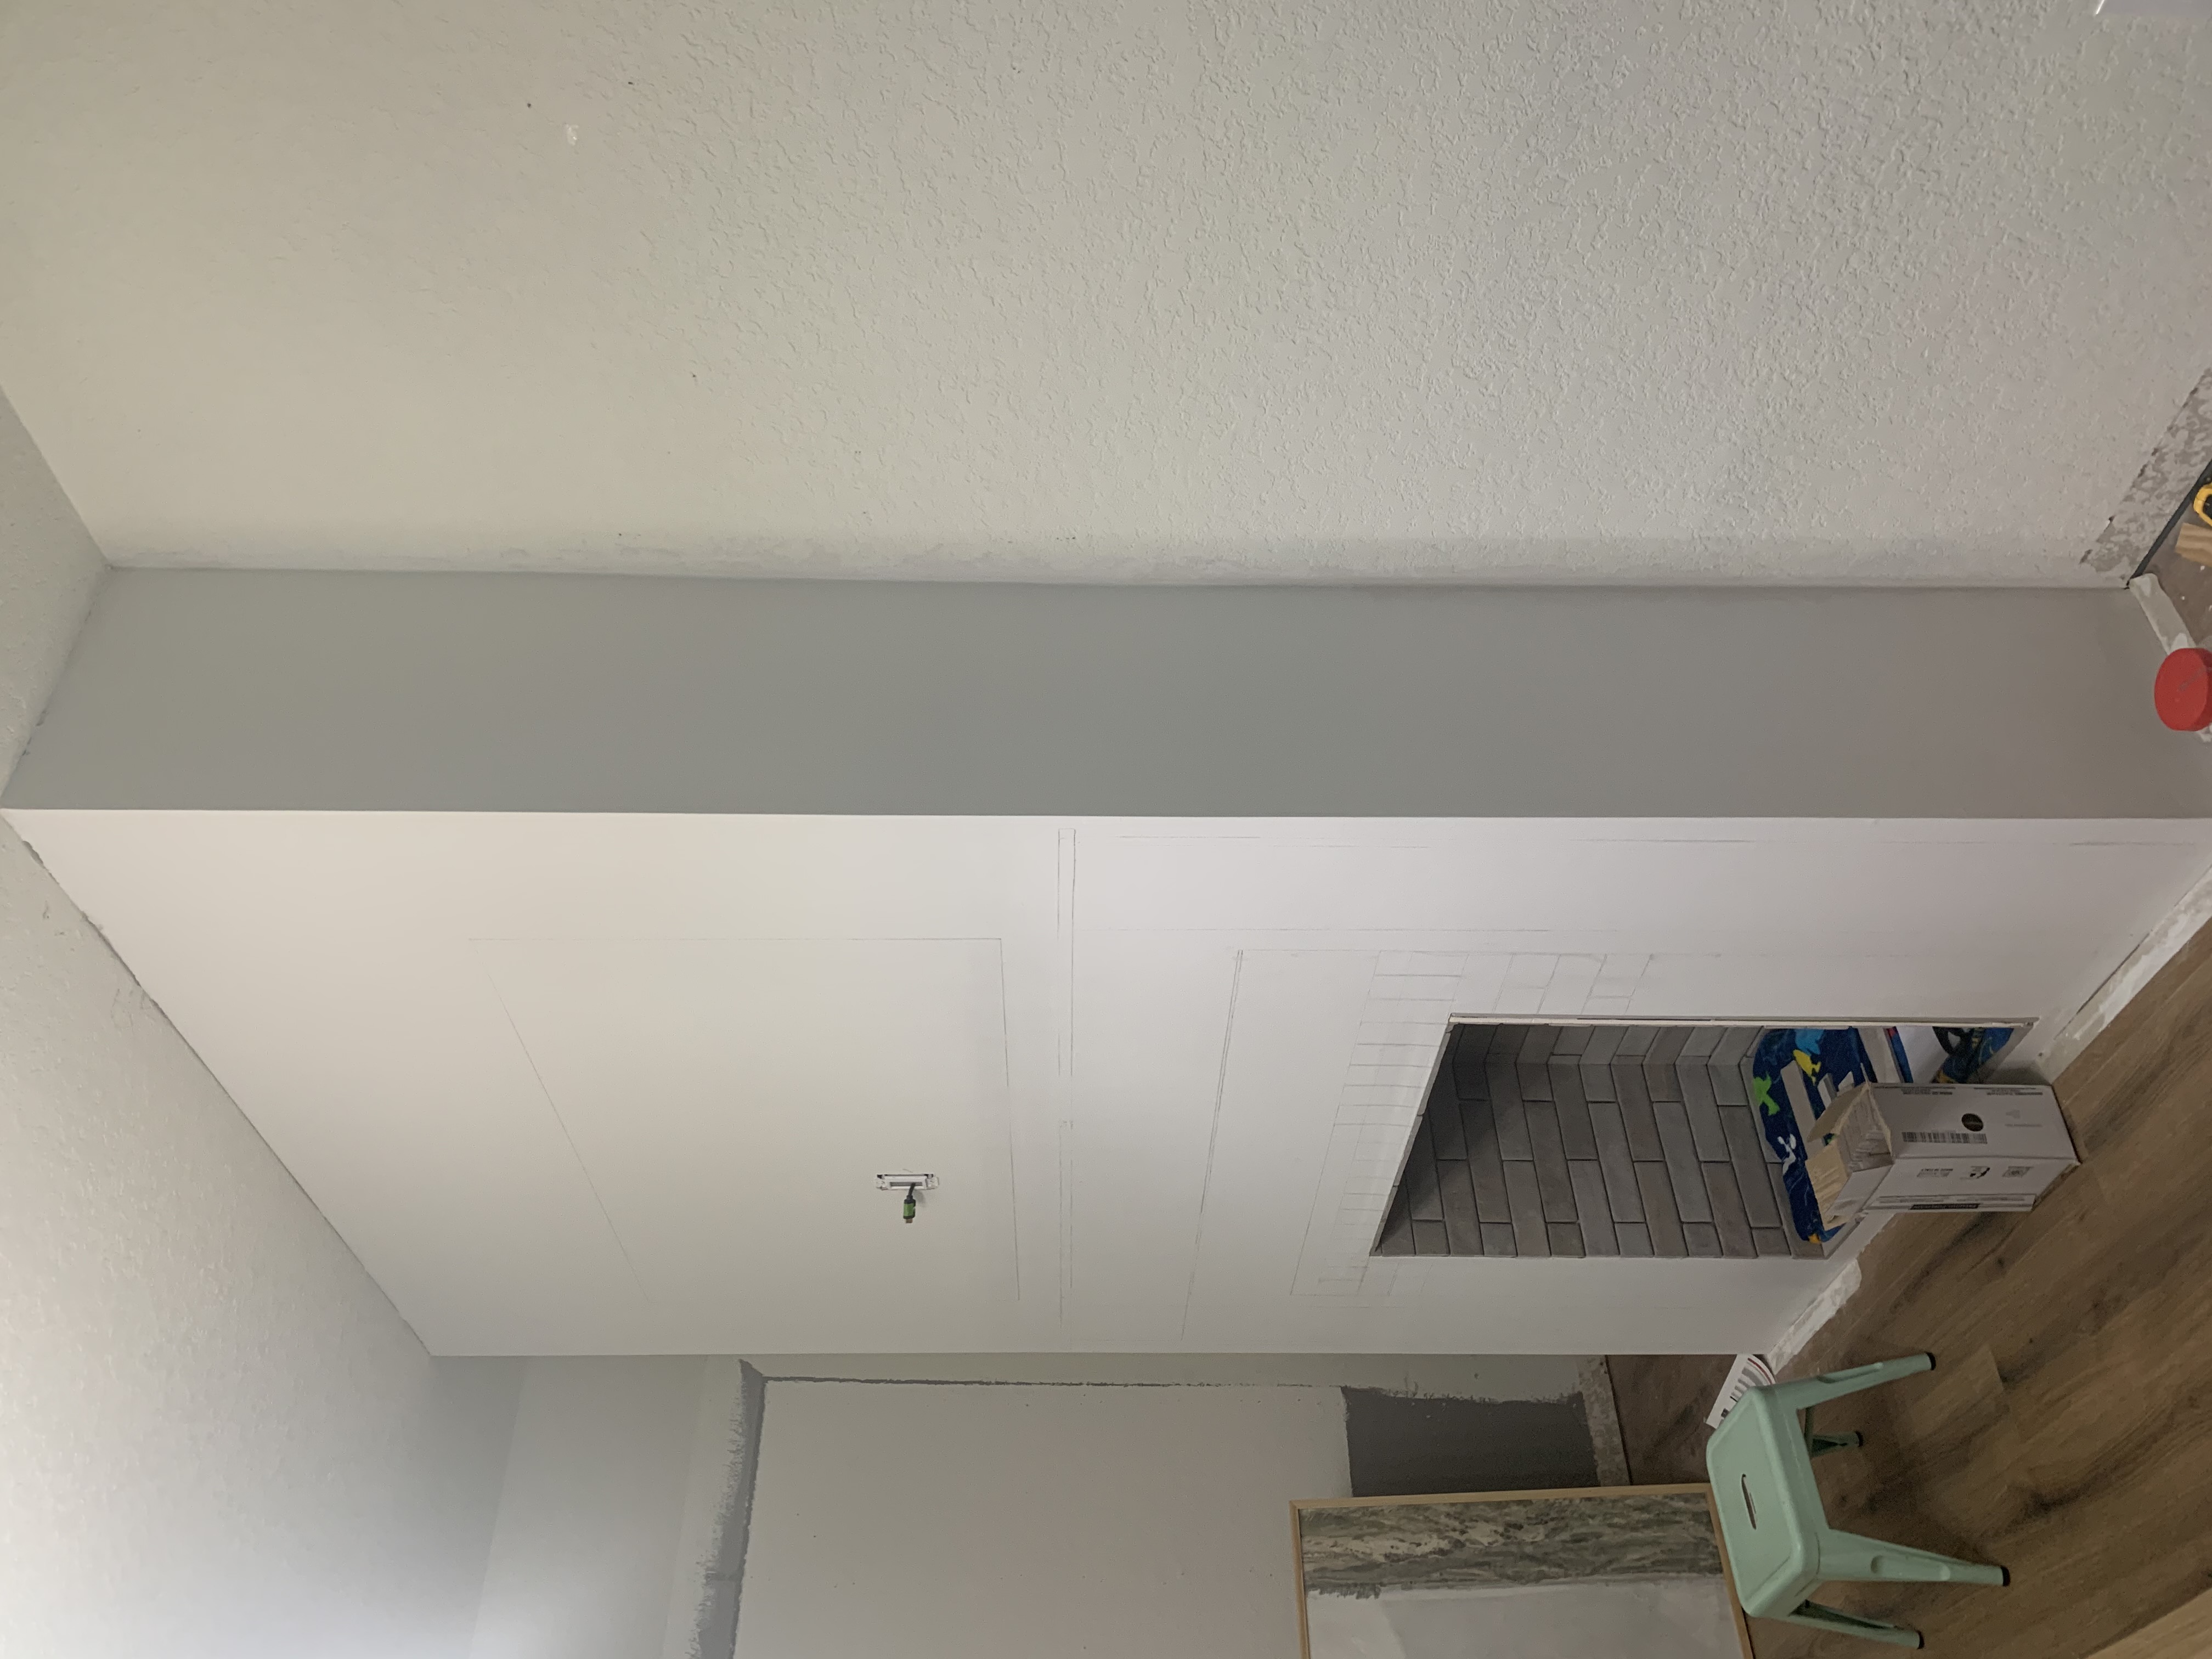
The next step was to add tile. We chose a brick style tile to give it an authentic look. So far, I’ve gotten the inside of the fireplace installed. I’m going to be working on the out part over the next couple of days. My part in the install is placement of the tiles, and since my ears can’t handle it, my husband is doing the cutting. It’s worked out well for us, and I love that we’re adding more DIY skills to our list.
We drew out the surround with pencil to see if we liked the placement and design, so we’ll also be working on that this next week. Be sure to check back with us next week to see how much progress we’ve made!

Aside from the 2×4’s and drywall for our fireplace build, here are the products we used to complete the build.
Drywall Screws (Various sizes)
Grout (We’ve yet to choose a grout, so I’ll update this once we do.)
Be sure to click over to see the progress made on the rest of the ORC spaces!

