Create & Share: GraphicStock (Valentine’s Day Pillow Tutorial)
“IrisNacole.com has been compensated by GraphicStock, in the form of a free subscription. All opinions are my own, and I will always be truthful when reviewing products/services. Please visit my disclosure page for more information.”
Hi again! It’s time again for another fun Create & Share Challenge! Today I’m sharing a really fun pillowcase tutorial using an image from GraphicStock. If you aren’t familiar with GraphicStock let me fill you in. GraphicStock is a subscription based database of graphics, ready for download at a moments notice and in various formats. I’ve been a member for about a month now, and oh man have I found a ton of images that I love and can’t wait to use! I’m pretty positive they have something for everyone. As a crafter, the ability to find an image for any project my brain might come up with as easily as it is to do with GraphicStock really makes the process of completing projects super easy. As someone that likes to DIY home decor, the amount of images that could be printed and framed surpasses my expectations, and of course as a blogger, having a database full of images relating to a number of topics, that I can use for my posts , is exciting! So lucky for you, whatever category you might fit, even some I didn’t mention, GraphicStock has been kind enough to provide you all with a seven day free trial so that you too can complete this project if you’d like! Just click the link below to start!
GraphicStock-7 Day Free Trial!
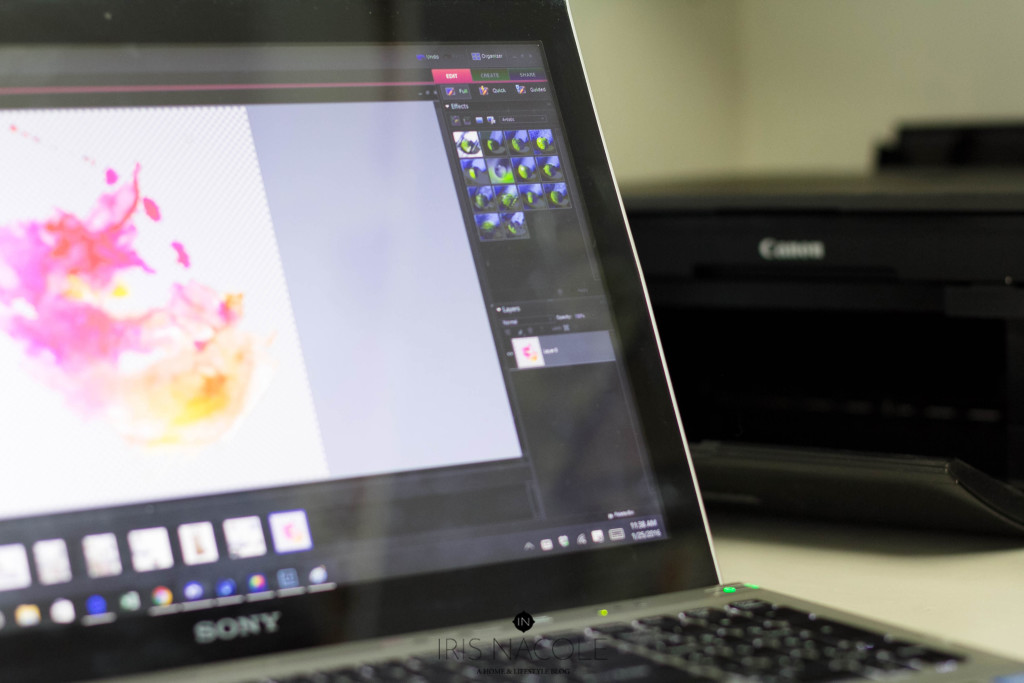
Find the image I chose to use for this project, here.
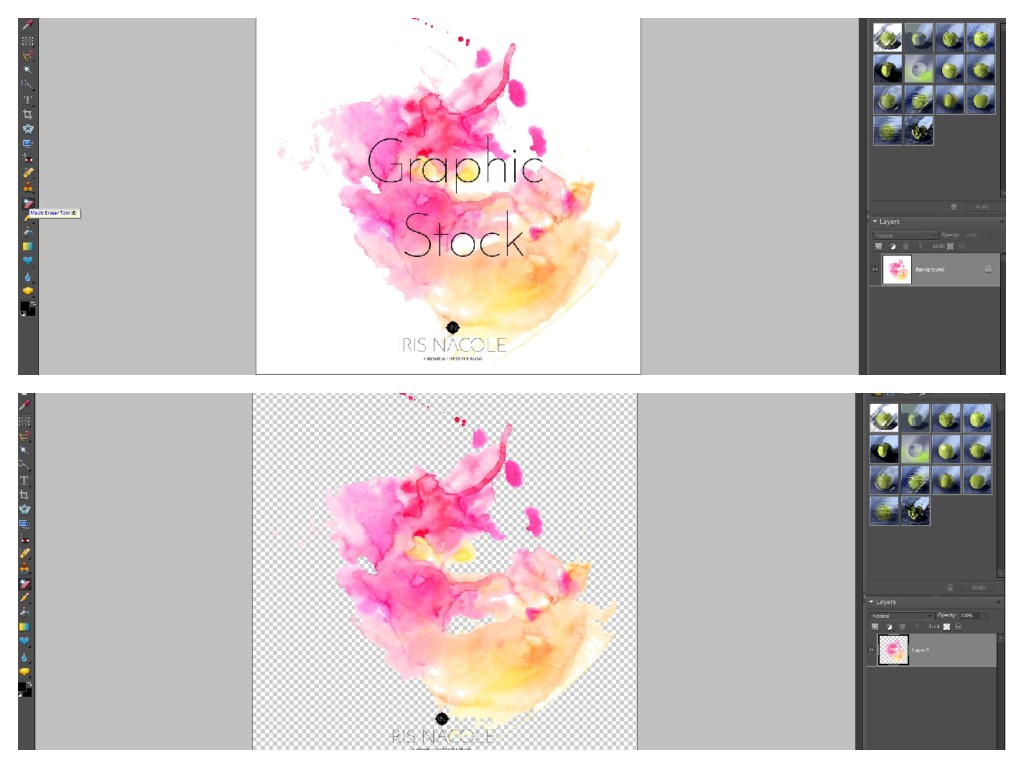
Once your image has been downloaded from GraphicStock, load your image to Photoshop (Photoshop Elements). Use the magic eraser tool (See left tool bar-Eraser Image (Drop down to “Magic Eraser”) to remove the white background. Drag the eraser to the white part of the image and click. The background will then become transparent. If you see other white spots in the image that you’d like to remove repeat the process until you are satisfied.
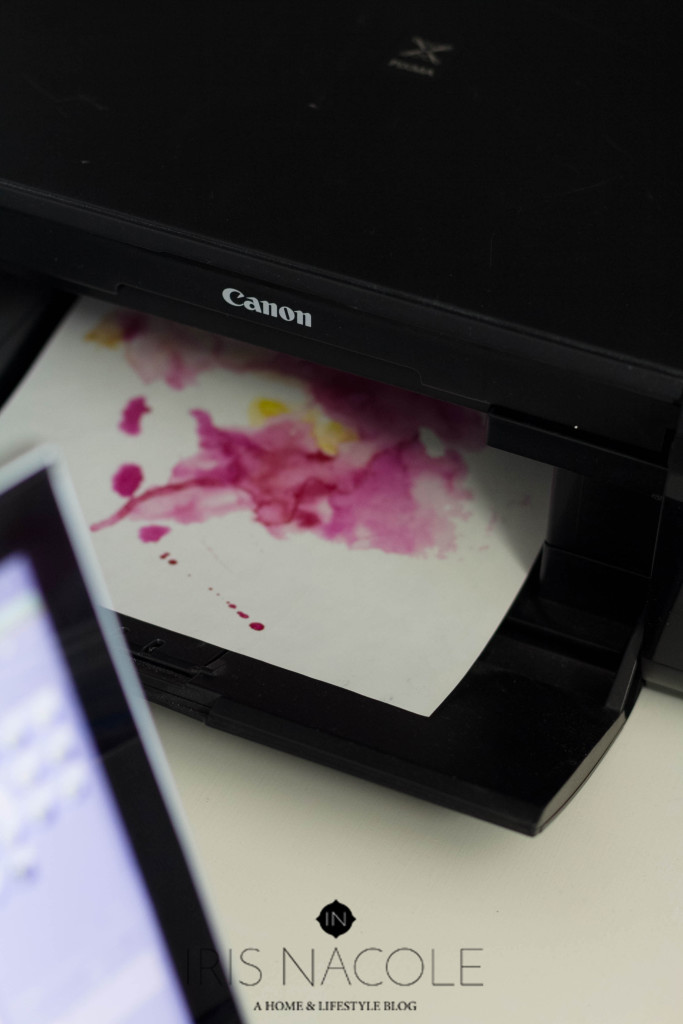
Now you are ready to print!
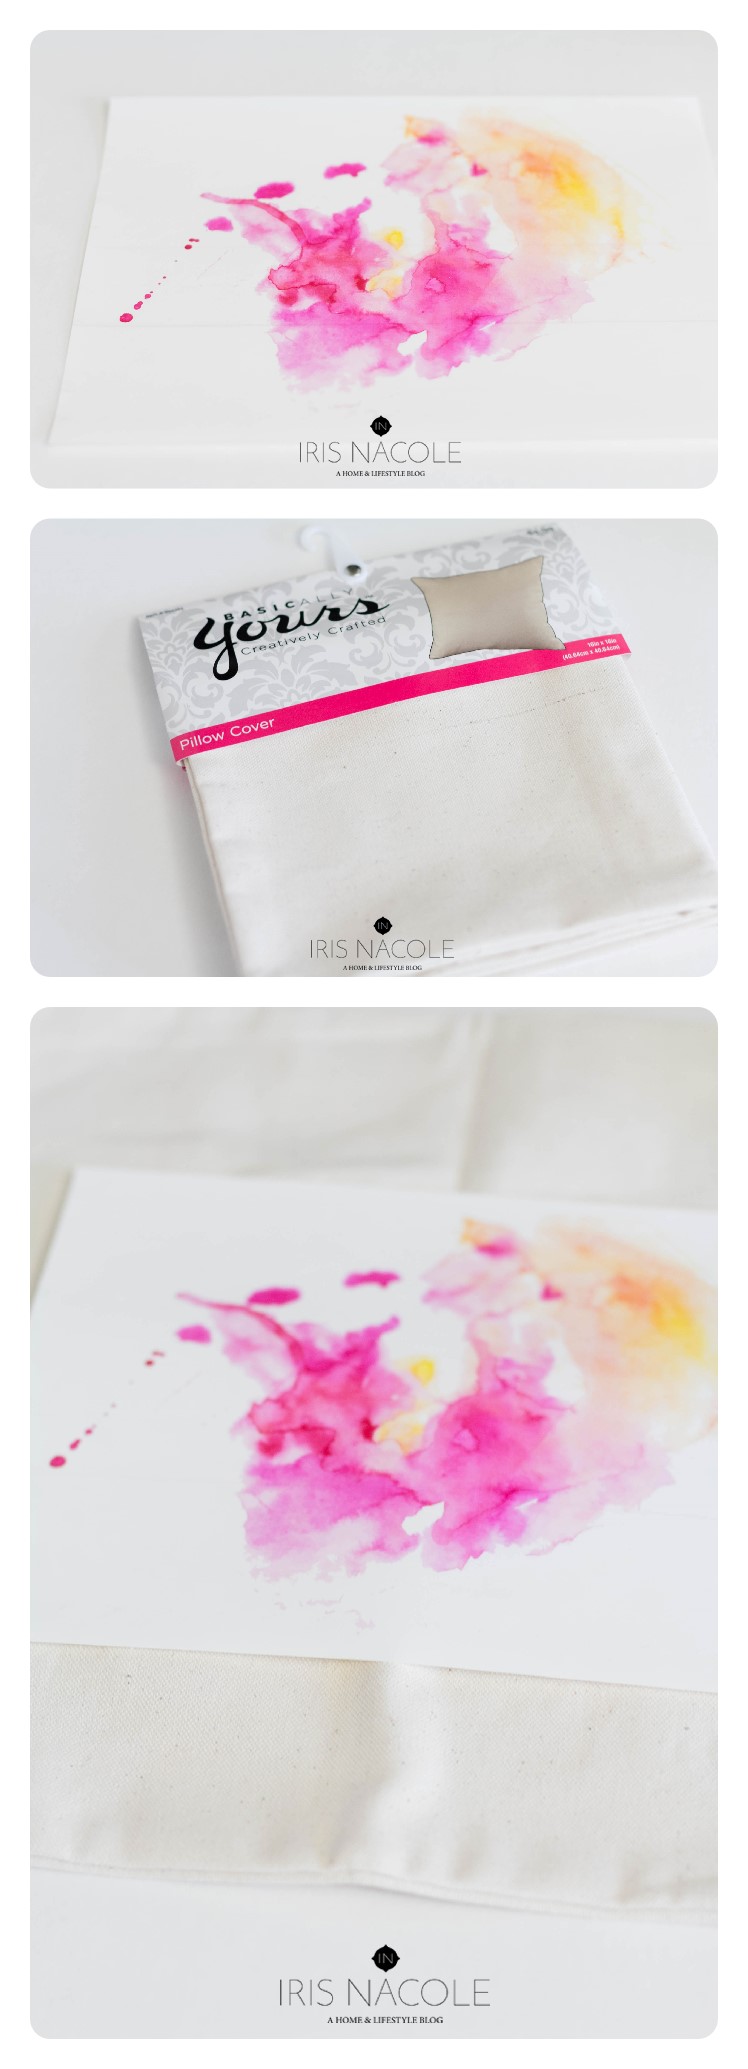
Supplies:
Iron (Do NOT use the steam setting for this project.)

Tutorial:
**Tip: Make sure your iron is extremely hot, and that your pillow cover has been ironed to allow for a nice flat surface.**
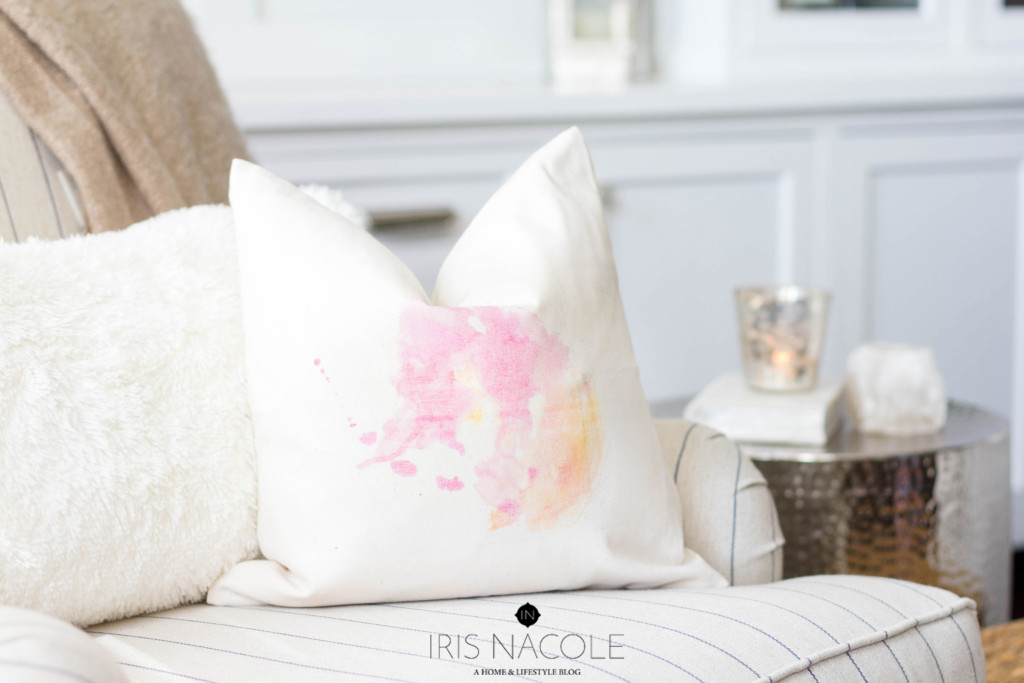
Once your image has been printed onto the transfer paper, line your image up onto your pillow cover. It is recommended to cut your image out before starting this process to create a smaller image transfer paper and avoid extra transfer paper from being transferred onto your surface. I always forget this step, and regret it. Haha! When you are satisfied with the placement of the image, take your iron and iron over the image paper. Be sure to press down with a good amount of pressure, and to iron the entire image in order to ensure that your image is transferred over correctly. Once you have ironed on your image to your pillow cover, turn your iron off, and let the paper cool. After a few minutes remove your transfer paper from the canvas pillow cover, lifting from a corner and removing slowly. In my case the ink didn’t fully transfer, creating a lighter image than I had expected, but as with most things, this ended up being a happy little accident. I really like the way it looks!
Click on over to my fellow Create & Share participants to see what kind of goodness they have to offer you!
1. Old House To New Home ~ DIY Little Girls Room Tray
2. Shabby Grace Blog ~ Valentine’s Day Treat Bags
3. Creatively Homespun ~ DIY Valentine Love Decor
4. Refashionably Late ~ Library Book Storage
5. Casa Watkins ~ DIY Moroccan Dessert Plates
6. Tastefully Frugal ~ Be Mine Banner
7. Penny Love Projects ~ True Love Pillow
8. Green With Decor ~ St. Patrick’s Day Mason Jar Craft
9. Domicile 37 ~ Butterfly Entomology Clock
10. Up To Date Interiors ~ DIY Notebooks with GraphicStock
11. One Mile Home Style ~ Hand Embroidered Dandelion Wall Art
12. Uncookie Cutter ~ Rustic Americana Wall Art
13. Flourish and Knot ~ Whimsical Owl Art
14. Our House Now A Home ~ DIY Custom Kids Tote Bags with Graphic Stock
15. Pocketful of Posies ~ Valentine’s Day Paper
16. The House Down The Lane ~ DIY Heart Candle Holders and Printable
17. The Twin Cedars ~ Rustic Wood Wall Art
18. Iris Nacole ~ Graphic Stock Valentine’s Day Pillow
19. Refresh Living ~ Salvaged Barn Wood Valentines Decor
20. Farmhouse 40 ~ Bird Canvas Wall Art

Wow……….this is amazing. Looking forward to making this. Thanks a lot for sharing such an idea.
This is so beautiful! I love anything watercolour-inspired. My grandfather painted, so I gravitate towards the style. Well done!
The perfect image Iris! Beautiful!! Well done. Love it!
SOOOO Cute. I love the pillow Iris! Very easy to do tutorial, and the results are spectacular. Great creativity! Thanks for participating in the Create and Share this month! Pinning
This is so pretty! I love it and what a great tutorial and tip. Thanks Iris!
Have your experimented much with the durability of the ink transfer?
I just adore your style – so fresh and classic! Beautiful pillow!
These are so cute! I love throw pillows!
Pink, just in time for Valentines and can be used there-after. Love it and the orange too!
I just love the image you chose, and it looks so nice on that light canvas pillow!! Great job.
Thank you Jenny! I saw it an knew it would be perfect!
Love the watercolor image you used for this! It sure makes an expensive looking pillow. Beautiful job!! Pinning!
Oh thank you Kathy! I’m glad you said that! I’ve been trying to make my crafts look more store bought worthy, so that’s a great compliment!
I just love the watercolor effect. I’ve been wanting to create a print in these colors and this is the exact design I’ve been searching for. Thanks so much for sharing.
Oh good Sarah! I’m glad I was able to help you with your search! They have so many like it too, you could make a gallery wall out of them! 🙂
This is beautiful! I love the colors of this and with the white pillow it really lets it shine.
This is gorgeous, Iris! It makes me think of spring {and I’m SO ready for spring}!
Thank you Tiffany! I’ ready for it too! Good thing Texas always warms up pretty quickly. I bet we will have warmer weather starting in just a few weeks. It’s already getting up to the 70’s here!
Very pretty pillow. Thanks for the tutorial
Glad you like it Bon Bon! 🙂
Super cute idea Iris! I love watercolors!, they are always so cheerful! I’m pinning your idea!
Thank you so much Cat!!