A Pantry Makeover: Let’s DIY This Baby!
We’re finally getting around to sharing pictures of the pantry and our progress! It’s about time, right? So let’s get to it!
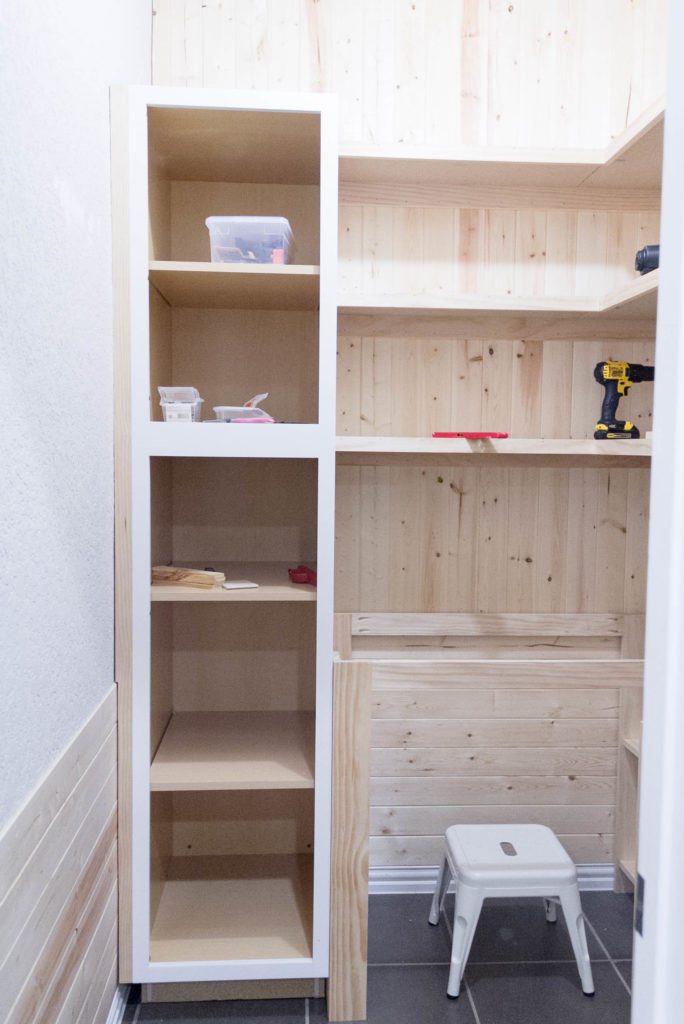
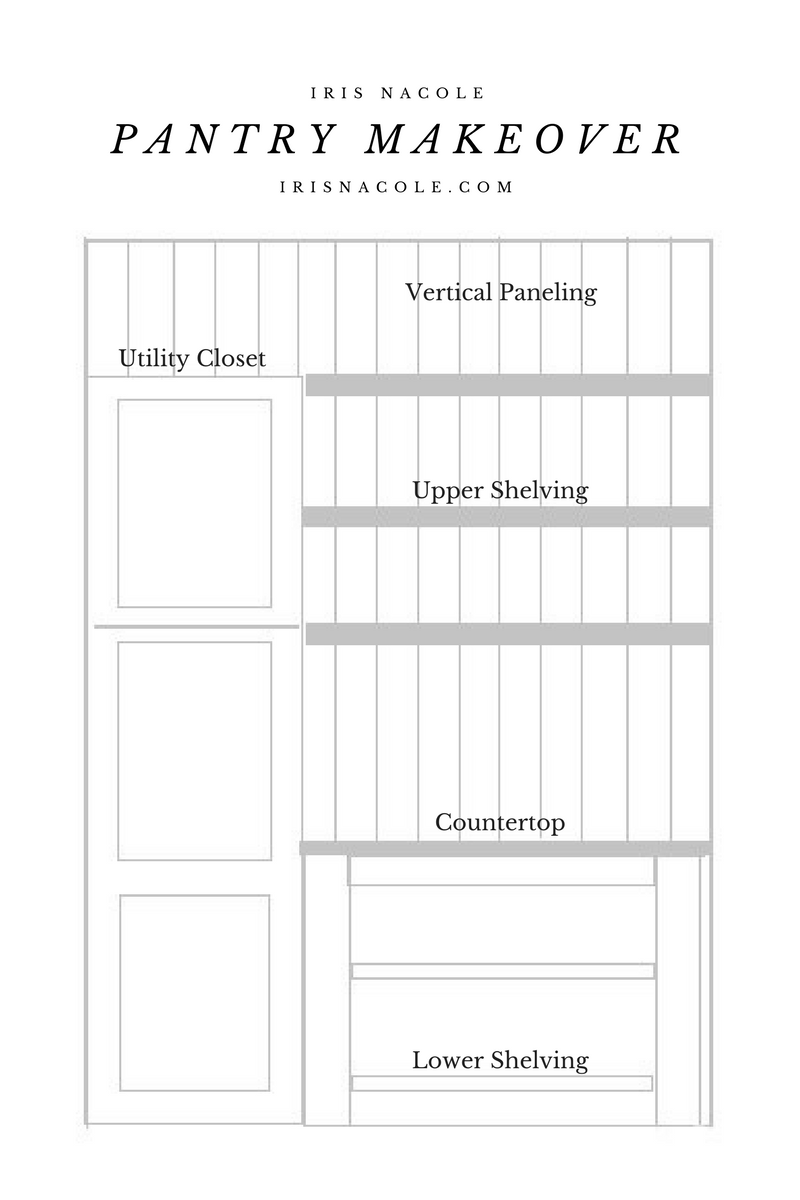
Once we had all of our old shelving cleared out of the room, we started our makeover by adding horizontal and vertical tongue-n-groove panels to the wall. The process went quickly, and we were finished within 24 hours. After that was done, we brought in our pre-made pantry cabinet, trying out a couple of different placements, only to come back to the original plan of having it sit against the back wall facing the door. It will have doors, but for the purpose of installation we took them off. As you can see, we wasted no time in building and installing the rest of the space.
For the base of the cabinets, we broke out our old trusty Kreg Jig, and with my own plans drawn up, partly on a random piece of paper and partly in my head, we got to work. If only I could figure out how to share those plans with y’all! Honestly, I had a general idea of what I wanted when we started, but we ended up building onto those plans as we went along. These pictures don’t show the complete build either, but hopefully it’ll give you an idea of what we did.
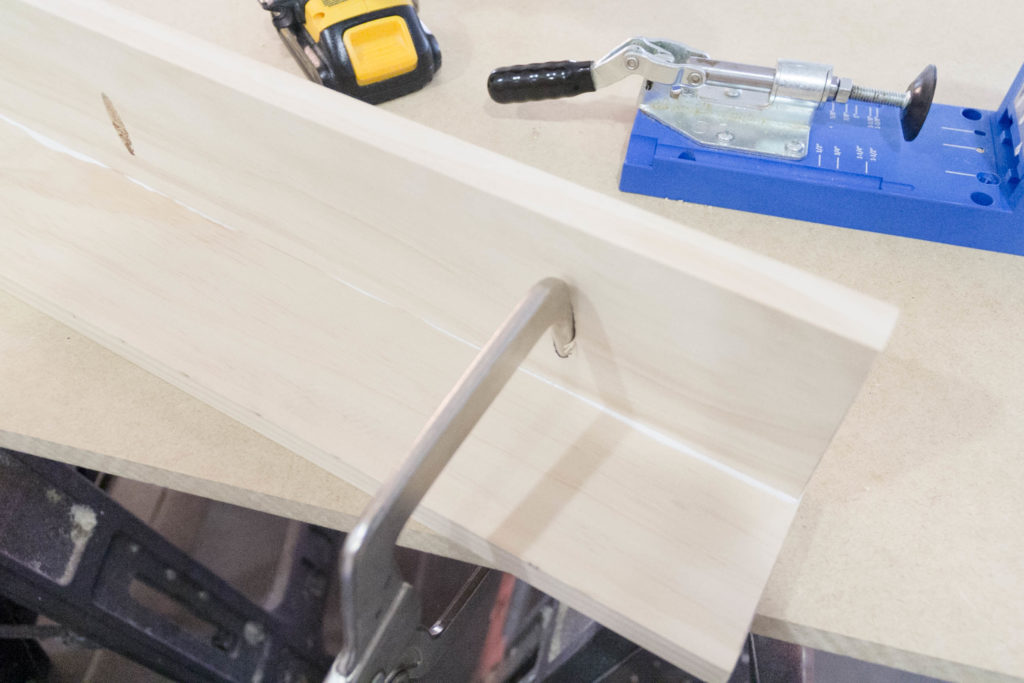
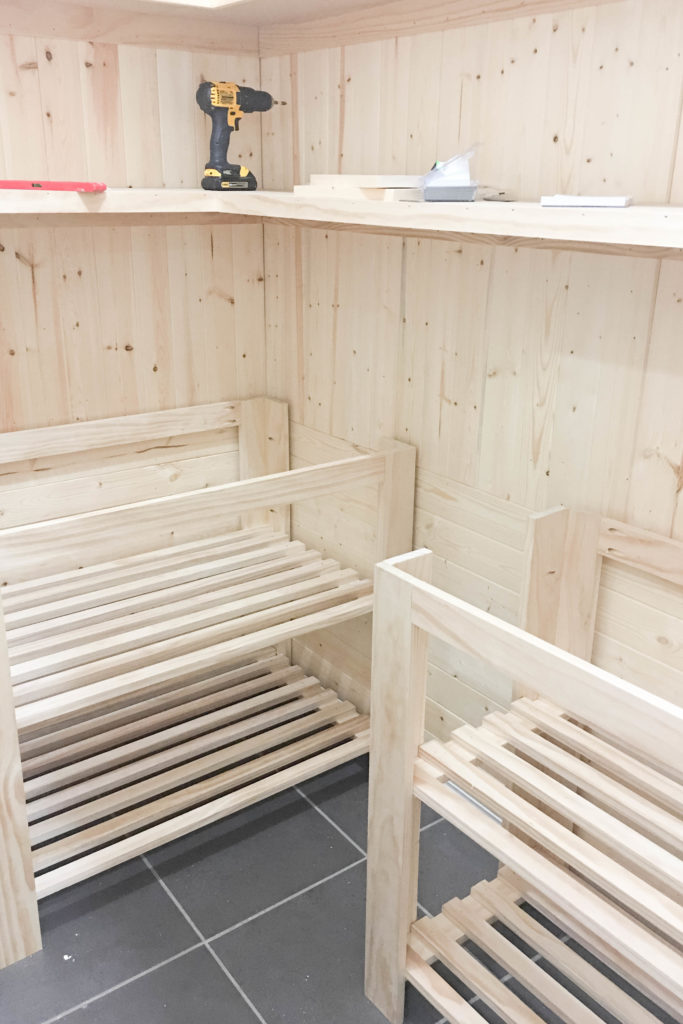
I’m so happy with how they turned out!
For the upper shelving, we created a brace across the bottom of the shelf using long boards, and nailed the shelf into the brace for support. This is how our old cabinets were installed so we knew that method worked. Once that was done, we added trim to the front of the shelving board to finish it out. Of course, since one side of the shelving is quite long we had to incorporate brackets to keep them from sagging. They were pretty simple to design and build, using a countersink bit and wood screws. Here’s a look at the layout of the brackets, and then them installed.
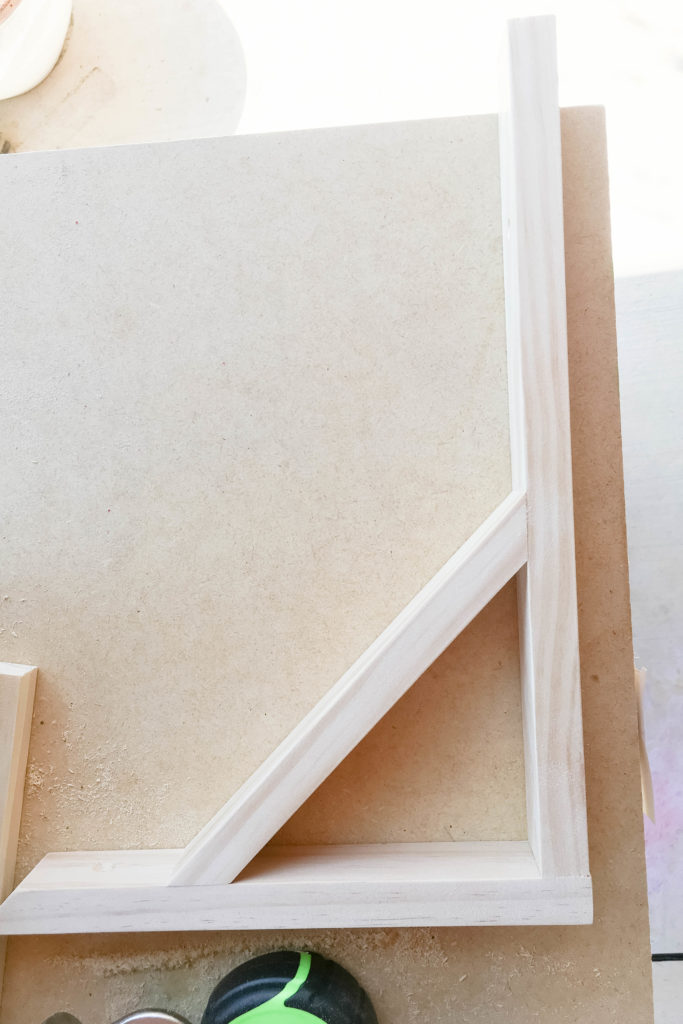
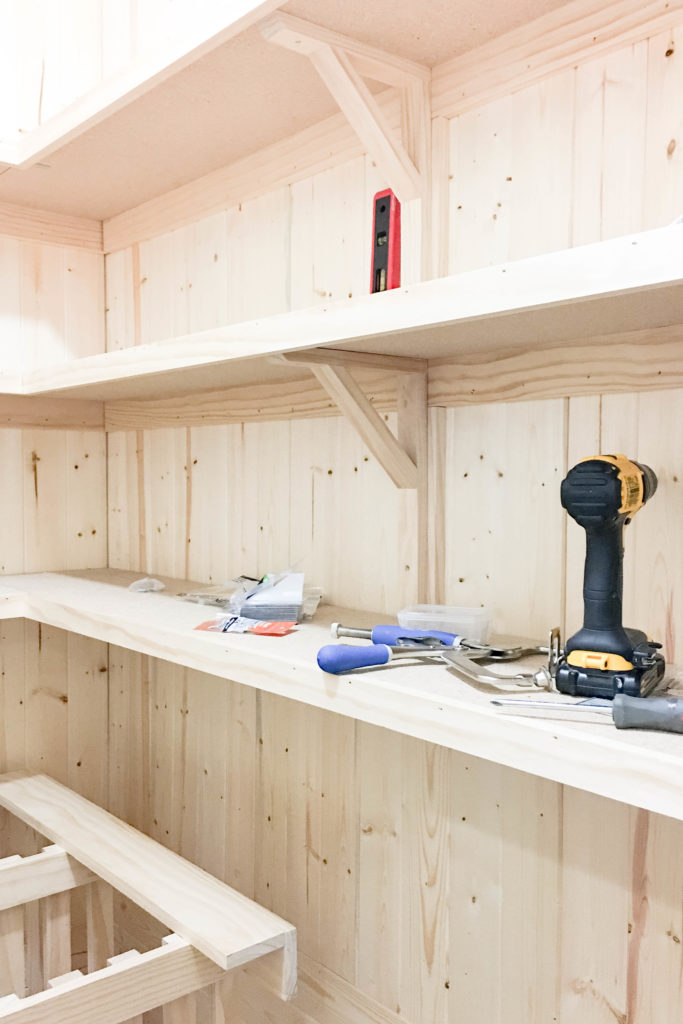
We again used an idea that already existed in our pantry, as the pantry before had metal brackets in the same spot. We just wanted a more custom look to the space, so we decided to build.
So what’s left to complete this space? Here’s a list of all that we have to do.
- Fill nail holes.
- Paint/Stain
- Install countertops.
- Install new light.
- Organize pantry contents.
- Photograph for the big reveal!
Check back in with us next week to see how far along we are!
-Iris
Be sure to check in with all of the One Room Challenge participants over on the One Room Challenge website. Just click the image below to be taken direct to it! Enjoy!
Miss a post?

Wow Iris!! This looks amazing! Awesome design and build project!! Can’t wait to see more as it progresses.
Thank you so much for the support, Lisa! We’re cutting it close. I think I’ll actually end up revealing this a day late, but hey, it’ll still be done! 🙂
Goodness – this is gorgeous! We especially love the brackets that you used.
Thank you ladies! I was excited to actually build those on my own after considering a few different options that would have cost me a whole lost more money. They really fit my idea for the space, and I’m loving how they turned out painted too! 🙂 Hope y’all have a wonderful day!
I love the way this is coming together! I’m planning on tackling my pantry later this summer and you’re giving me some really good ideas. Can’t wait to see it finished.