Craft: Rustic 4th of July Wreath
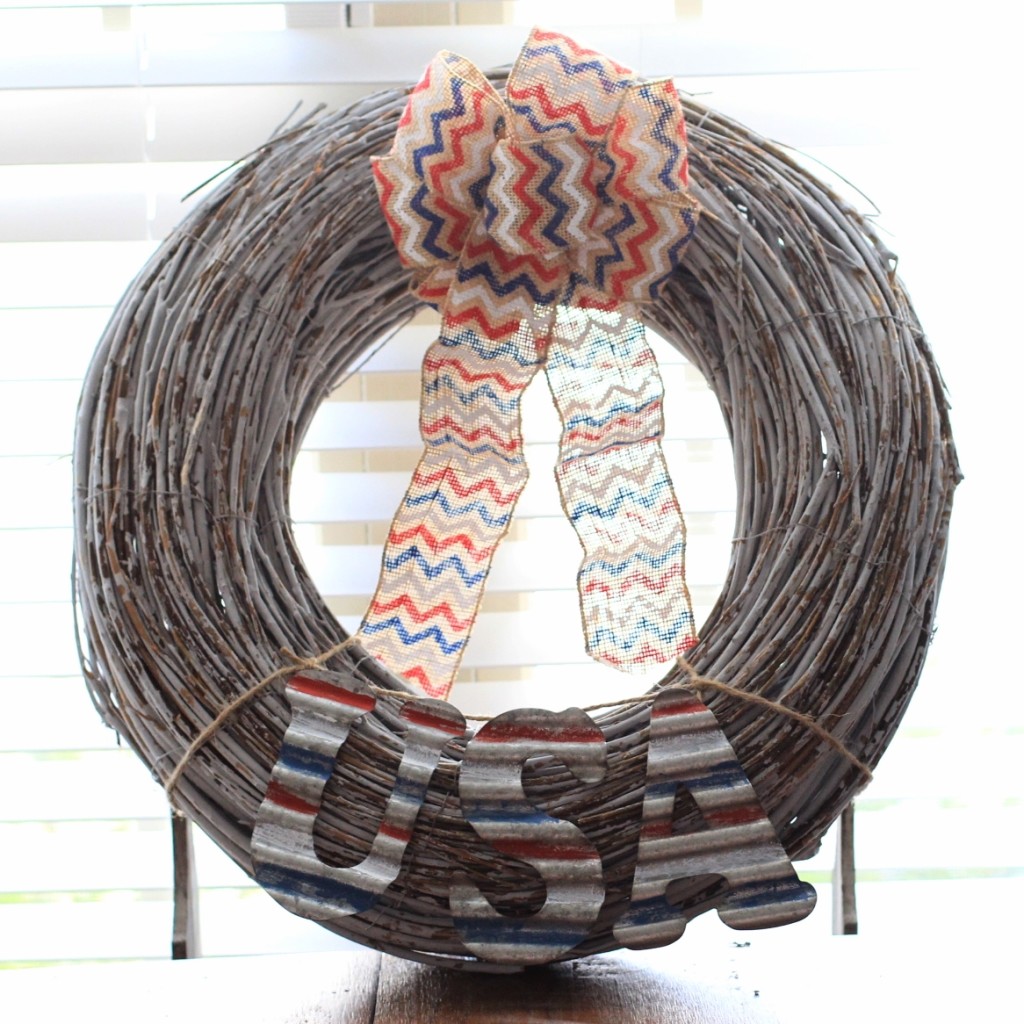
Wow, how long has it been since I shared a craft post?! I guess I was a bit sidetracked with the One Room Challenge, and our family vacation, but I’m back on track now! With one month until the 4th of July, I figured it would be a good time to share an easy DIY craft for the holiday. I was at Hobby Lobby a few weeks ago, looking for palm leaves for our Living Room, when I came across a painted vine wreath for only $10. I love a good sale, so I had to take advantage of it. That’s when the idea for the wreath I’m about to share with you came to me. It’s a very simple design, but that’s what I like about it, honestly. I am thinking that once the 4th has passed, I will remove the decorations from the wreath and replace them with something else for Summer. I haven’t come up with an idea for that wreath just yet.
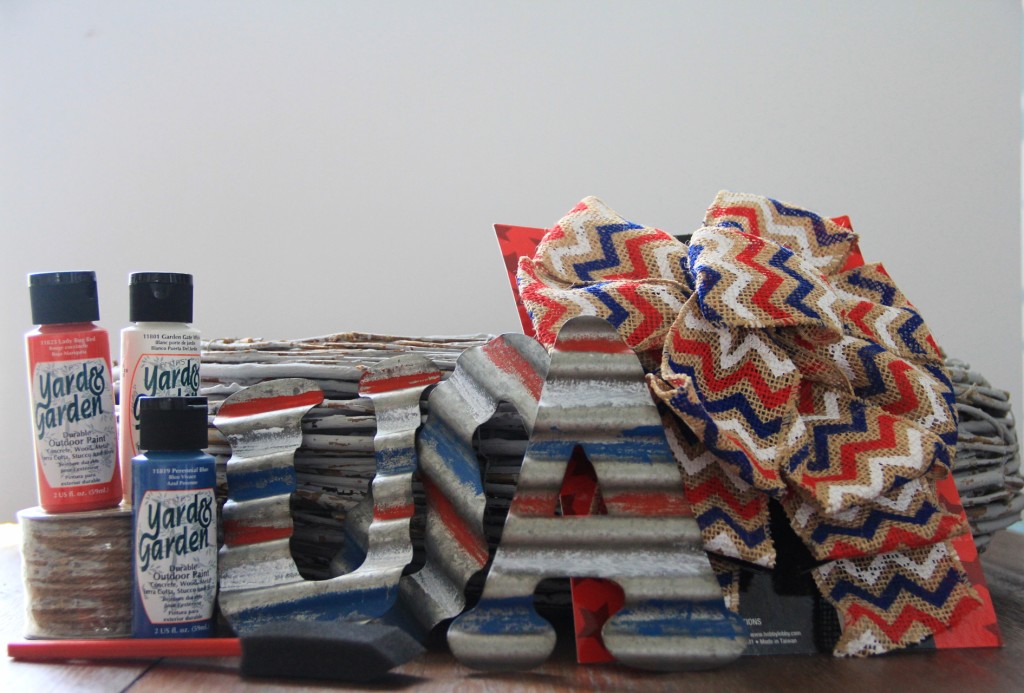
Some of the supplies needed for this project, I already owned, and other’s I found at Hobby Lobby on sale. Here is a list of the items I used.
Vine Wreath-Hobby Lobby
(I can’t find this particular wreath online, but you could always find one unpainted, and distress it with a little paint.)
Outdoor Craft Paint-Hobby Lobby
Jute Rope-Already owned-Target Dollar Spot
Foam Brush (3)-Already owned-Unknown
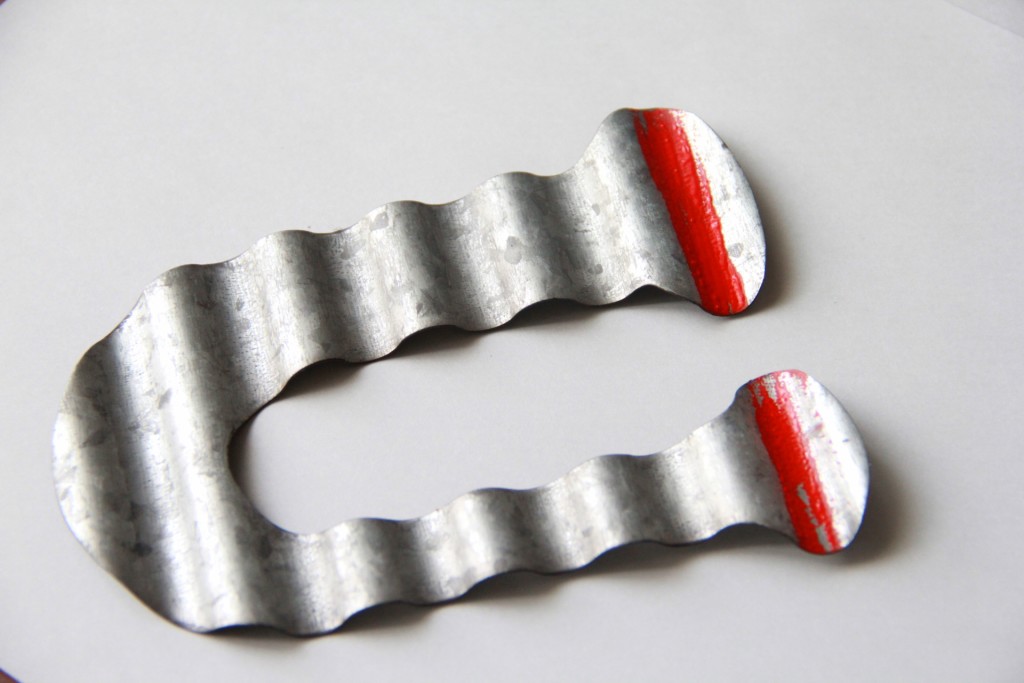
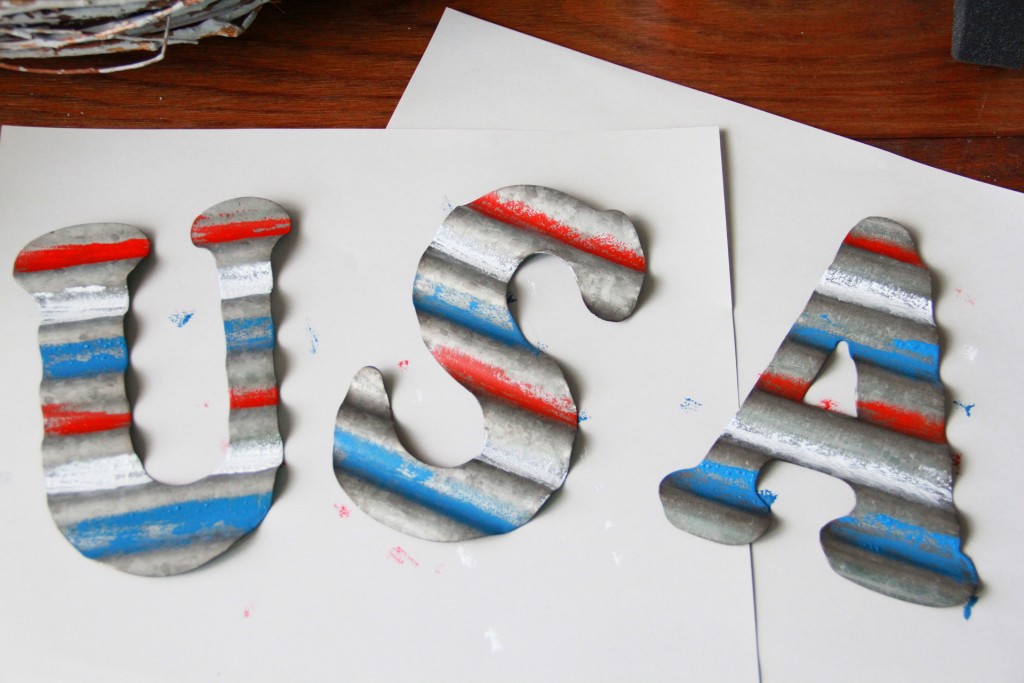
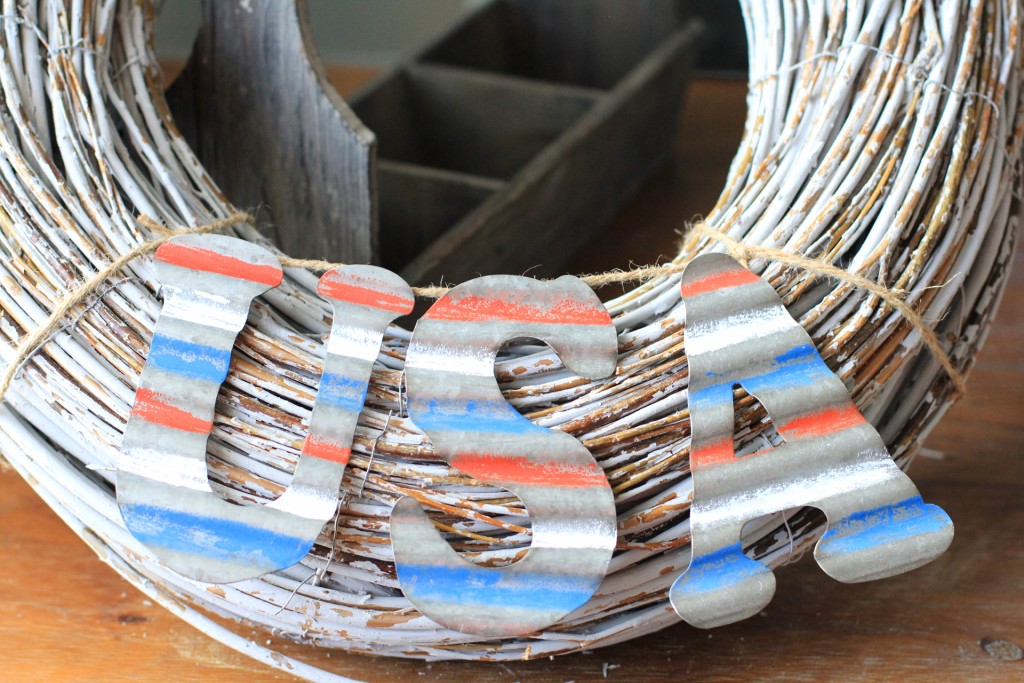
The letters came unpainted, so I purchased the outdoor craft paint to paint them red, white and blue. Once I started the project I deviated from my plan to paint them one solid color, and instead striped them with alternating colors. I’m really glad I did, because I prefer them this way, but I am sure either way would look good.
To give it a rustic look I dabbed a lightly loaded foam brush in the valleys of the tin letters. That left the paint looking a bit distressed, which was exactly what I was hoping to accomplish.
Once I was done with that, I let the paint dry. At nice thing about this paint is that it dries quickly. Since I was trying to finish this project in under 30 minutes that helped speed the project along. I then took my jute rope, and cut a strand off the spool. I proceeded to make a small banner by tying the letters to the rope. These particular letters are made to hang so they have a small hanger on the back that the just rope easily fit through. I just tied a half knot to keep each one in place.
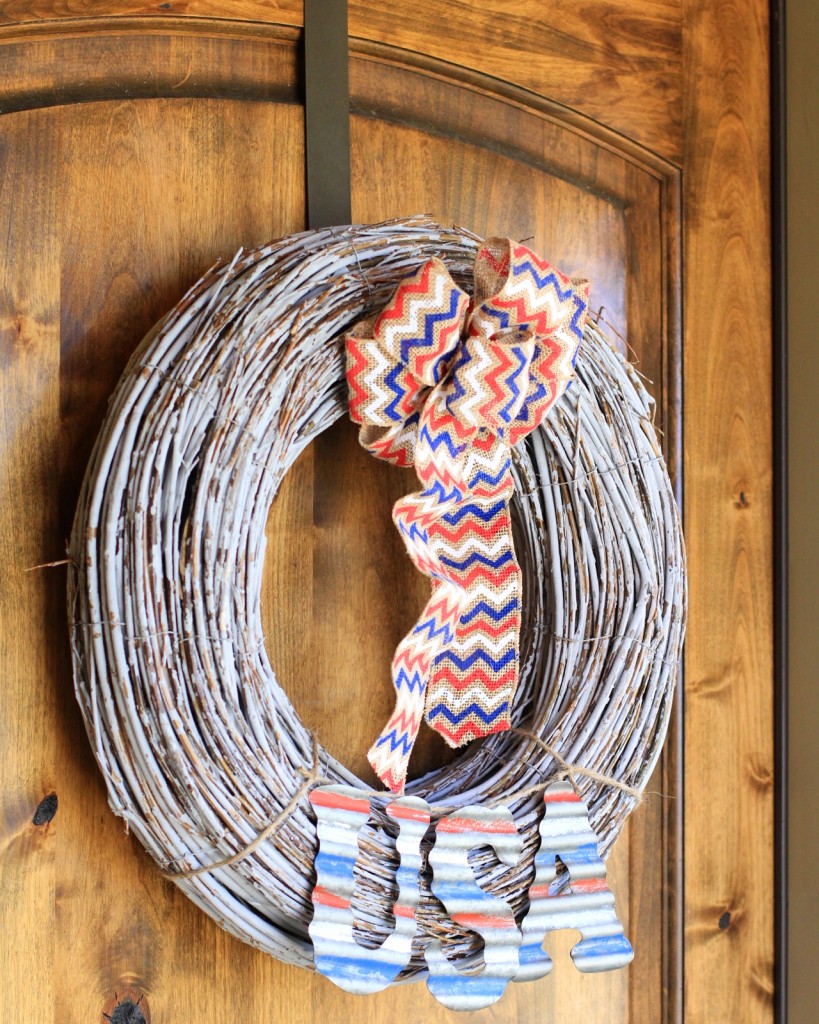
Once the letters were in place, I tied the banner to the bottom of the wreath, so that the letters sat against the wreath.
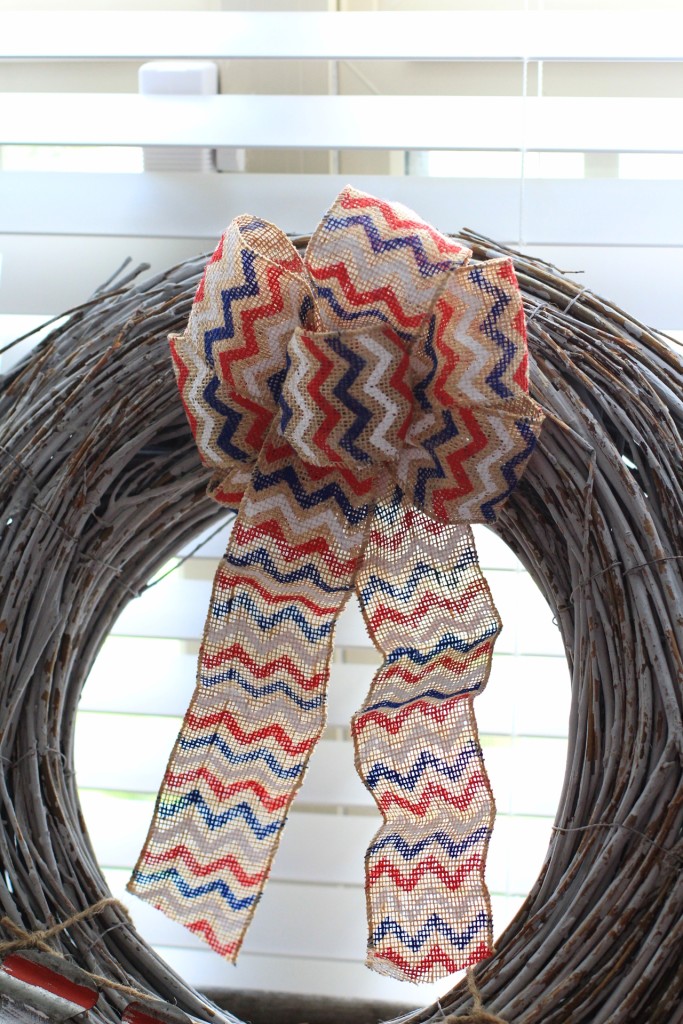
The final step was to take the premade bow and attach it to the top section of the wreath, leaving the ribbons hanging down into the center. I usually just take the existing ties on the bow, and loop them around a part of the wreath and tie them. That makes it easier to dismantle the wreath if you choose to, like I plan on doing.
That’s it! It was so simple, and exactly what I was hoping for. I can’t wait to hang it outside of our house! Check back next week for another 4th of July themed post. It may be a craft, and it may be décor, you just have to wait and see. 🙂
~Iris
Sharing this craft over at the Your Turn to Shine Link Party!
Iris – your wreath is so perfectly patriotic! The tin letters really make it stand out. Great job!
Thank y’all so much! It was a fun little project I decided to share, so I’m glad y’all like it! 🙂
Love this simple idea for dressing up a wreath for the upcoming holiday! Adding a little paint to those letters makes all the difference in the world!
Thank you Jamie! I was just browsing around Hobby Lobby when I came across those letters. I knew what I had to do once I saw them. 🙂