New Year, New Room (Refresh Challenge): Final Week

*IrisNacole.com has been compensated in the form of product for this post, however all opinions are my own.*
It’s the final week of our New Year, New Room Refresh Challenge, and I just want to say thank you to everyone that stopped by and left sweet comments about the reveal of my living room . It really does mean a lot to me to hear from you!
I thought it would be nice to share a quick recap of my posts for the challenge with y’all this week, in case you missed any important details about the space.
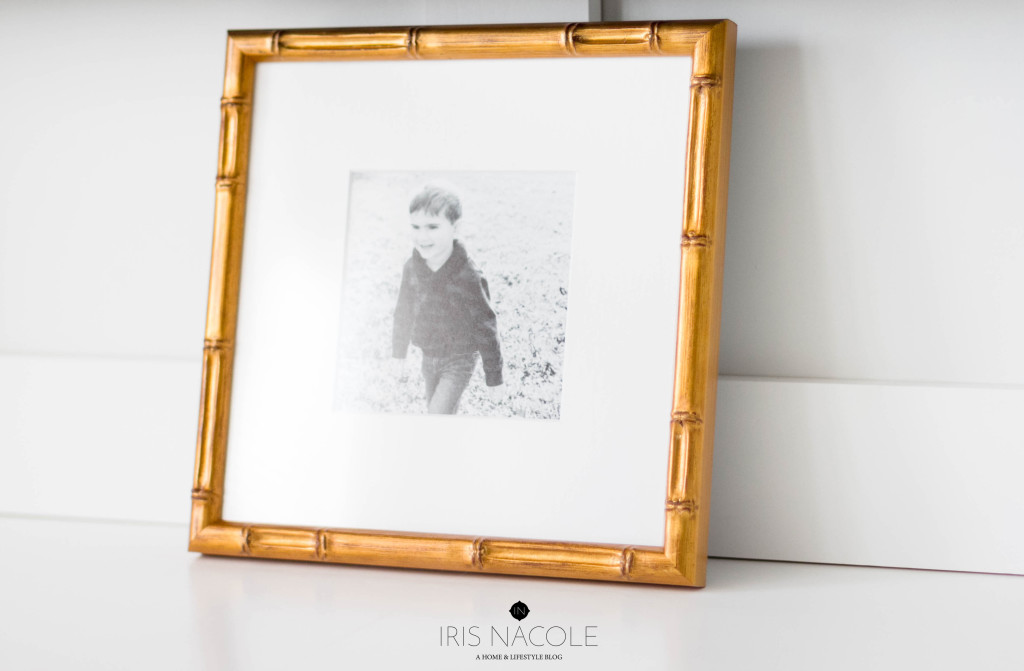
Quickly though, I want to share my beautiful new framed photo of my son that I got from Framebridge! I chose the “Mandalay” gold bamboo frame because I’ve recently become bamboo obsessed, and well I’ve always been gold obsessed, so why not combine the two and add them to my most favorite thing ever, my son! So now I have this beauty proudly displayed on my counter in my living room, and I swear I look at it all the time. You could have one of your own too for only $39! It’s well worth the price, I promise! The fact that this company took the time to not only provide a top notch quality item to me, but also packaged it with such care, even including a the cutest little package of hanging supplies (a nail) really sold me. I always love seeing a human touch behind products, and because a lot of the time you don’t really see that, when I do, I’m really impressed by it. I swear I need 500 more of these frames for the rest of the house now. I’m hooked! Hurry on over to Framebridge.com to get one (or 500) of your own!
Back to the review…
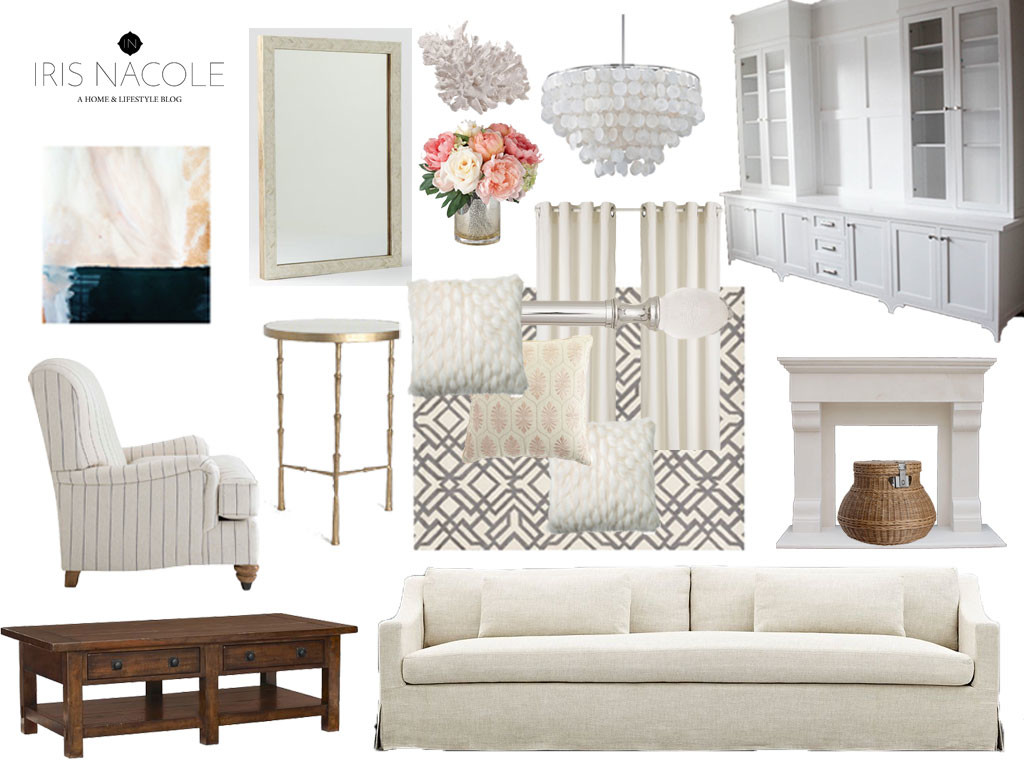
The first week of the challenge I shared my idea board with y’all.

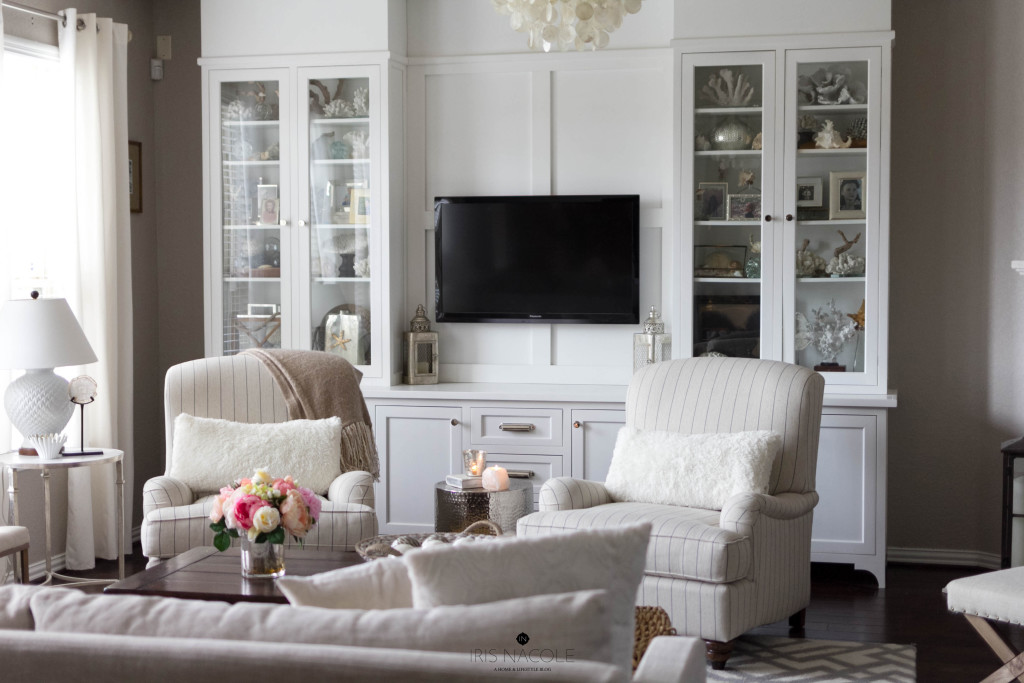
I always start my designs with one of these. It helps me to eliminate those items that I am on the fence about, and of course really gives me an idea of what the space will look like, and the overall feel of it too. Using Photoshop, or apps like Polyvore (free) really saves me from the hassle of having to try out each piece in person to see if it works. The more you do it, the more you get the hang of it too. At least I have. If you are planning a refresh of your own, I highly suggest trying it out yourself. Here’s an after picture to compare my idea board with.

Pretty close, right?
The next week something happened in this room that I’ve been meaning to do for over a year now. We finally replaced the small individual curtain rods with one large curtain rod. I couldn’t ever bring myself to shell out the money for a really large rod already made, so I had to come up with a solution to my problem. What I’ve done here is to actually combine two normal sized expanding rods using this little trick I came up with. Take a look at the photo below to see how!

Here’s what you’ll need to do it yourself. Two expandable curtain rods that will total at least your desired length, and one threaded rod (see picture below) which you can find at your local home improvement store.
The how is even easier than the what in this case, which is always nice. In order to add the extra length you will take the matching expansion rod from the second set of curtain rods and connect it to the expansion rod from the first set using the threaded rod to create an even longer middle rod! That’s it! Really! In my case we were able to make a rod that expanded over 180″! Even having to purchase two rods at full price to do this saved me well over $50 by avoiding the insanely priced rods of that length being sold my most retailers. Honestly it’s hard to find a rod at that length at all, so I’ll stick with this trick instead! I mean, that leaves me more of a budget to replace my curtains with even nicer ones one day, and Lord knows I want to!
Finally, in last week’s post I shared the reveal of the space. It has been so nice to be done with it all, and to be able to really just enjoy it instead of thinking about what I might do with it. If you’d like to see more of the space, just follow this link.
That’s all from me! I know a lot of the other ladies have some great reveals coming your way, and some really great followup posts too, so please follow the links below to see. I can’t wait to see them myself!
Thanks so much again friends! I am excited to continue refreshing the spaces in my home throughout the year, and to share the process with y’all through them all. Hopefully I’ll do better next time in really letting you in on my thought process. That’s something I really feel like I need/want to improve upon as I grow with this blog, to really be considered a good source for home decor ideas, and how-to’s. I think I’ll get the hang of it soon enough!
Have a wonderful day!
-Iris
New Year, New Room Refresh Challenge Participants:


Awesome tip! Who knew?! Rods can be so ridiculously expense – thanks for the money-saving alternative! – Rachael
Thanks Rachael! It was a huge “aha” moment when I figured it out. I hope it helps you out next time you are looking to decorate a large window space! 🙂
Love the gold bamboo frame!! I’m totally obsessed too. I bought an antique set of gold bamboo flatware last year. Love seeing the recap of your beautiful space!
Still loving this bright, beautiful room. The curtain rod trick is really smart. They can be so expensive, and long ones are often kind of big and ugly. Your fix looks great. Small things like that can make such a big difference!
So beautiful!!! Iris I just love your style. You e done a wonderful job. The curtain rod hack was a great idea!!
I’m so jealous of your living! It’s beautiful, functional and THAT BUILT IN! Frame bridge is awesome!
You have such a romantic dreamy style it is so breathtakingly beautiful. Love!