Bohemian Tray (Create and Share)
This post contains affiliate links. If you click on a link and purchase from it, I will receive compensation for that purchase. If you do, thank you so much for supporting my little blog!
You are in for a treat today! The Create and Share group has been lucky enough to have Walnut Hollow sponsor this post, and offer the participants the choice of three different products-their Pallet Tray, Medium Basswood Round, or Large Round Clock. Each item came with a wood burning kit too, which is awesome! From the graphic alone, I can tell you everyone knocked this challenge out of the park! Be sure to scroll down to link over to each individual project to see how they did it!
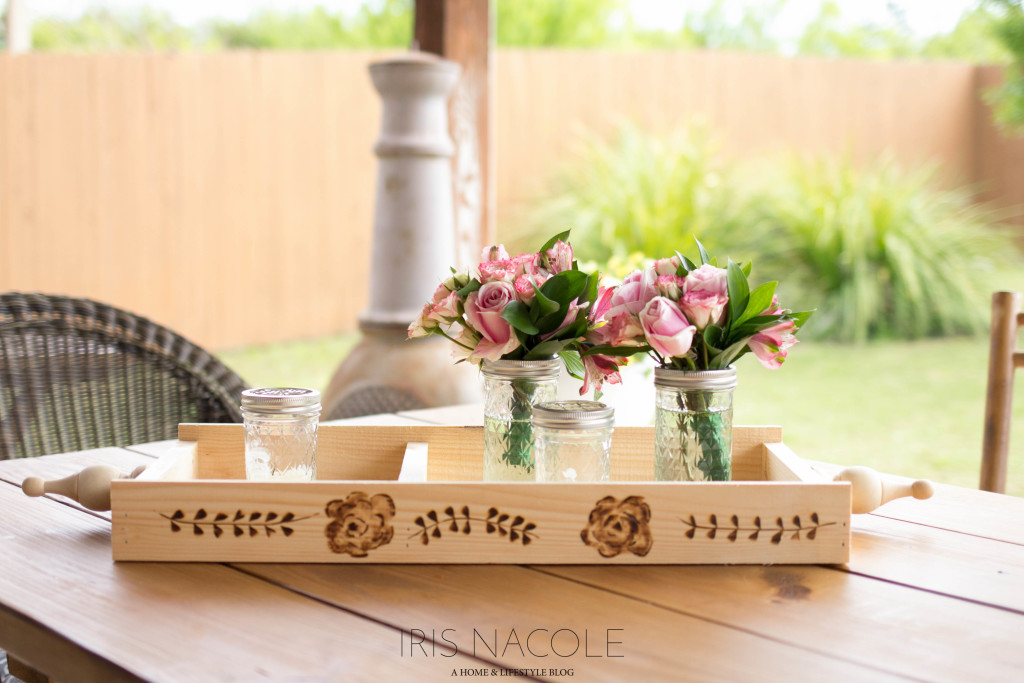
I was immediately drawn to the pallet tray, and knew I was going to have fun making it over! The bohemian idea was already in effect, but I just wasn’t positive about the design, or any other aspect. Would I want to paint the tray? Burn designs into the tray using the wood burning tool? Maybe I would stain it? So after much consideration, and plenty of procrastination, I came up with what you see here.
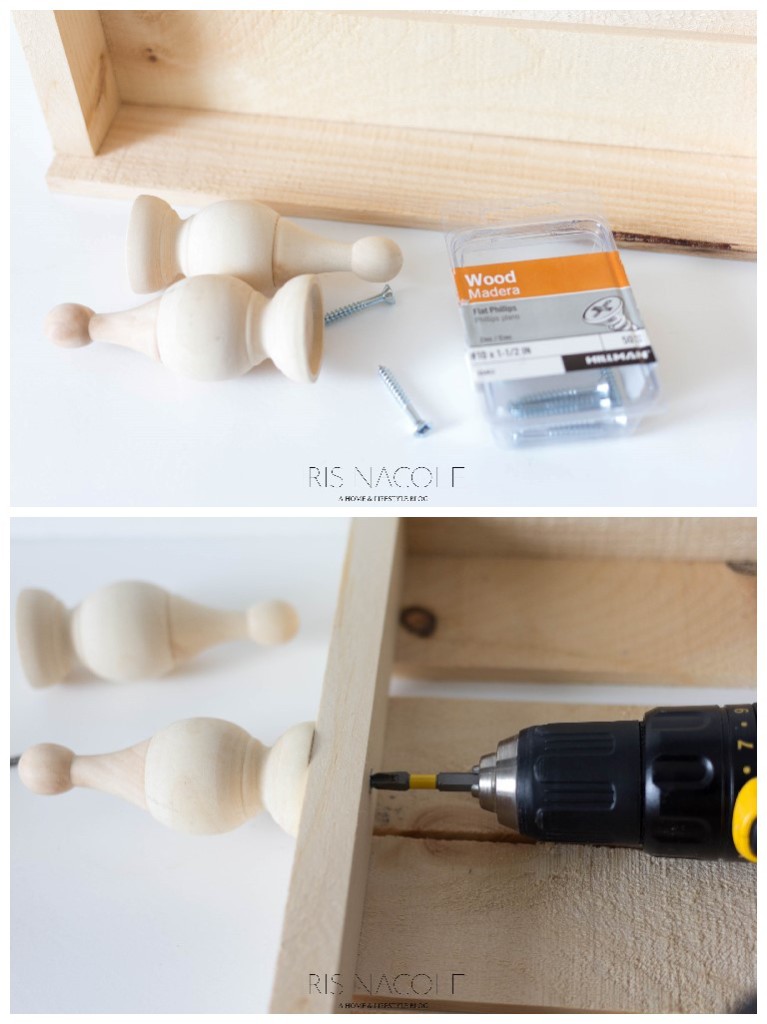
I hunted around the house for some acceptable form of handles, and I while doing so I came upon a bag of finials, and wooden beads that I’ve had stored away from a project fail/upcoming project. I’m so glad I found them too! They are the perfect handles for the design I came up with.
Maybe you’ve noticed that I’m a floral-aholic? I’ve got spring fever for sure! So I decided a nice little floral design on each side of the tray would be perfect. Here’s how I did it, and what you’ll need to do it yourself.
Supplies: (click for links) Pallet Tray from Walnut Hollow, Wood Burning Kit from Walnut Hollow, Wooden Finials, 1 1/2″ Wood Screws, Screw Driver/Drill
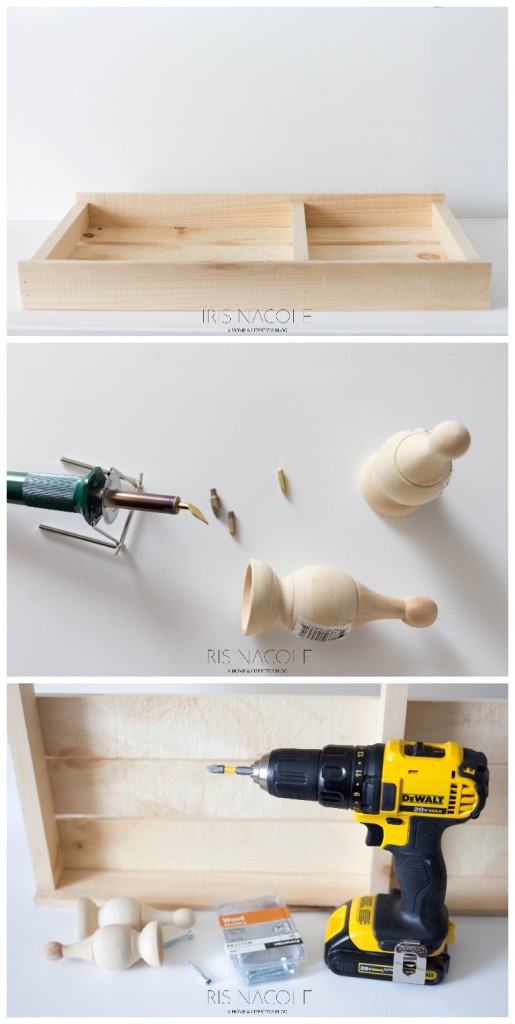
(Safety Warning: The wood burning tool gets extremely hot! Be sure to use caution when using it!)
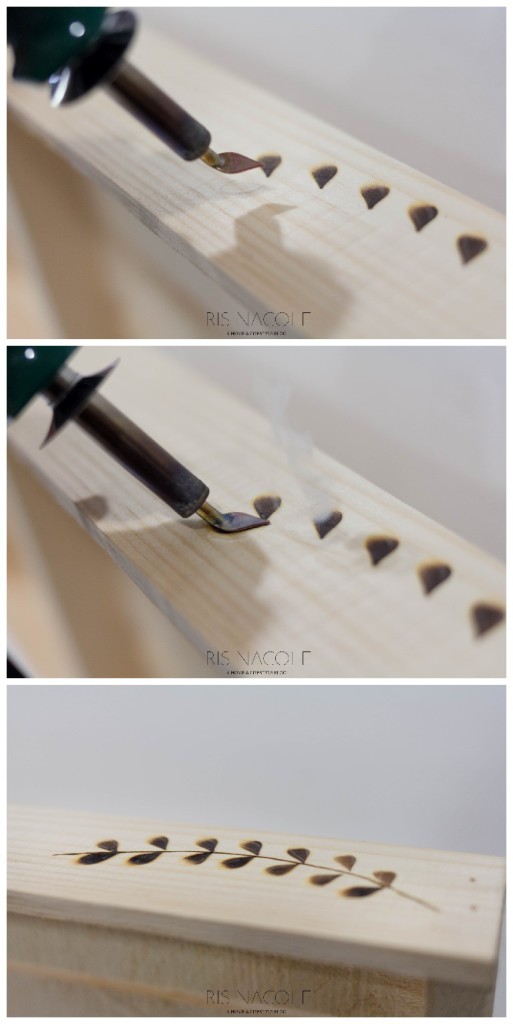
For the entire project I used one wood burning tip, and that was the shading tip you see in the picture below. I was able to make impressions representing leaves/flower petals by pressing it down completely to the wood surface. Point facing in, hold the tip down for a second and pull up. Each one may look different depending on your skill level, but I believe a beginner could get the hang of it pretty quickly. Once you have completed your desired amount of petals/leaves turn the tip on its side and make a line down the middle. I curved my line to add flow to the overall design.
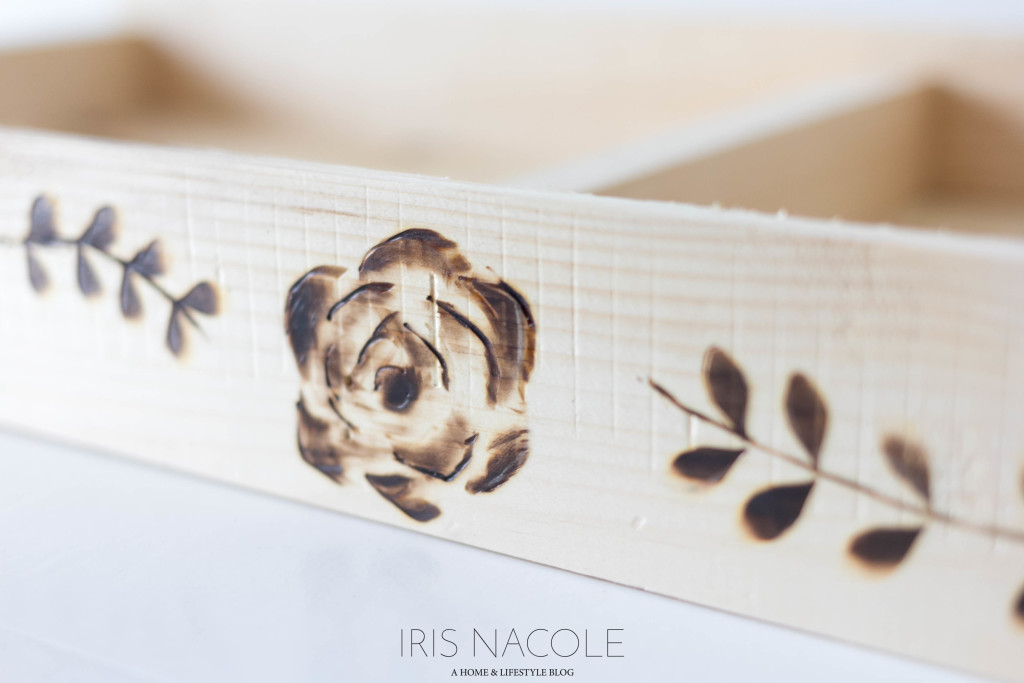
Now comes the fun part! The flower. I think we may have all learned how to draw this rose design at some point in our lives, but if not, it’s just a matter of drawing arcs of varying sizes to create the overall picture. Again, I did this using the side of the tip, and then shading the rose with the overall tip. Lightly run the tip flat side down around the rose to shade it. You might be thinking this sounds too hard, but let me tell you, this craft really sucks you in! I would say I was almost in a trance while doing it. It was therapeutic, so at least try it for yourself. You just may uncover some hidden wood burning skills!
Once your design is done, be sure to turn off/unplug your wood burning tool, and let it cool in a safe place. Now take your tray, and prepare to add your finials to each side. I eyeballed the center of the tray, placed my finial on the outside and held it against the wood. Take one 1.5″ wood screw and screw it through the inside of the tray towards the finial. Hold the finial tight, because once the screw makes it past the tray it will start to turn the final as it goes through the wood. Once it’s all the way screwed in, repeat the process on the other side.
Now you have a beautiful bohemian inspired tray! Decorate it with books, flowers, whatever your heart desires, just enjoy it!
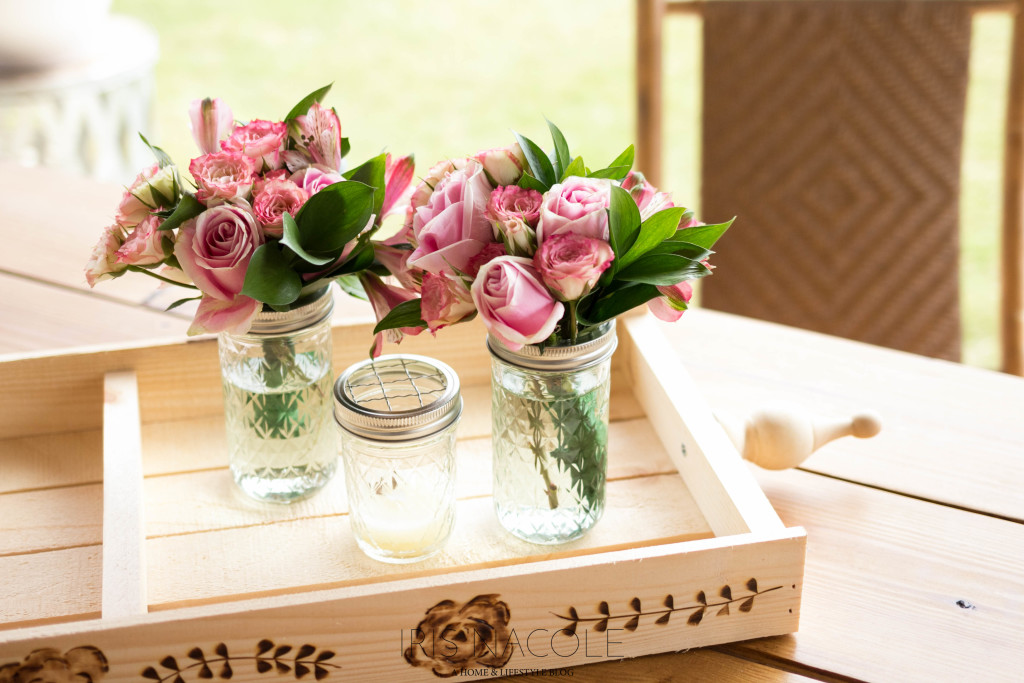
I am!
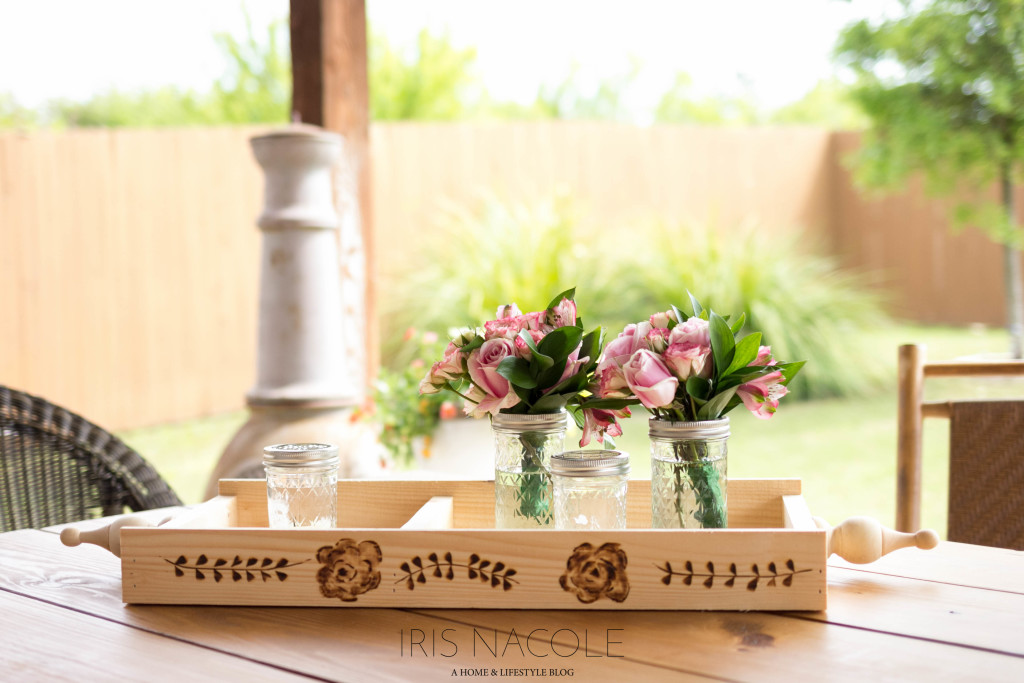
Now let’s see what everyone else has been up to!
-Iris

Pallet Tray Projects
Casa Watkins: DIY Succulent Garden Dry Erase Board
Pocketful Of Posies: DIY Military Coin Shadow Box
Vintage Romance Style: Easy DIY Laptop Stand
Shabby Grace Blog: Herb Garden Tray
Vintage Paint and More: DIY Vintage Pallet Tray
Domicile 37: Electronics Tray
Iris Nacole: Bohemian Tray
Lovely Etc: Simple Pallet Photo Display
The Southern Couture: How To Decorate Your Home For Every Season
Green With Decor: Decorating The Bathroom Walls
Medium Basswood Round
Run To Radiance: Faux Succulent Centerpiece DIY
A Shade of Teal: DIY Clock
One Mile Home Style: Golden Home Sweet Home Wall Art
Flourish & Knot: Monogrammed Cheese Board
Lehman Lane: DIY Rustic Boy’s Room Sign
Knock It Off Kim: Rustic Treat Stand
Farmhouse 40: Wood Open Sign
DIY Beautify: Wood Slice Clock
Creatively Homespun: DIY Children’s Step Stool
Chatfield Court: DIY House
Numbers
Large Round Clock
Monica Wants It: Gold Polka Dot Clock
The Twin Cedars: DIY Lazy Susan
Tastefully Frugal: DIY Drum Clock
Uncookie Cutter: Tabletop Clock
The House Down The Lane: Kid’s Art Cheese Tray
Refashionably Late: Stenciled Clock
Homeology: Rustic Modern Wall Clock
My Life From Home: DIY
Baseball Clock
Old House To New Home: DIY Stenciled Clock

Your tray is so cute, I love the leaf detail.
Thank you Katy!!
So pretty Iris!!! And you did such a great job with the wood burner!!! Pinning:)
Thank you so much Tara!!
So beautiful Iris!!!!!!! I adore the wood burning effect and your tray looks so beautiful! The handles are so unique and add such a great look!
Thank you Steph!!
Iris I’m blown away by your wood burning skills! Your tray turned out beautiful! 🙂
Aw, thank you Ruthie! It’s something that I did as a child for fun, but never all that well. Still, I think some of it came back to me these past few times I’ve used it, and I really enjoyed trying my hand at it again. 🙂
So pretty! I love how you kept it natural. Your shading is perfect…hmmm inspiring me for another wood burning project!
Thank you so much Meghan! It’s such a fun activity!
Ooooh pretty! You did such a lovely job burning your design. Bravo!
Thank you Sarah!!
This is gorgeous! It definitely has me wanting to try wood burning myself!
Thank you Carrie! You really should! It’s so much fun!
I love it Iris! And I love how you used the little feet! So cute!
Thank you April!!
Love this tray, Iris! Your wood burning skills are impressive. Pinned!
Thank you so much Tiffany!
Iris, you’re a pro with that wood burner!!!! I love the simple but beautiful look of the tray. Will be perfect for this summer. And no, I’ve never learned how to make that rose…. I’m so impressed!
Thank you Sara! My grandma used to draw, and when she’d come to visit she’d sit me down at the table and try to teach me what she knew. That rose was the first things I really picked up on. 🙂
It sure looks beautiful! I love the floral pattern. I have never used a wood burner so this might take sompe practice.
Thank you so much Zan! It does take some practice, but it’s fun to learn, so I highly suggest giving it a go if you are at all interested. The tool doesn’t cost much either, so that’s a plus!
Beautiful job Iris! I love the handles! What a great idea and those flowers are perfect! Pinning
Thank you Cat! Sometimes the best ideas come to me when I’m in a panic to come up with something. LOL! Glad you like it!!
So pretty Iris. I love the flower details.
Thank you BonBon!!
I love the woodburning on the tray – so pretty and those handles are fabulous Great project.
Thank you so much Cathy!