DIY Cedar Shutters
Hi, and welcome! In 2016, Around the Watts House changed its name to Iris Nacole. I hope you like the new look, and content! If you’re new here, you can see what we’ve been up to here. Thanks for stopping by and we hope you enjoy one of our most popular tutorials!
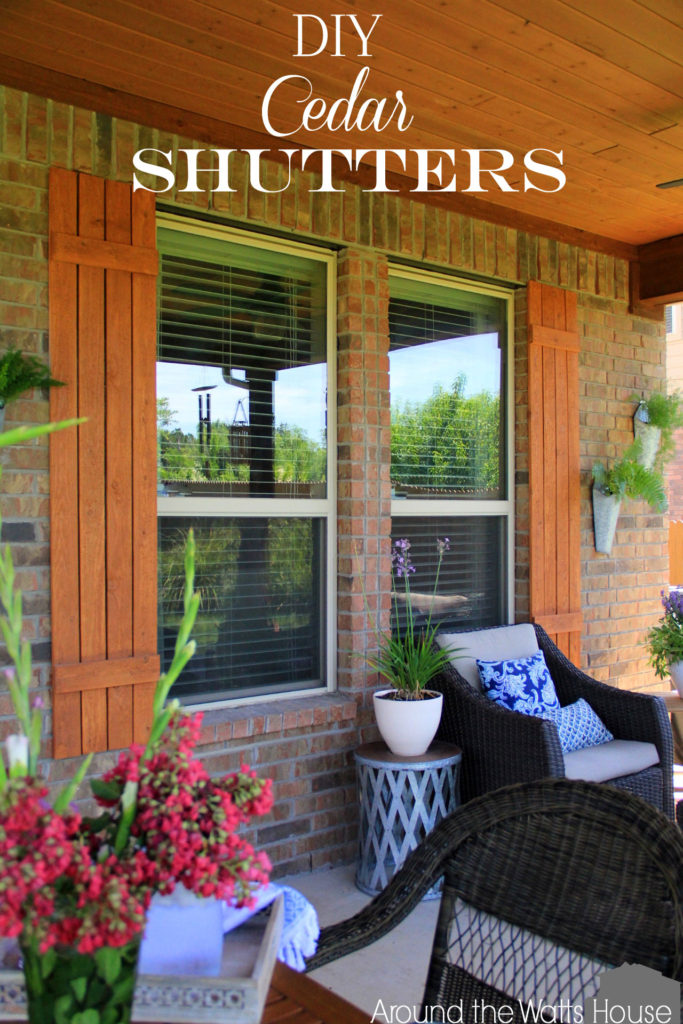
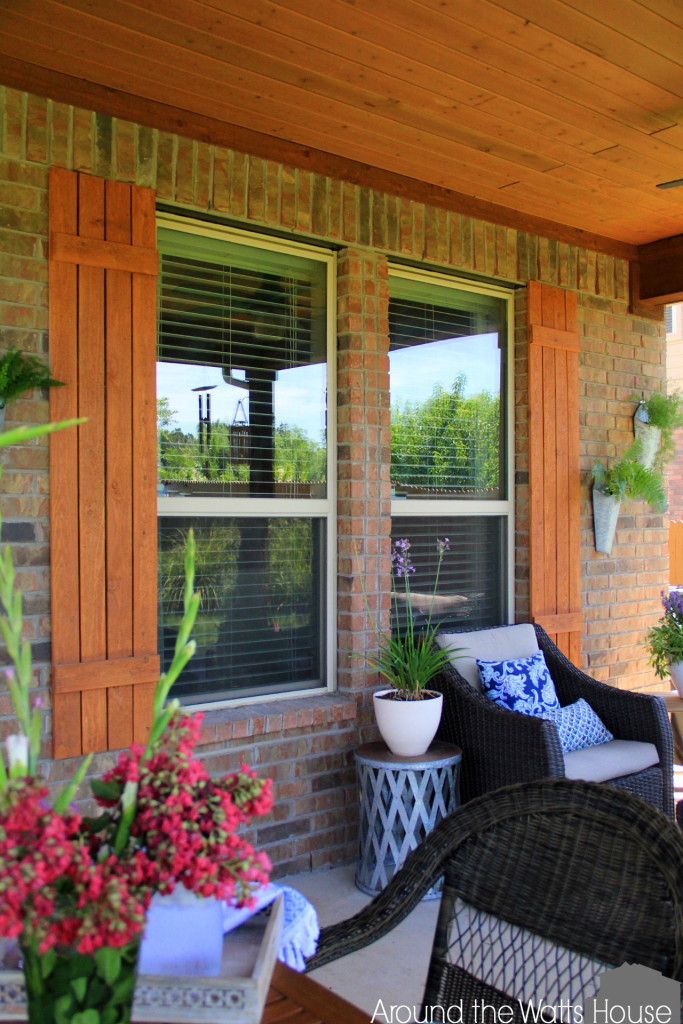
Hey folks! A few weeks ago I decided to stop procrastinating, and finished decorating our back porch. It’s only taken me all of Spring/Summer to get it done, but it’s done and I love it! One crucial element in making the space feel fresh was building these decorative shutters. They were quick and easy to build, so I thought I’d share a tutorial here for y’all in case you have ever wanted to have some for yourself without shelling out the big bucks.
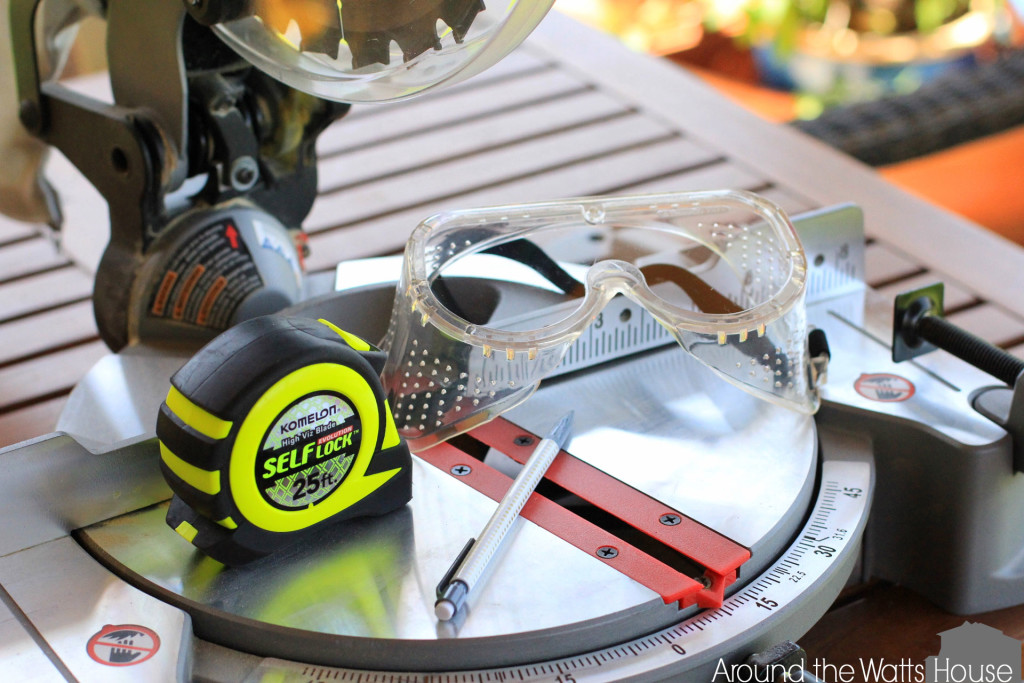
Of course you’ll need to gather your supplies for the project first. Here is the list of items I needed to complete the project:
Wood Planks (We used Cedar to match the existing wood in the space.)
Measuring Tape
Safety Goggles
Pencil
Sandpaper
Stain or Paint
Brush or Rag
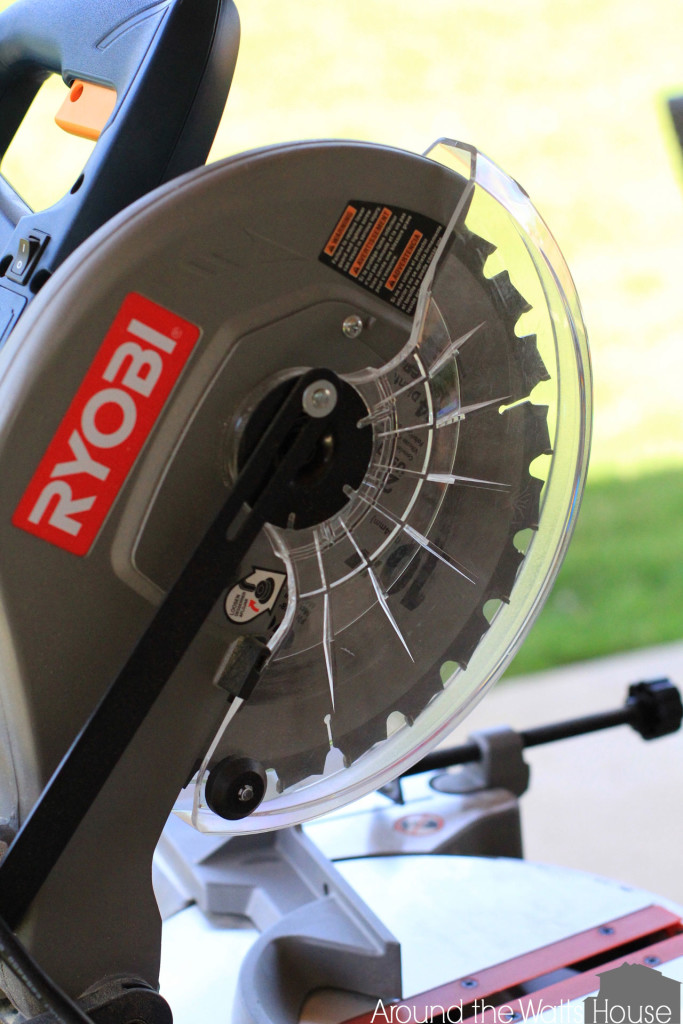
Saw (I used a miter saw, but if you don’t have one, a miter box would work just fine.)
Drill
Wood Screws/Nails
Masonry Screws /Drill Bit (This will depend on the wall you are installing the shutters on.)
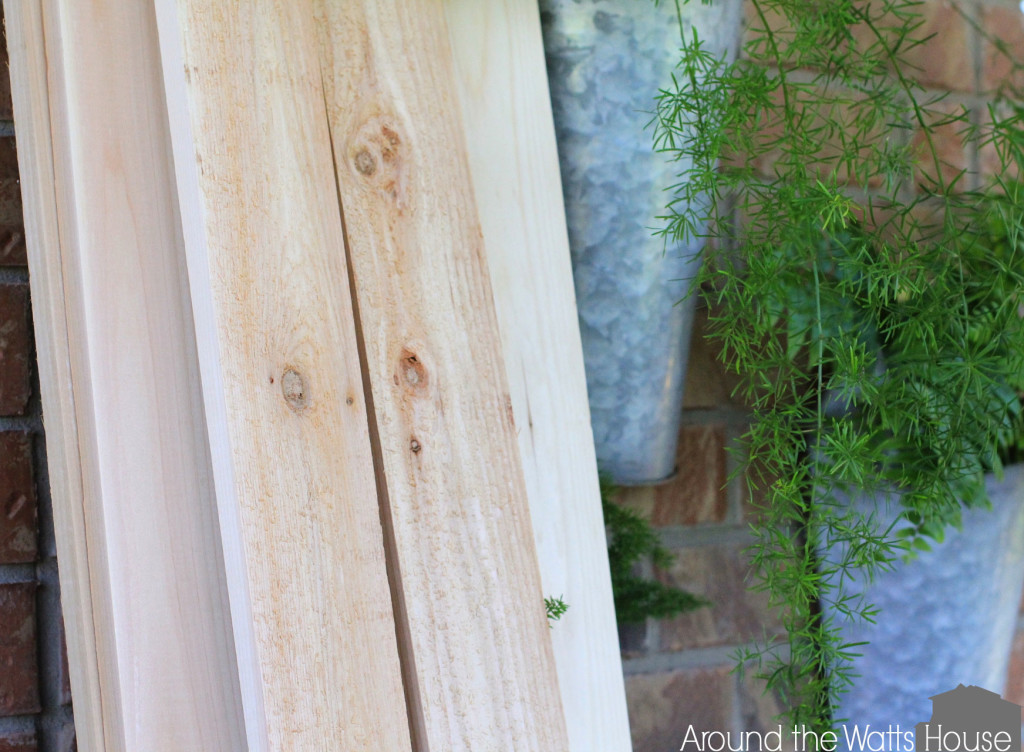
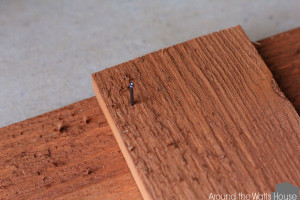
Here are the cedar wood planks I used. If you choose to use cedar for your project you should know that it has a smooth side and a rough side. You can see the different textures on the two left pieces, shown above. Since our builder chose to apply the rough side out on the existing beams we thought it would be nice to keep the continuity of the space and chose to do the same.
I started off by measuring our window’s length and width, to figure out how tall and wide I wanted the shutters to be. Doing this will help determine the cuts you need to make.
In order to make them look like they “belong” in the space, I chose to make them as close to half of the window width as possible, without having to rip down boards to do it. That meant I needed to use four cedar wood planks for my project.
Safety Warning! I can’t stress how crucial it is that you wear your safety goggles when cutting anything with your saw! Always protect yourself first!
Once your cuts have been made, take your sander, or sand paper, and sand down the frayed edges.
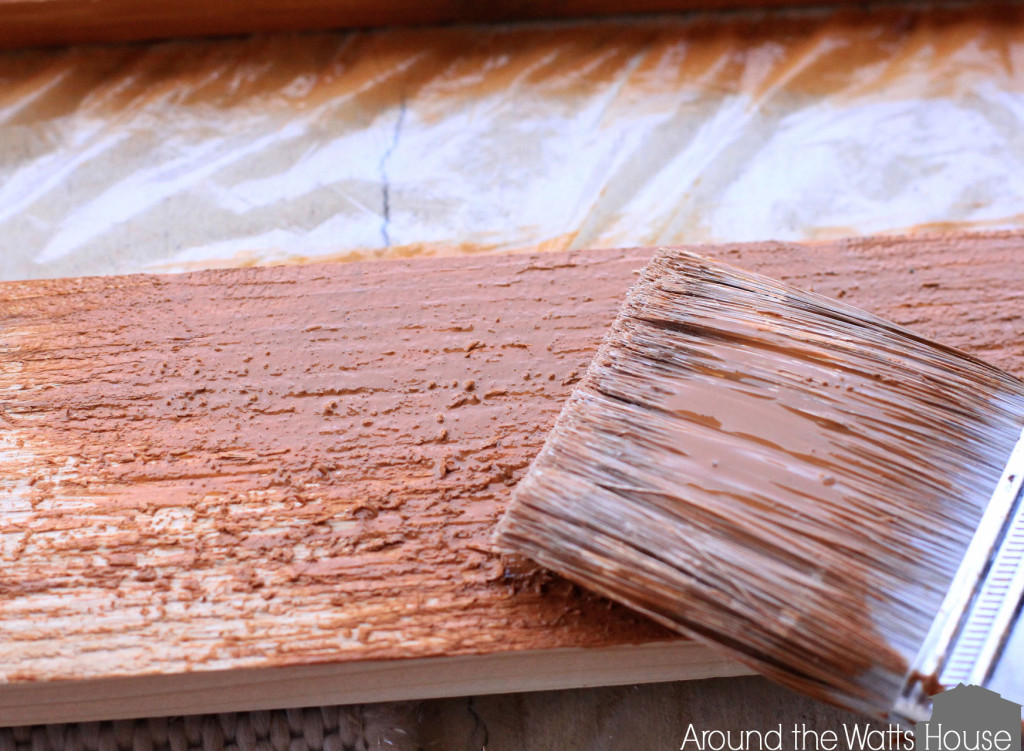
Now it’s time to stain or paint the planks!
Since I chose to use the rough side of the board I used a paint brush instead of a rag to apply the stain. This made the process much quicker, but I did end up using more stain than I would have otherwise. Luckily we still had half a can of stain left over from a painting project we hired out for last Fall so it didn’t cost me any extra money to go this route. I found that after painting nine planks I still had a good amount of stain left over, so depending on the size of your project, a small can of stain might work for you.
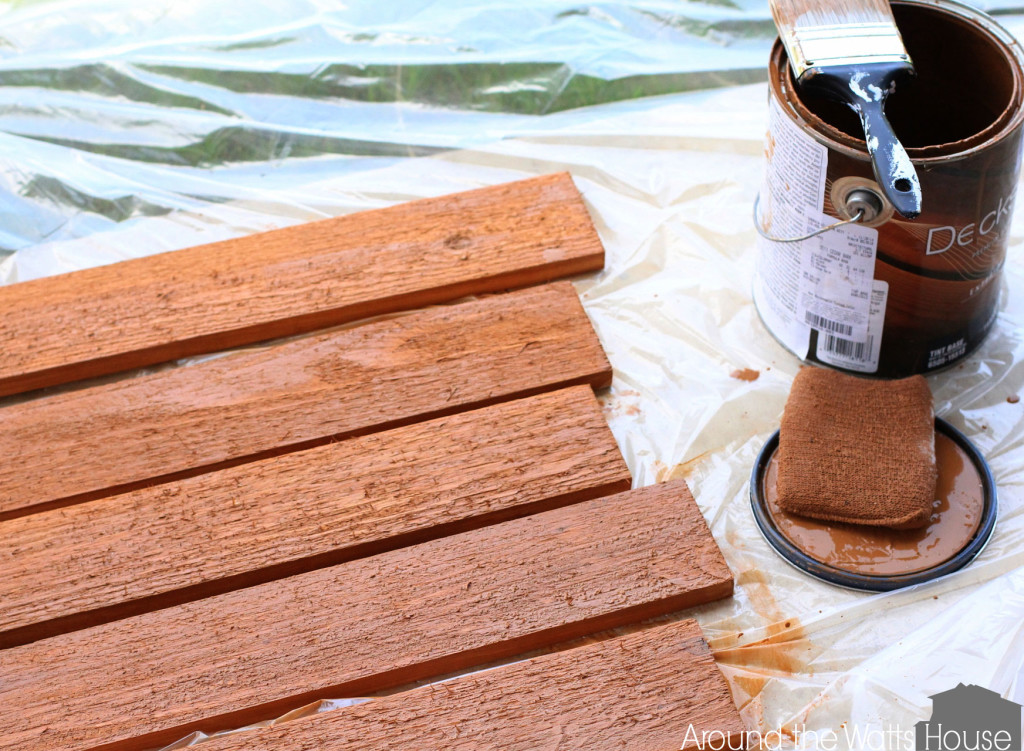 Once I was done staining, I was ready to attach the boards together to create the shutters.
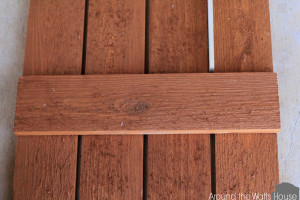
First I aligned the boards next to each other using a spacer to create a uniformed separated look. Then I measured that to make sure that I cut my final board down to use as the cross-piece. Of course you could do this step before staining, and move right into assembling, but I’m staying true to the process in which I made these for this tutorial. I’d probably do it the other way next time though.
Once that was done, I applied the cross pieces to the front of the planks using finishing nails.
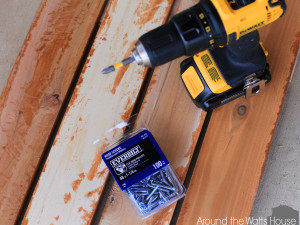
The final step I took was to ensure that the boards were securely attached together. I did this by flipping the shutter over, and drilling wood screws through the back of the boards into the cross boards. Nobody will see them, and now I have the peace of mind that these babies aren’t coming apart!
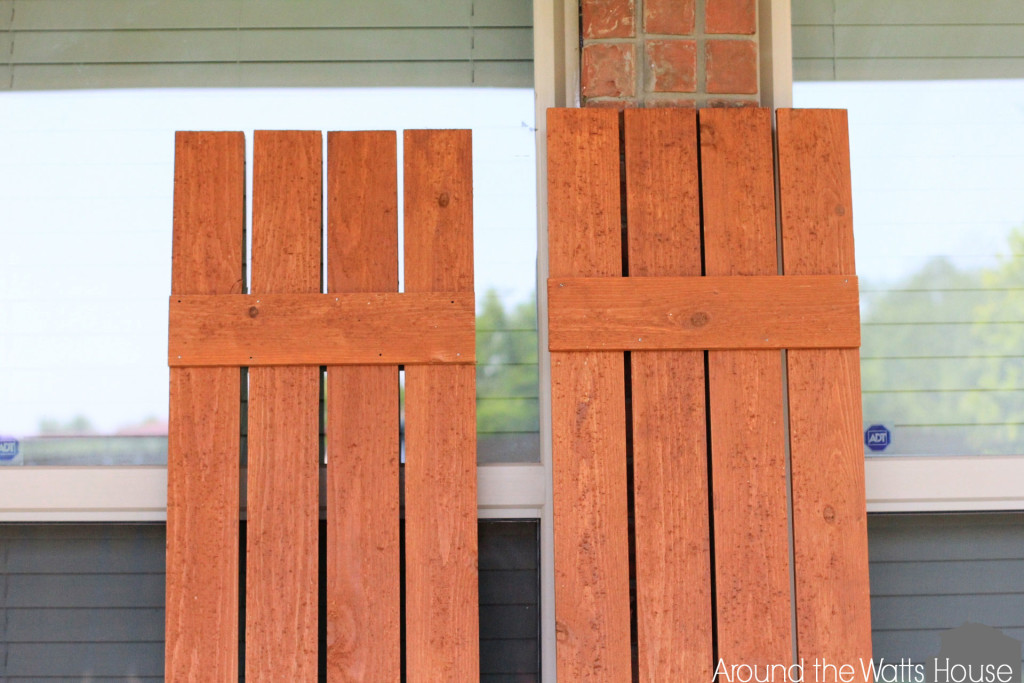
They aren’t perfect by any means, but they have the character that I was looking for and have made this place transform into a beautiful sitting area for the whole family to enjoy.
I might mention that I applied them to the brick using the masonry screws I listed above in the supplies list. You can find small sets of screws and bits at your local hardware store. I screwed them in from the front, again adding a bit more character to them by leaving the screw head exposed.
Don’t you just love checking things off your list? I am so glad I have been able to share this with y’all today. I know there are various tutorials out on the web for you to follow, but by sharing my own experiences, I hope you find inspiration to go forward with this project if you have been contemplating it. Let me know if you do!
-Iris
See more outdoor inspiration here! Just click on the image to take you to the full reveal.
Hi! Can you tell me the color of the stain you used on your shutters??
Thanks !!
Hi Jenny! I wish I could remember. I only know that it’s a cedar color. If I come across the name one day, I’ll update it here for you.
Can you tell me what color stain you used for the shutters?
Great shutters! I love how they look against the brick.
We just had a “shutter incident” at the Cottage. I hope you’ll stop by and see what we did!
Ann
http://theapplestreetcottage.blogspot.com/
Thank you so much Ann! I love the outcome of your shutter incident! The house looks so fresh and beautiful!