Laundry Room Refresh: Where We’re at Now
It’s week three of the New Year, New Room Refresh Challenge. I’ll admit, I didn’t get as much done last week as I had hoped to, but I did get one major part of the design done. The curtain! Okay, you’re probably like, what curtain? Well, if you happened to notice, I posted a really crappy sketch drawing of my overall plan in the first post of the series, and quickly re-drew it, and replaced it. In that first rendering I had included a skirted upper cabinet design, and the only reason I didn’t include it in the second rendering is due to the fact that I wasn’t sure if I wanted to include it in the design or not. I’m happy to report that I came to my senses and added it back in.
I have this fabulous fabric that I purchased from Etsy a while back, that I had intended to use in our living room, for another sewing project. I decided to pull a bit of that fabric for the curtains, and live with having a repetitive pattern in two spaces in my home. Yes, for some reason that bothered me, but I have completed both projects since, and don’t mind it after all. It looks wonderful! You’ll have to check my Instagram stories this week, to see how it turned out. I’ll share a photo update in next weeks post.
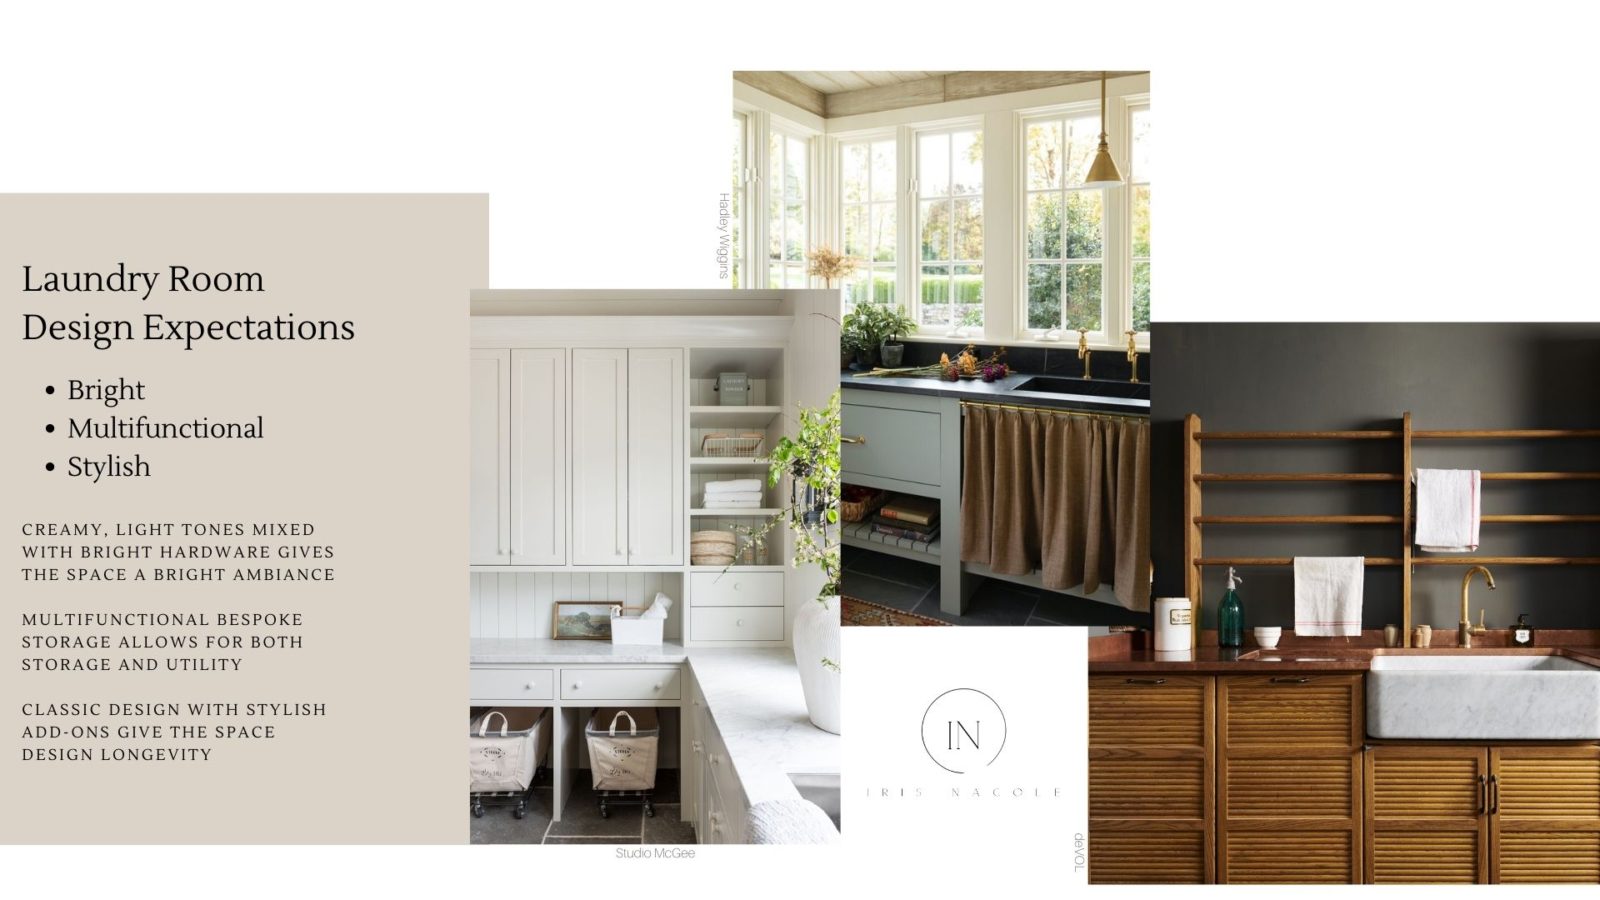
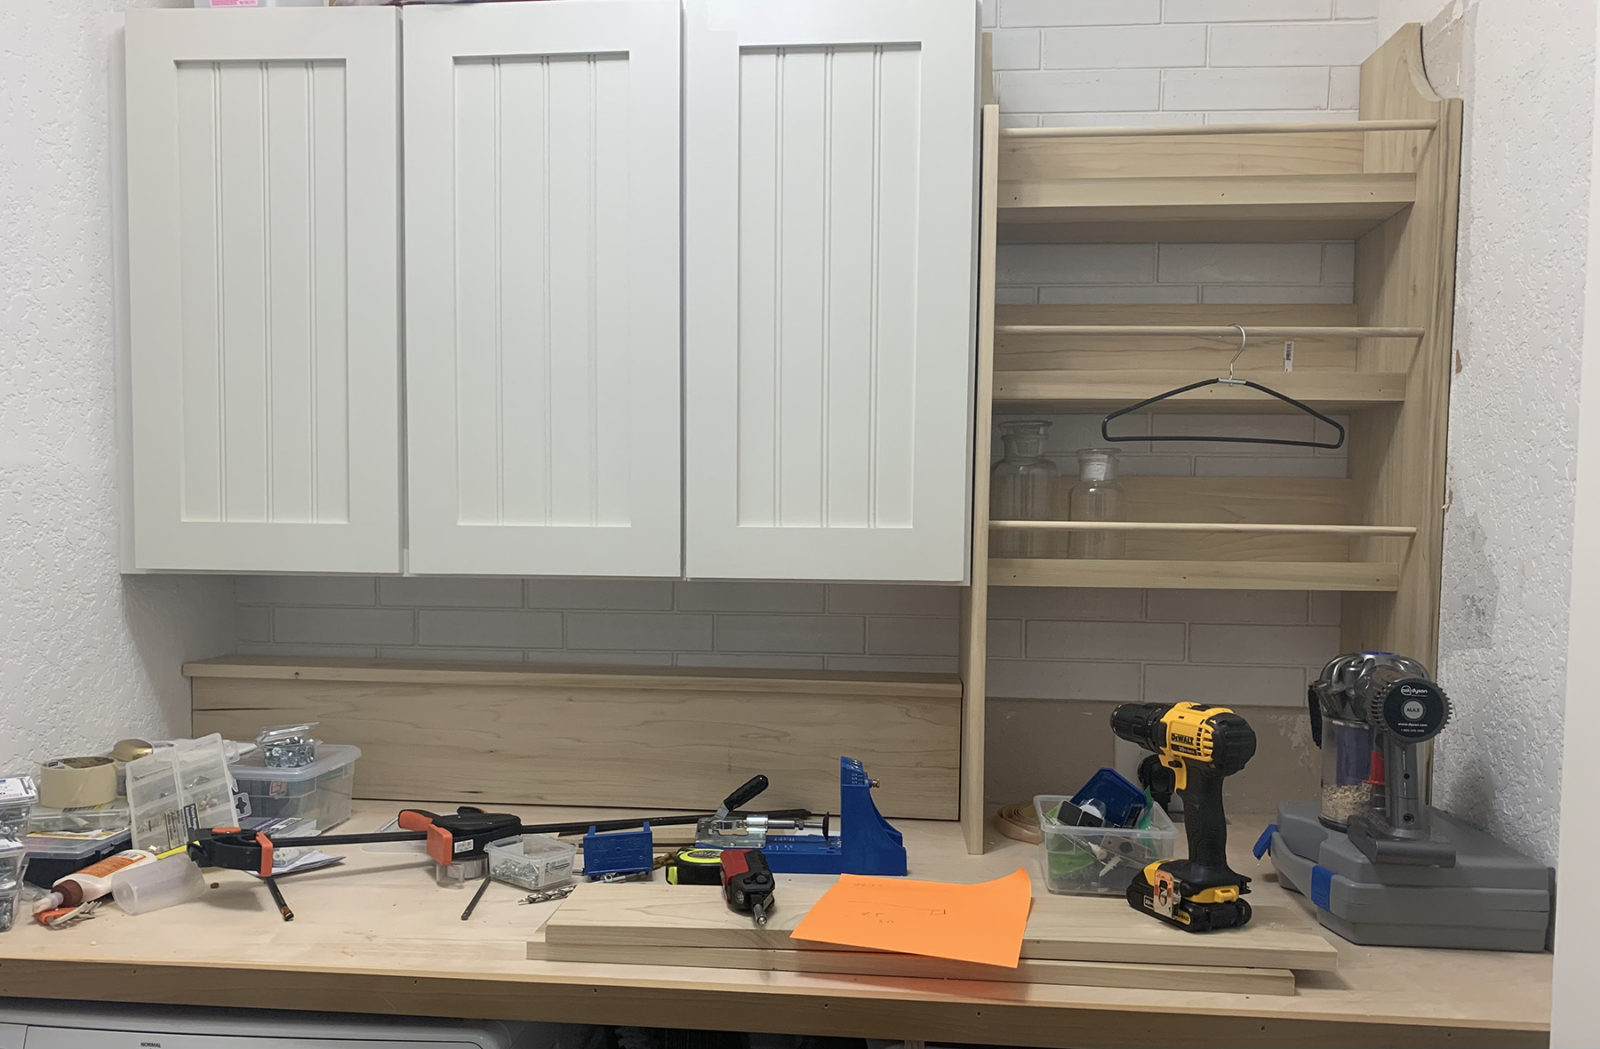
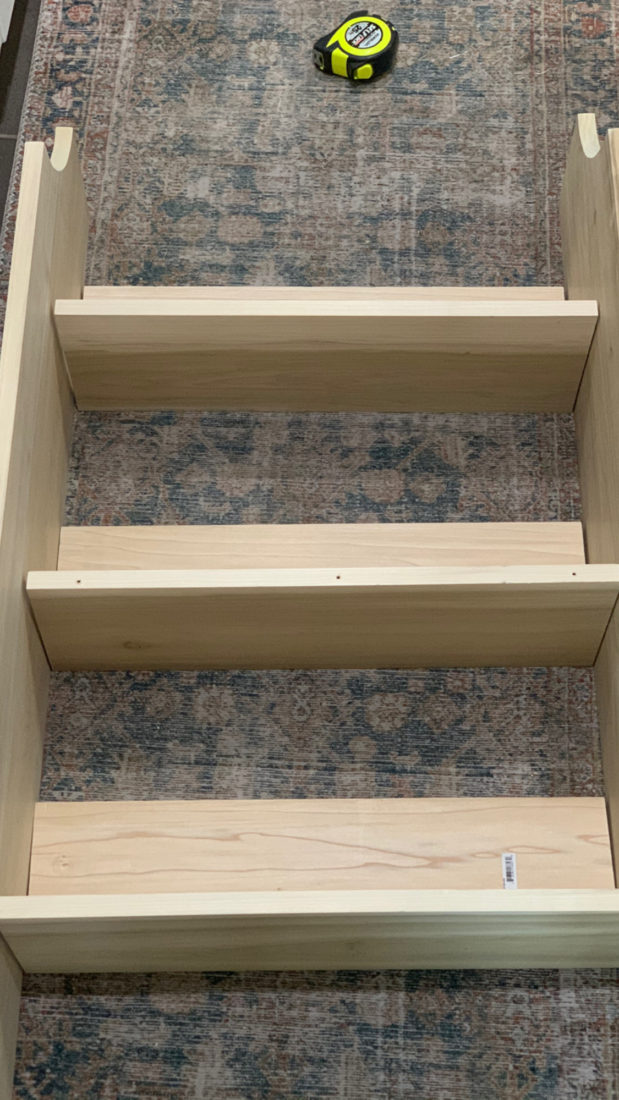
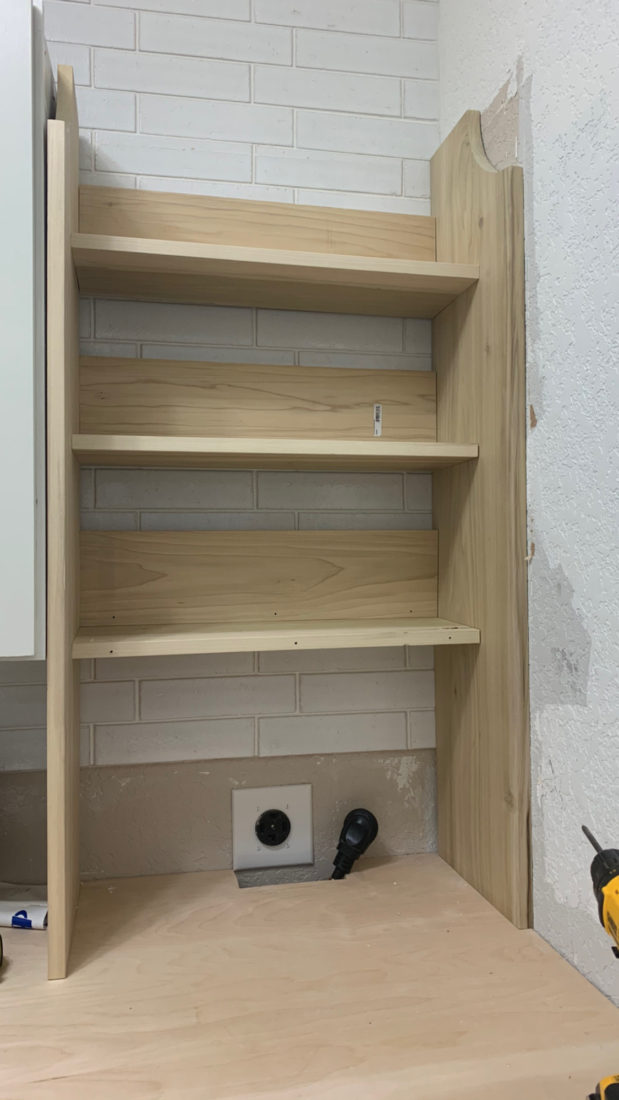
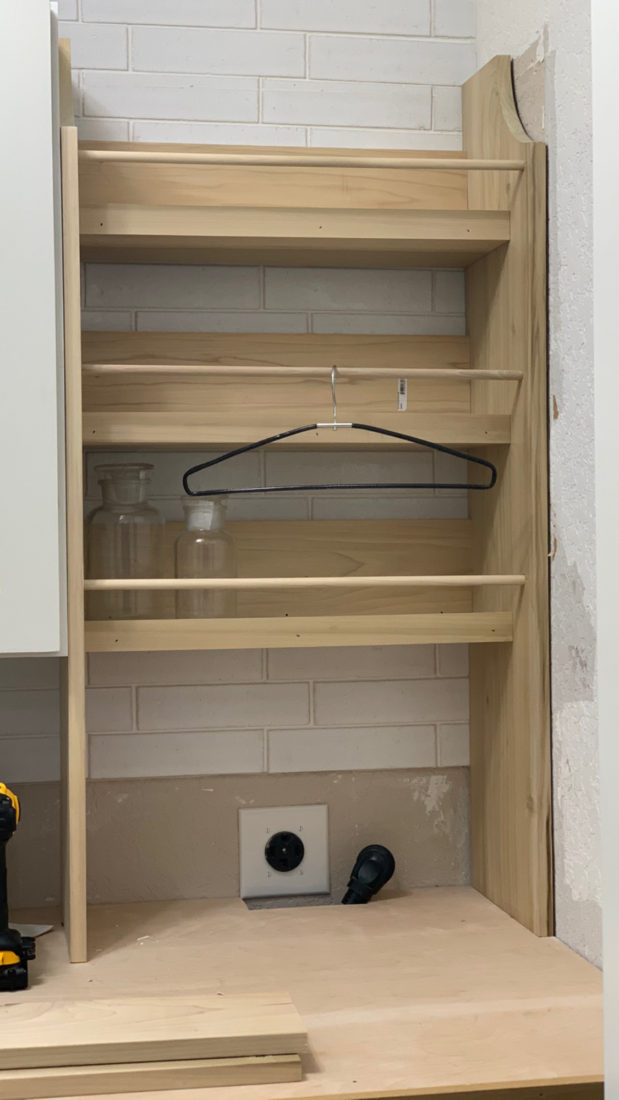
This week, I want to catch you all up with overall space. A long time ago, I did a laundry room makeover for the ORC. It was so much better than what we started with, and served us well for a few years. Over those years, my style changed, and I wanted to update the space to reflect it. Of course, I didn’t feel right about getting rid of everything in the space. Instead we repurposed the upper cabinet boxes, refaced them with new doors and paint, and repositioned them on the wall to make room for my new design element. I wanted a storage rack. Once similar to the inspiration photo I shared in the last post, from deVOL, only with more storage options. I drew something out on paper, and my husband went to work cutting the boards and dowels down to size so that I could assemble them.
Side Note: For those of you that may be new around here, I have a sound sensitivity from an ear injury a few years ago that took away my ability to be around extremely loud power tools, such as saws. I can manage smaller tools while wearing protection these days, but to get projects done, my husband has gone out of his way to learn new skills, and boy am I happy that he did! I design, he cuts, and we assemble as needed. We’re a team, and I wouldn’t want it any other way.
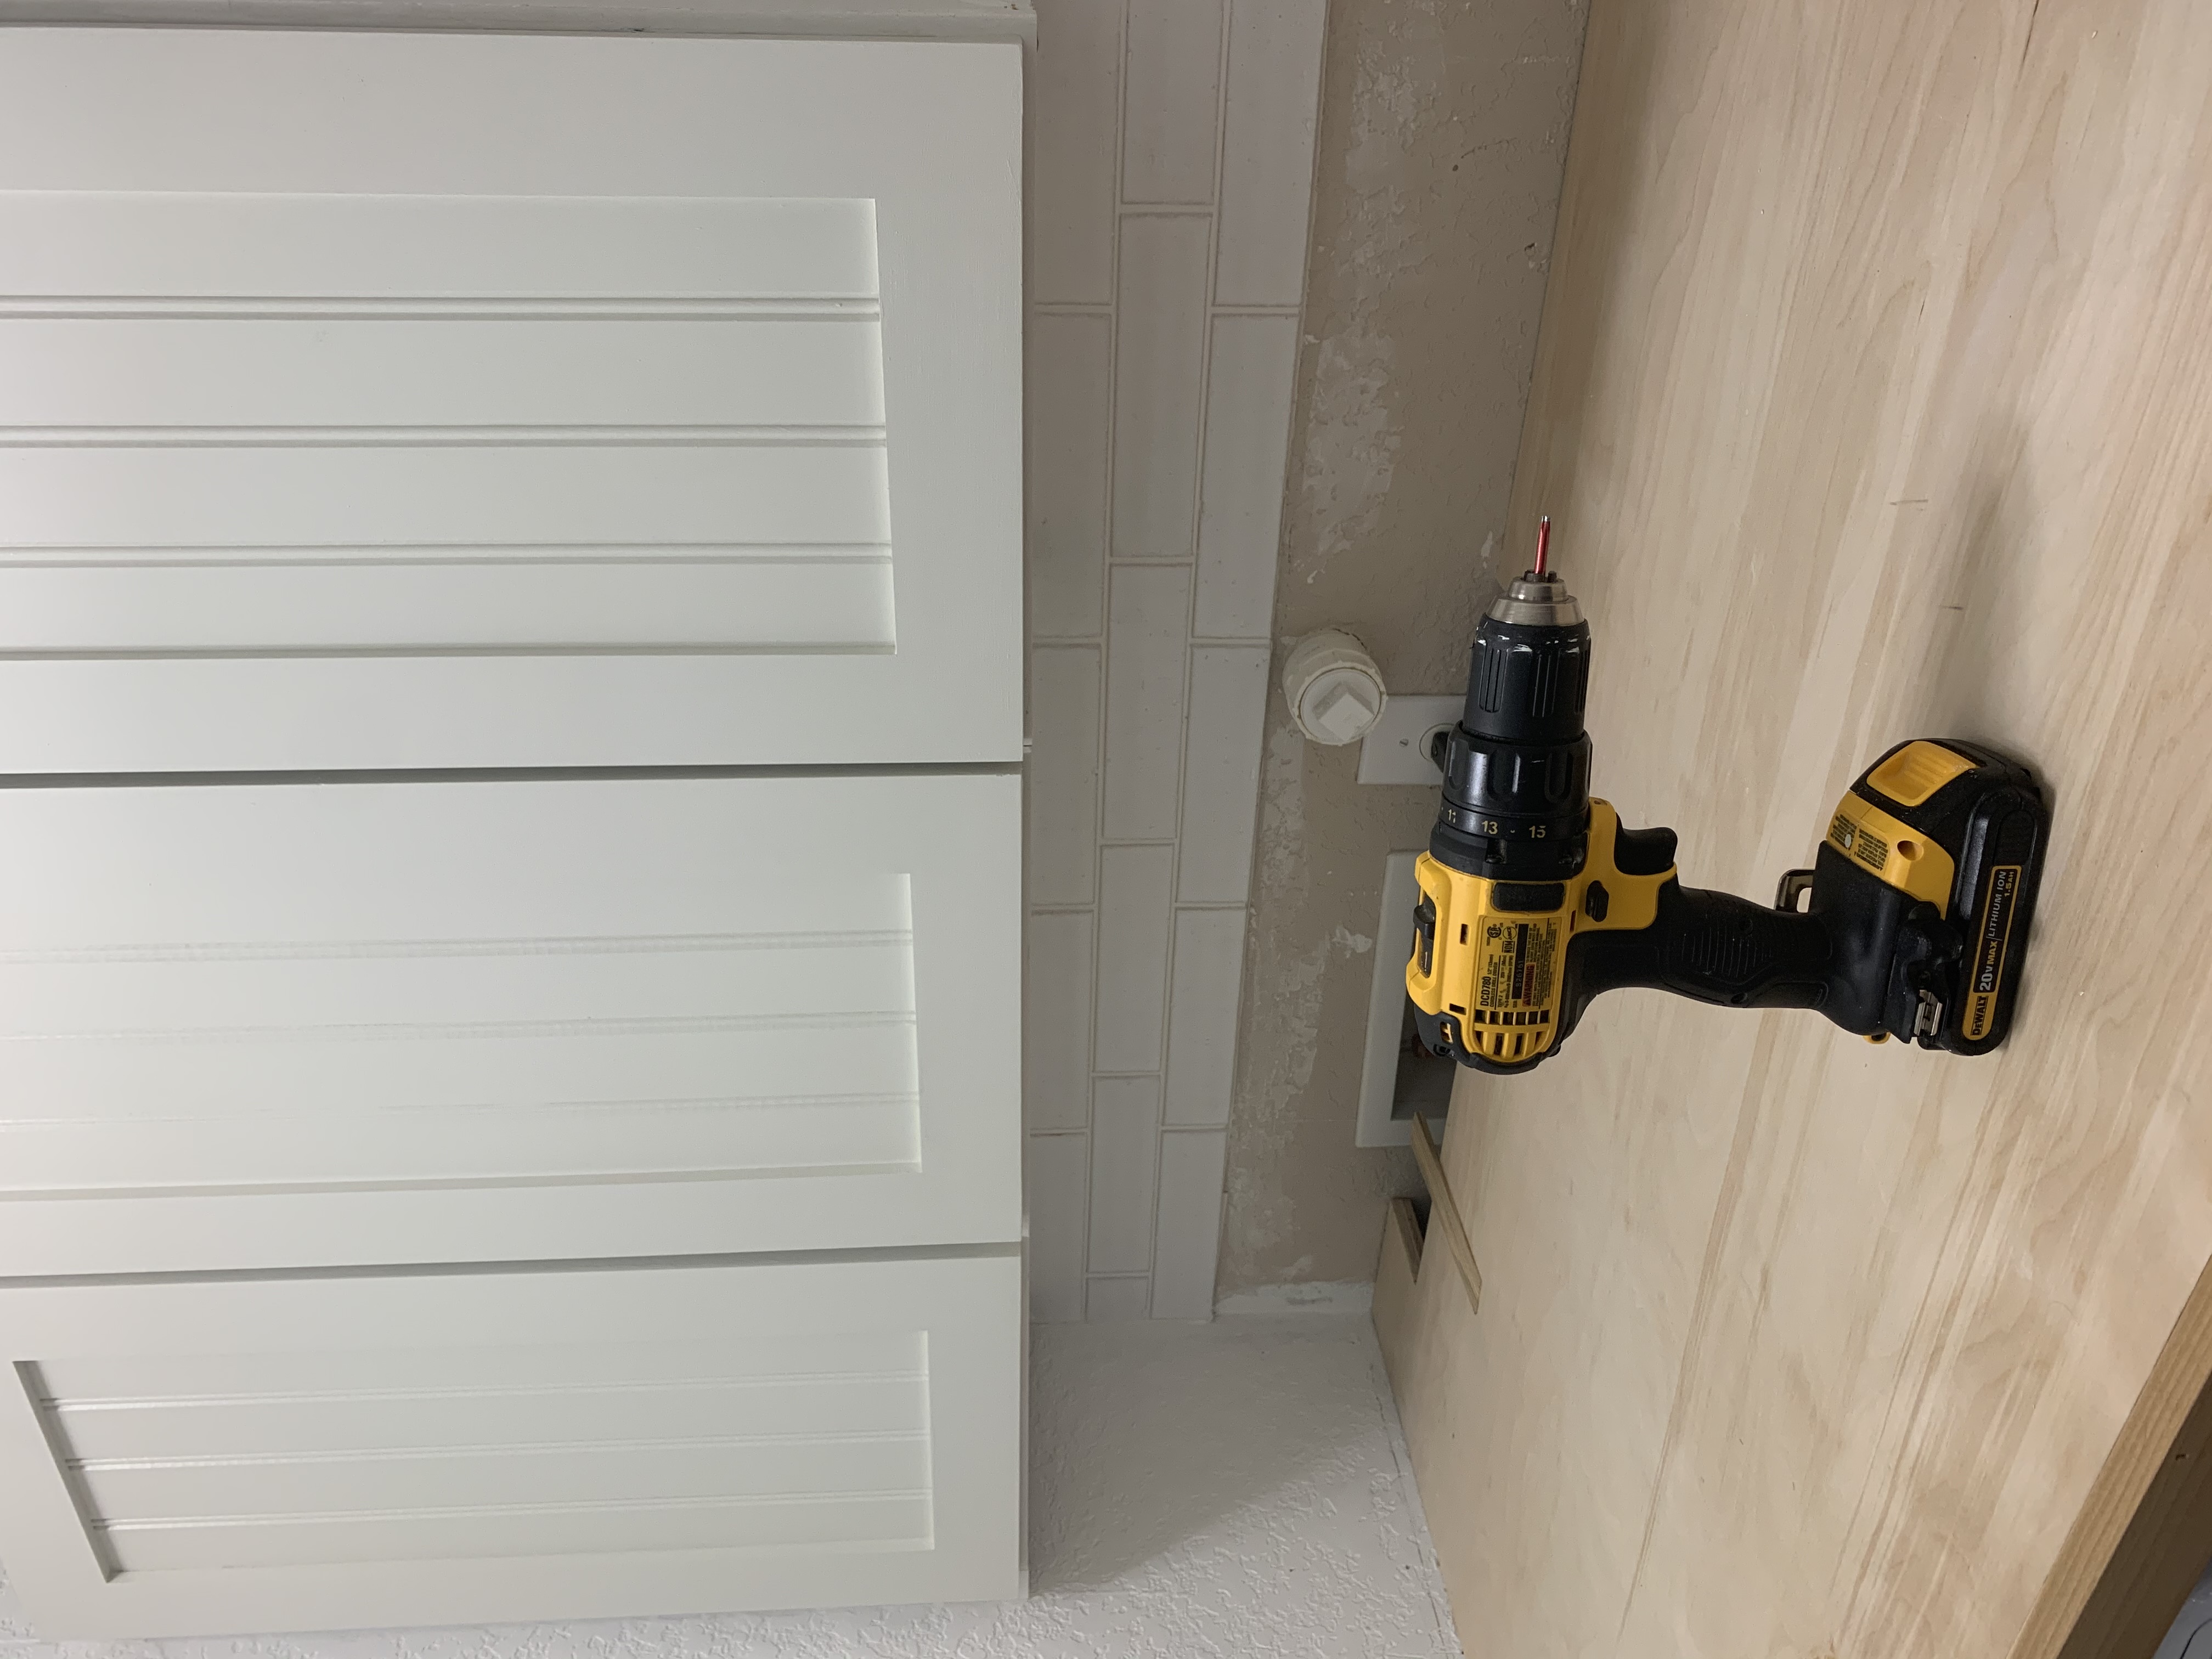
It as exactly what I wanted! As you can see, plug and outlet are visible, so we cut down a piece of wood to fit and hide it, but it’s just been floating there for a couple of years, and now I have a better idea on how to hide them. We’re going to create a door that attaches to the bottom. It’ll allow for even more hidden storage, and will hide the unsightly outlet too.
You can see the tile we added to the back wall in those photos. We tiled all the way down until we hit the outlet and connections. Instead of continuing the tile further we chose to create a raised box that’s easily moved to access everything, and covers the rest of the wall. We also replaced the old countertop with a new wood countertop we made out of plywood and trim pieces.
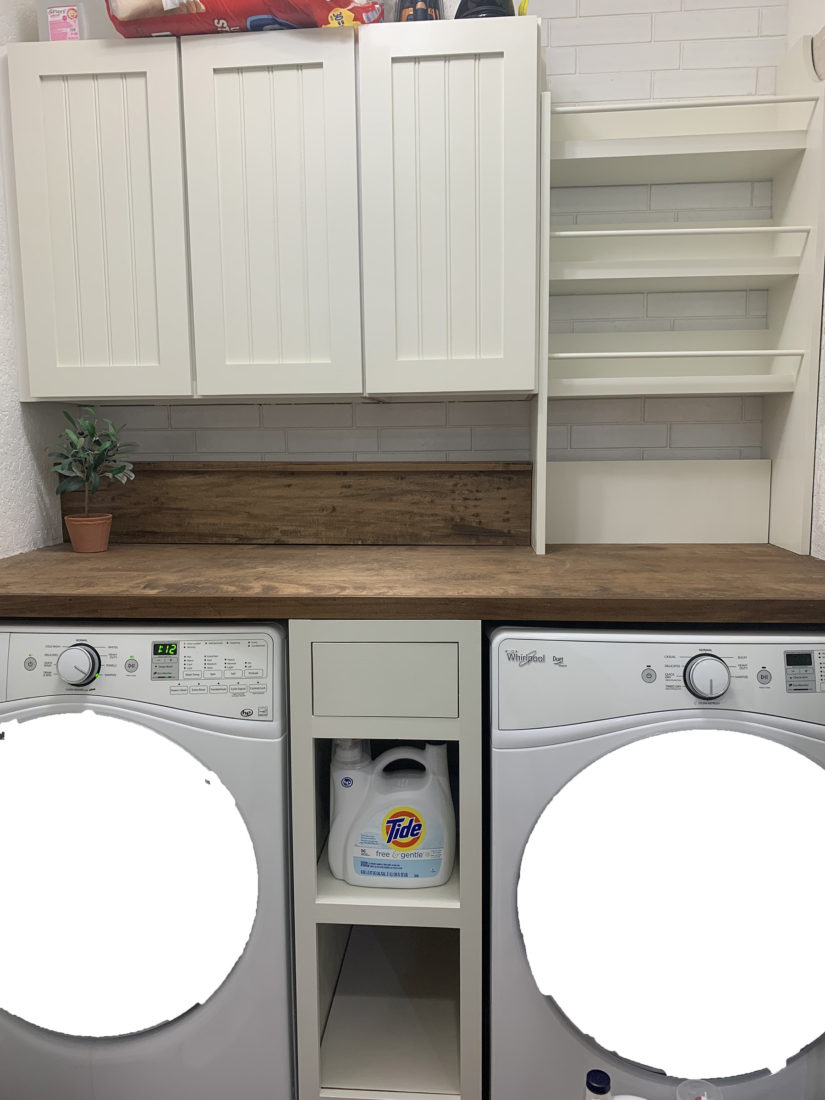
We had space between the appliances for more shelving, so we built a new open cabinet with a drawer that pulls out to be hanging space. I’ve cut the laundry out of the photo, to save me from embarrassment. Ha!
And now, we’re all caught up! We have some projects left, like installing hardware, painting the doors and trim, some more sewing projects, and of course styling. I hope you’ll check back with in me next week to see more!


Casa Watkins Living // Delineate Your Dwelling // Domicile 37 // House by Hoff // Iris Nacole // JZ Holmes // Live Pretty On A Penny // Love Your Abode // My Eclectic Nest // Our Fifth House // This Is Our Bliss // Up To Date Interiors
Wow! You really made great use with the space. So much storage. Love it!