Shop the House-Shelf Styling
Welcome back friends! It’s time for the second installment of the Shop Your House series. I’ve been debating about what to do for this post for a few weeks, and finally decided that shelf styling was what I wanted to cover with y’all today. I’m going to say it. I’m a decor hoarder. I love little trinkets, vases, and decorative boxes. If it catches my eye, is under $10, and I have the cash to shell out for it, it’s pretty much going to find its way home with me. It’s an addiction that I’m trying to overcome as I see how much of it all I have accumulated over the past couple of years. How many of you can relate to me? Shopping at HomeGoods, or any of the TJMaxx chains gets me ever time, darn it! It’s just that they have such a good selection, and those prices are hard to beat sometimes!
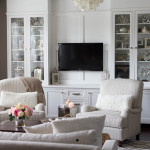
Yikes! Back to shelf styling. So last time I shared the space I will be transforming using items only from my house: My Family Room aka TV Room to my son. He’s so cute, coming up with names for each space in the house. They are taking over our vocabulary these days. The space has quite a few shelves to style, since I built the entertainment center on the main wall of the room. At first I just couldn’t figure out what I wanted to do with the shelves, and for months they sat looking wonky with terrible styling until I finally decided I wanted to focus on them and get them right. This is what I ended up with….
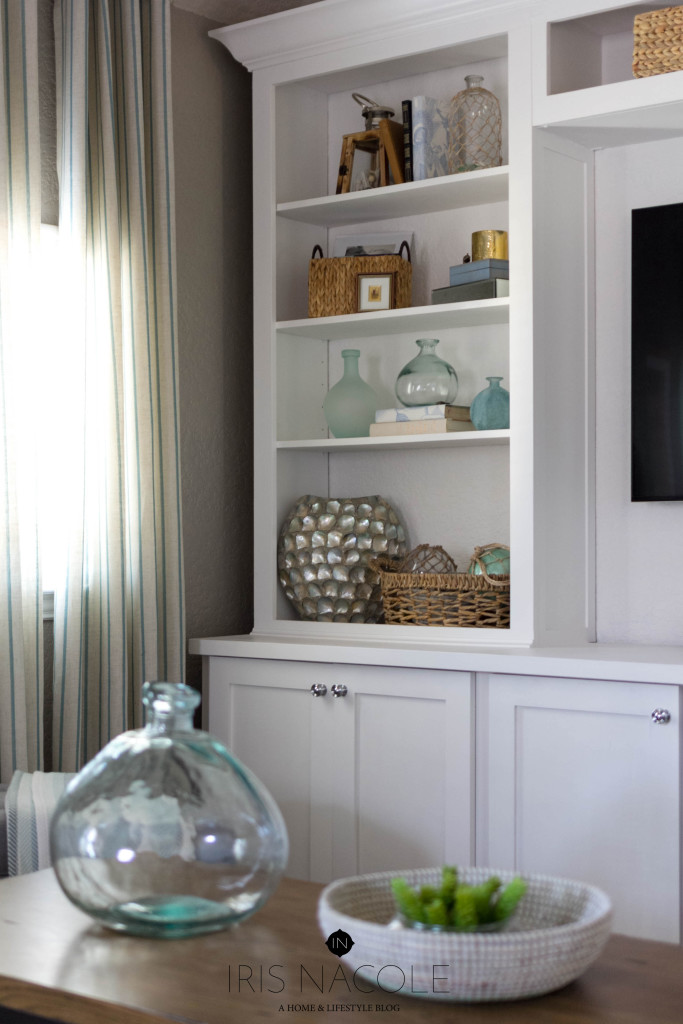
Shelf styling BEFORE.
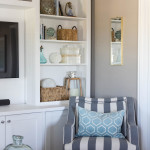
I really liked it, and felt so accomplished about my successful styling that I was afraid to try my hand at it again in this space, but thanks to this challenge I have, and here is what I came up with!
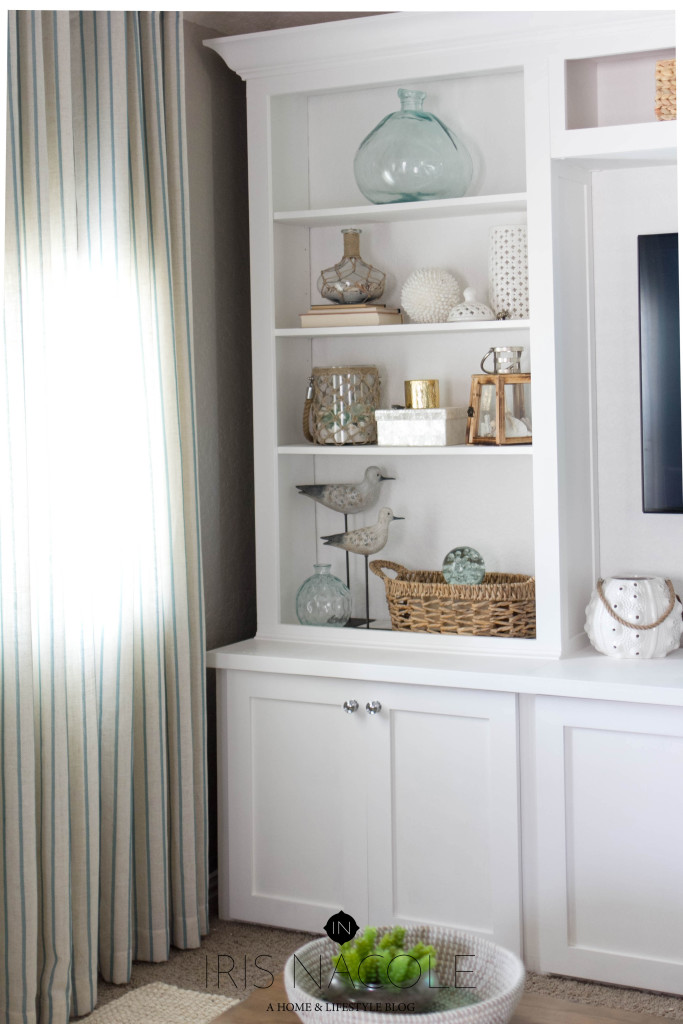
Shelf styling AFTER.
It feels so much fresher to me! I brought out a few new items from storage, but really what I did was to switch around the existing pieces to give them a whole new look. I was debating on sharing the other side of the entertainment center this time, but since I have a few more posts to cover I think it’ll be more exciting to share them in a future post.
I wanted to draw the eye up, so I placed a single large item on the top shelf, and as I decorated down, I added little vignettes of varying heights. As with all my designs though, I wanted it to be functional, so I kept the baskets on the bottom shelves, and added a small box inside to house our remote controls, but it could house anything we really want to keep handy. The other side holds those repeatedly watched Disney movies my boy is so in love with.
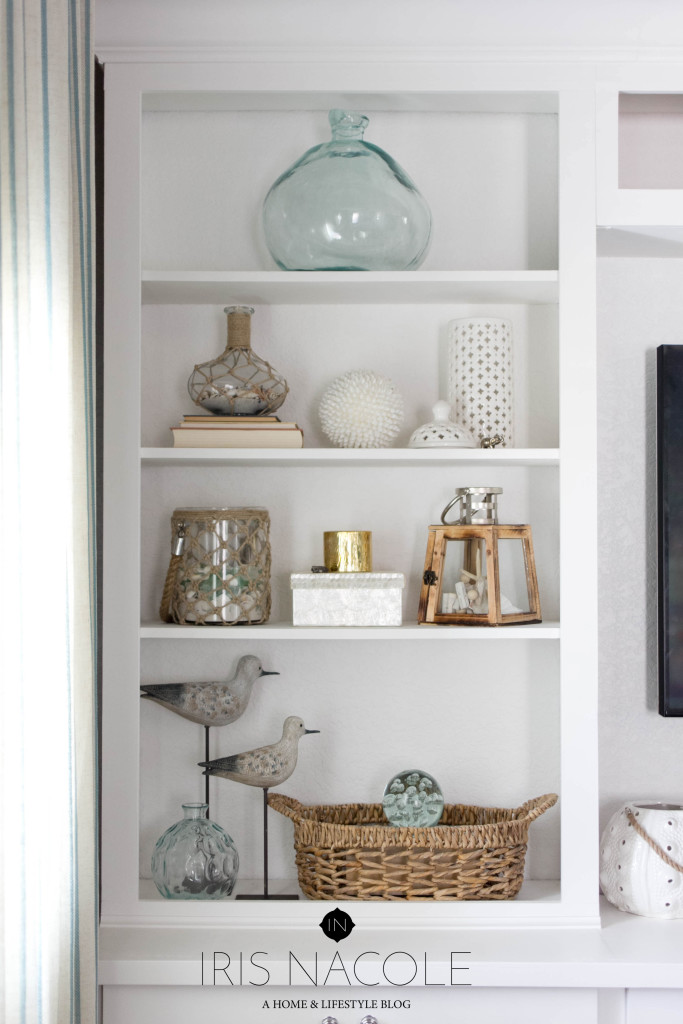
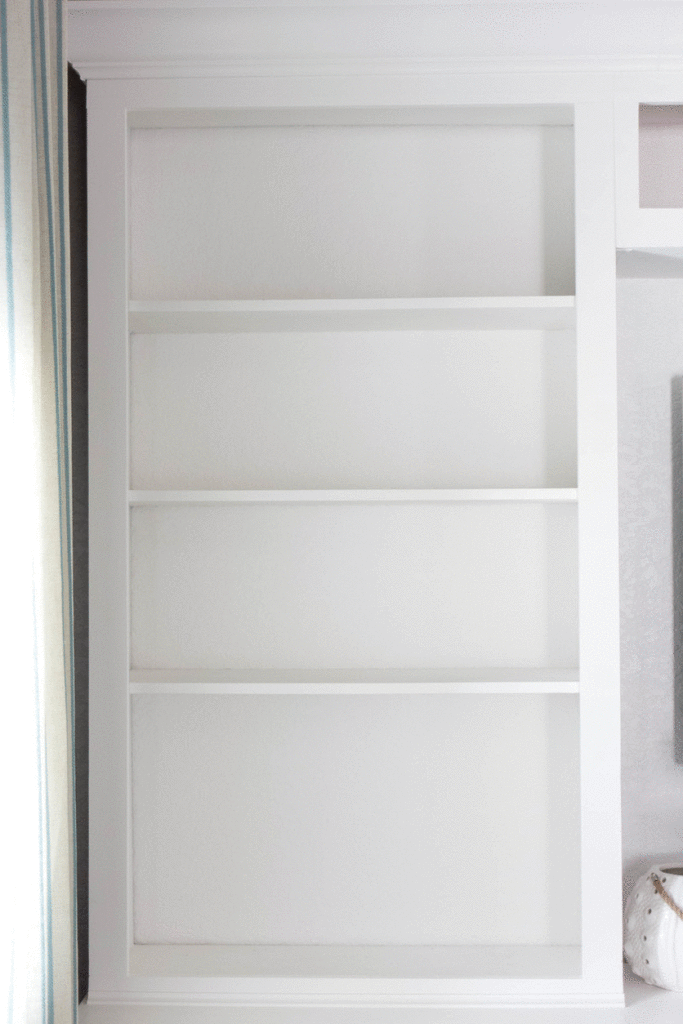
To break it down I created a little GIF for you to enjoy, and to show how I approached decorating the shelves. I like to work in sections so this is pretty much how I did it, and how I do all my shelf styling.
I hope this helps any of you struggling with shelf styling. It’s very intimidating, especially since so many people have opinions of how to go about it. Personally, if I can create a balance, and flow throughout the shelves then I feel like I’ve done a good job. Some people like more layers on each shelf to create more dimension, and I say go for it! Some are the complete opposite and put one item per shelf for a more scaled back look, and I’ve see that done well too. So really all I can say is that the best way to learn is to practice; if you are itching to “get it right”, clear off your shelves and just play around with your ideas. Maybe refer to a picture you loved from Pinterest or a magazine. See if that style really works in your space. You will know, just like I did during those months that I sat with these looking not quite right, but when it works it will be well worth the effort.
Now head on over to see what the other ladies participating in this challenge have been up to. I’m headed over myself! Until next time!
-Iris
You may also like:
